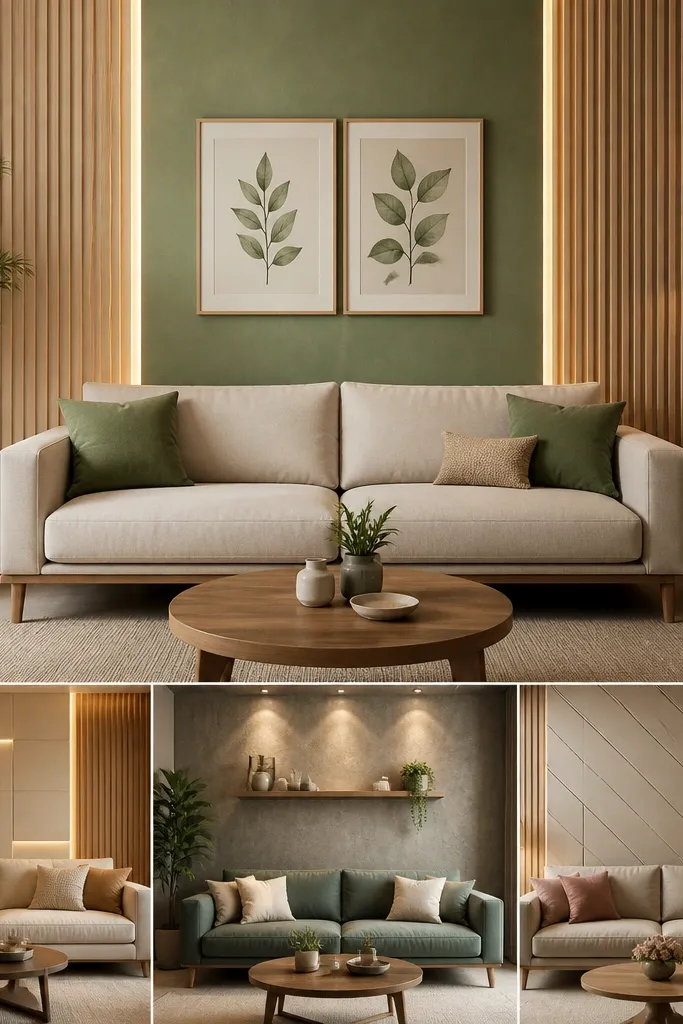
1. 2x4 Framed Rectangle with Matte Paint
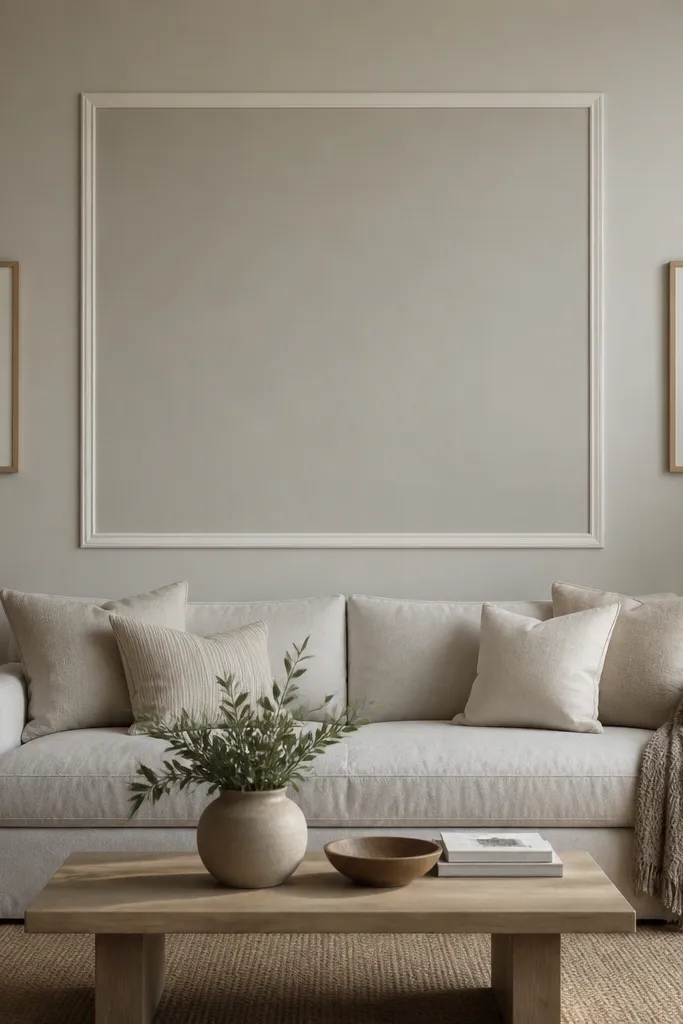
This is the cheapest way I know to make a plain wall look architectural. I used 2x4 pine ripped into 1.5-inch strips, then painted the strips a warm off-white and painted the inside area a soft greige matte. The contrast is subtle up close but reads clearly from across the room. It flatters most sofas because it creates a centered anchor — boxy sofas look more tailored and low-profile sofas look more grounded. If your sofa is dark (charcoal, espresso, or navy), go one shade lighter for the frame and one shade deeper for the inside. If your sofa is light, flip it — keep the frame slightly darker than the wall so the rectangle still shows up.
Start by measuring the sofa width and aiming for the rectangle to be about 2-6 inches wider than the sofa on each side. Mark the center of the wall, then set the rectangle’s top so the middle of the design lands around 60 inches from the floor. Cut four strips, dry-fit them, then add painter’s tape guides so your paint edges stay sharp. Paint the outer frame first, then mask the inside and paint the inner panel color last for a clean line. Finish by adding two slim art pieces or sconces so the rectangle doesn’t feel empty.
Use matte paint on both the frame and inside panel — satin makes cheap edges look shiny.
Avoid using glossy paint on the inner area; it reflects light and makes the edges look messy.
2. Vertical Slat Panel Wall in One Color
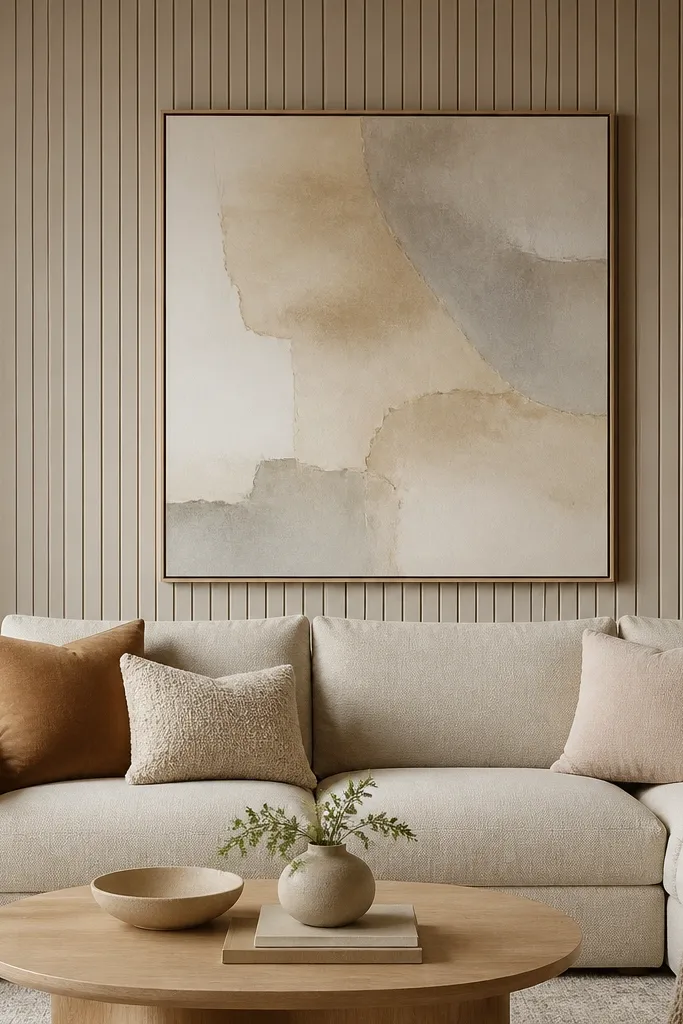
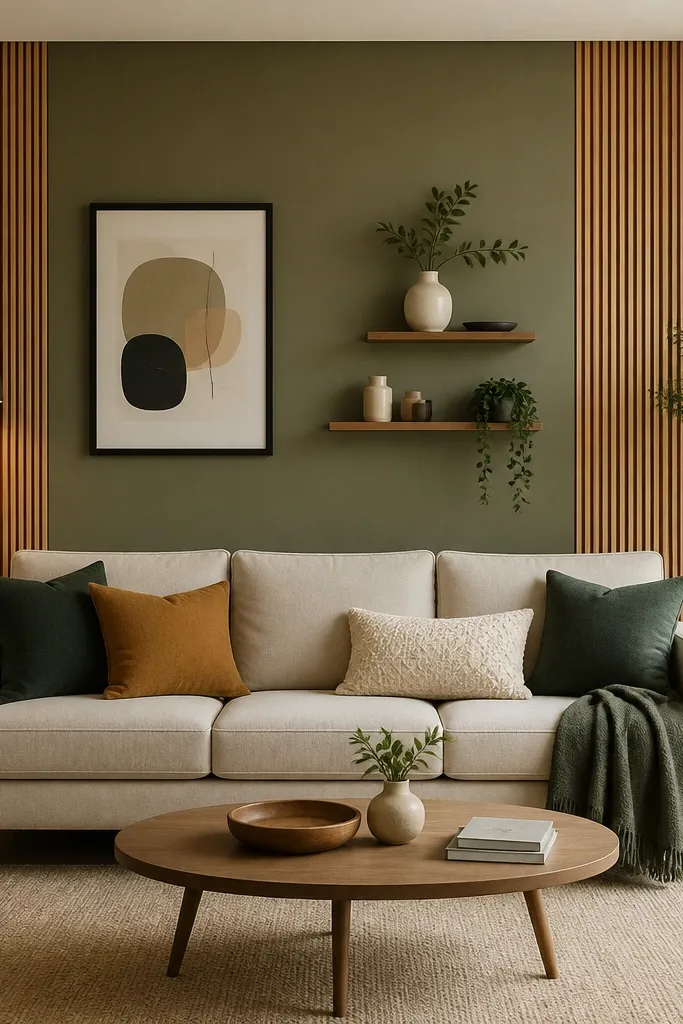
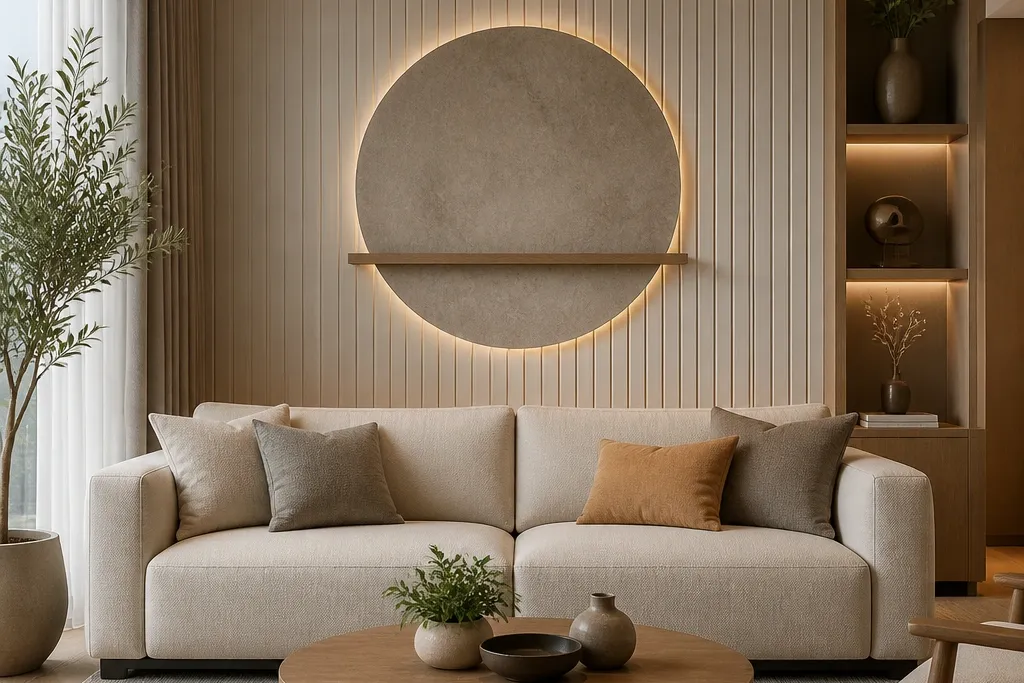
Vertical slats make a room feel taller without adding clutter. I’ve installed this with peel-and-stick wood-look panels when I couldn’t drill, and I’ve also done real slats with 1x2 strips when the wall was smooth. The trick is keeping every slat the same width and spacing so it looks like millwork, not craft store decor. It flatters long, low sofas because the vertical lines pull the eye up. For warm skin tones and beige or tan sofas, I like warm greige slats; for cooler palettes like gray or cool white sofas, use a cooler gray-beige so it doesn’t go yellow.
Start with a dry layout: measure the wall width behind the sofa and choose slat spacing that fits cleanly (I aim for 2.5-3 inches between centers). If you’re using peel-and-stick, wipe the wall with a degreaser and let it dry fully before applying any panels. Apply from the center out so any cut edges land near the sides where you won’t stare. Paint over the slats in one color if you want it to look custom, then keep the paint coat thin to avoid raised seams. Hang one centered art piece high enough that the top edge is about even with the sofa back.
Pick slat spacing that matches your sofa width — when the pattern “stops” neatly at both sides, it looks intentional.
Don’t mix slat widths; uneven slats read like a DIY mistake from across the room.
3. Half-Height Wainscot Band with Simple Hardware
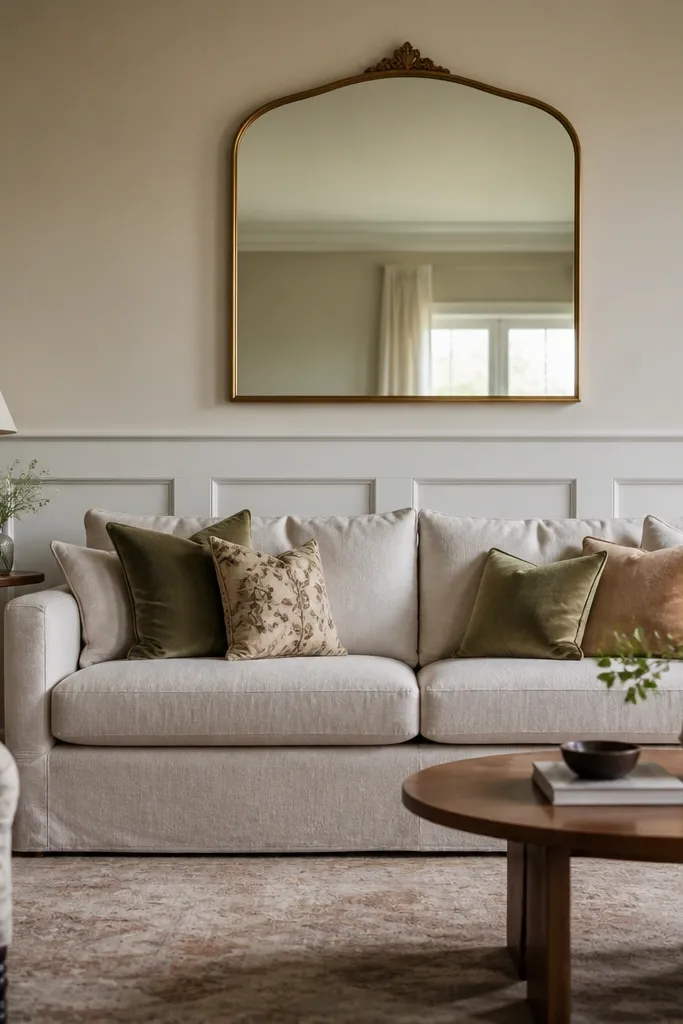
Start by marking a band height: I use 36-40 inches from the floor for the bottom rail, depending on your sofa back height. Install the top rail first, level it carefully, then add vertical panel pieces so they span evenly under the rail. Use a small foam roller for paint — it reduces brush streaks in the corners. Paint the trim and panels in the same white, then paint the upper wall in a light neutral that’s 1-2 shades different. Finish by placing a mirror or tall art centered above the top rail.
A half-height wainscot band gives you instant structure and it’s budget-friendly if you keep it simple. I’ve made it with MDF panel pieces or ready-made chair rail kits, painted in crisp white with a soft warm undertone. The top half stays plain or gets a slightly darker paint, which keeps the look clean. It flatters rooms with traditional furniture, but it also works with modern sofas if you keep the trim lines straight and the colors calm. If your sofa is fabric with any warmth (camel, wheat, oatmeal), the warm white trim looks natural and doesn’t fight the upholstery.
AvoidAvoid tiny, skinny panel rectangles; they look like cheap craftboard up close.
Good to knowUse a laser level if you can borrow one. Wainscot looks off fast when the rails aren’t perfectly level.
4. Moulded Picture Frame Wallpaper Panel
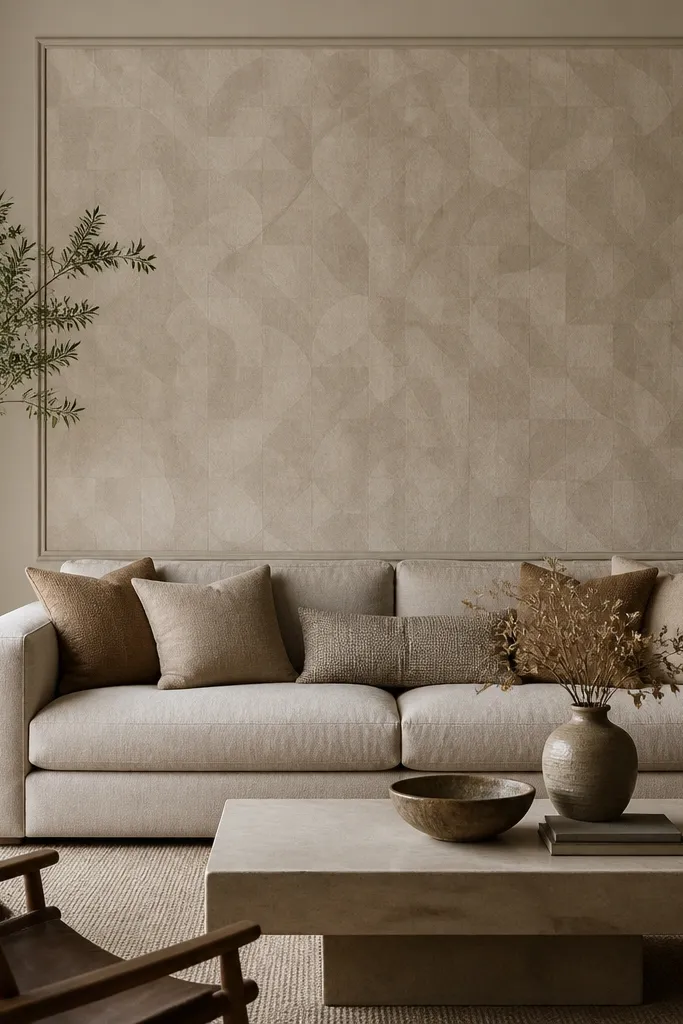
Wallpaper is the fastest way to fake a “designed” wall without building anything. I did this with a matte wallpaper that has a faint pattern, then I added thin trim to create a picture-frame look. The frame makes the wallpaper feel intentional instead of like a feature wall that got pasted on. It flatters sofas in solid colors because the wall pattern adds interest without competing with pillows. For budget setups, choose wallpaper with a neutral repeat — it hides seams and doesn’t require perfect matching across panels.
Start by measuring the rectangle area behind the sofa and plan for a border that’s about 2-3 inches wide. Apply wallpaper first to the rectangle outline area, then trim the edges clean with a sharp utility knife. Install thin MDF trim around the wallpaper border after it’s fully dry, using construction adhesive plus small brads if you’re okay with holes. Paint the trim to match your room’s trim color. Hang art centered above the sofa so the wallpaper rectangle stays the main feature.
Press seams with a plastic smoothing tool, not your fingers, so you don’t get glossy fingerprints on the matte paper.
Avoid shiny wallpaper; it catches light and makes seams look obvious.
5. Floating Ledge + Two Lantern-Style Wall Sconces
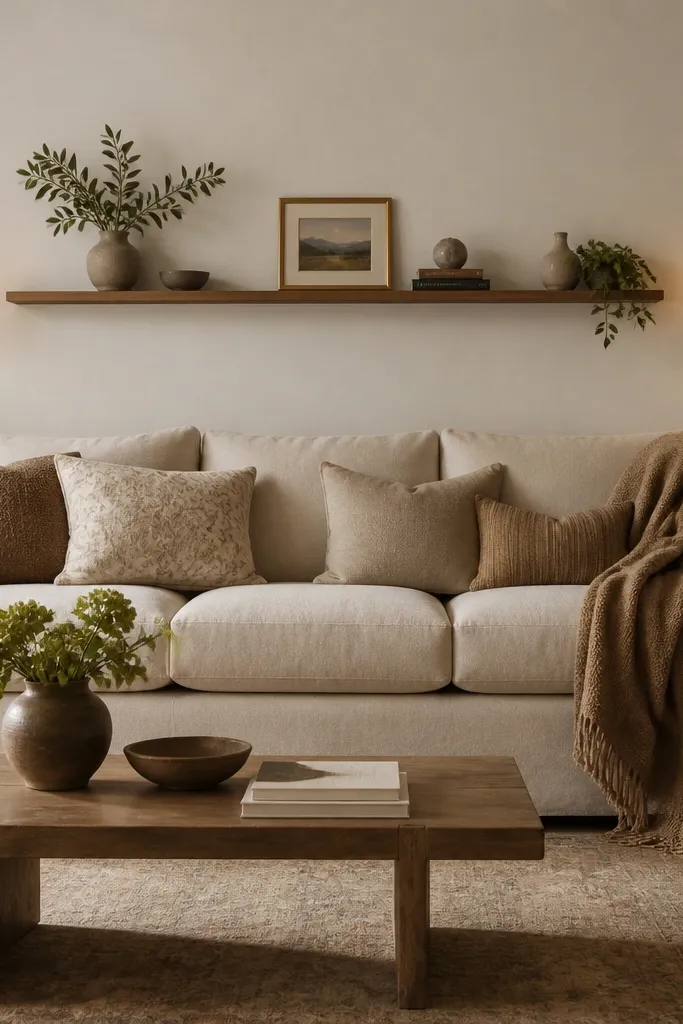
Start by finding your outlet situation. If you need plug-in sconces, place them so cords can run down behind the sofa or along a corner. Install the floating ledge first, centered to the sofa width, with the top of the shelf around 62-64 inches from the floor. Add the sconces at equal height on both sides so the light looks symmetrical. Style the shelf with one tall item (a slim vase) on one side and a small stack of books or a ceramic bowl on the other. Keep the shelf clutter to two items so the wall doesn’t look crowded.
If your sofa back wall feels boring at night, this fixes it. I installed a 3-inch deep floating ledge and added two plug-in lantern-style sconces (the kind with a cord hidden behind a cable cover). The mix of horizontal shelf and warm light makes the whole corner feel finished even with minimal decor. It flatters sofas with taller backs because the shelf gives them a “home” visually. For darker sofas, keep the wall light — the shelf looks crisp instead of heavy.
AvoidAvoid placing the shelf too low; it will block the sofa back and make the room feel squeezed.
Good to knowUse warm bulbs around 2700K so the shelf color looks consistent with your upholstery.
6. Fabric Drape Wall Panel with Command Hooks
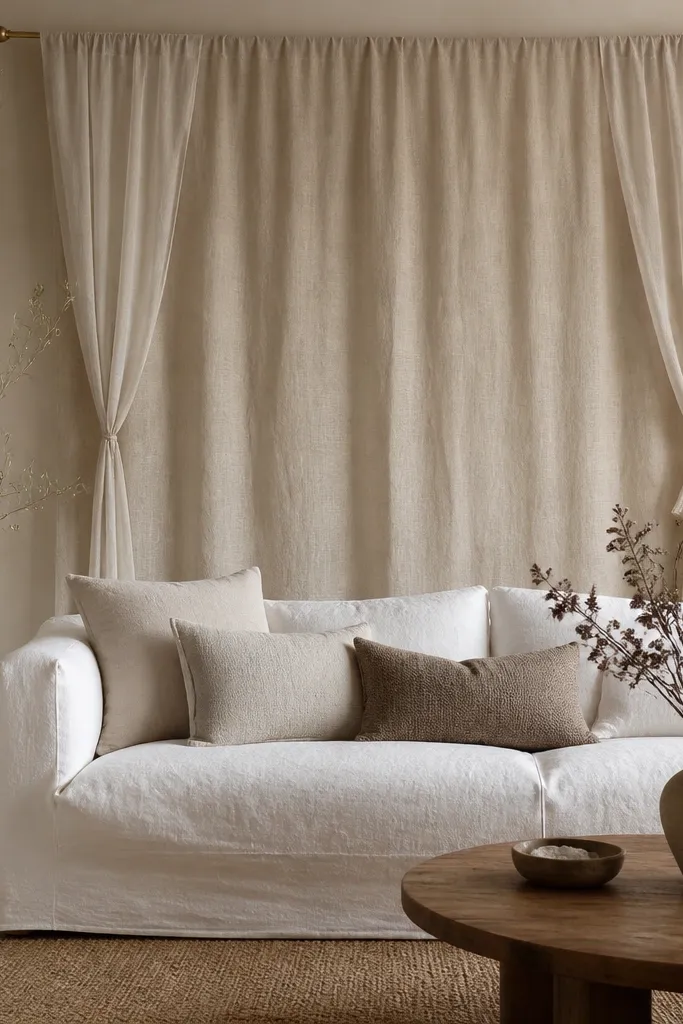
This one is pure comfort. I used a medium-weight linen blend and hung it as a single panel behind the sofa, with a slight gather at the top for softness. The fabric turns the wall into something your eyes want to rest on, which helps if your sofa is already busy with pillows. It flatters warm, casual spaces and it looks great with boucle, chenille, and leather because the textures don’t clash. If you have a small room, fabric also helps because it reduces visual sharpness — everything feels less “hard” and more lived-in.
Start by measuring the sofa width and add 8-12 inches so the fabric covers beyond the arms. Install two ceiling or wall hooks near the top corners and run a thin rod or tension wire between them. Hang the fabric panel, then gather it slightly at the center using a hidden tieback so it doesn’t look flat. Use a double-sided tape strip or a few small Velcro dots at the top to keep it from shifting. Style with one simple throw on the sofa so the fabric and textiles feel like a set.
Pick fabric with a matte weave. Shiny satin drapes look cheap fast when the light hits.
Avoid thin polyester sheers; they flutter and show the wall texture underneath.
7. Costco-Size Peel-and-Stick Plaster Texture Stripe
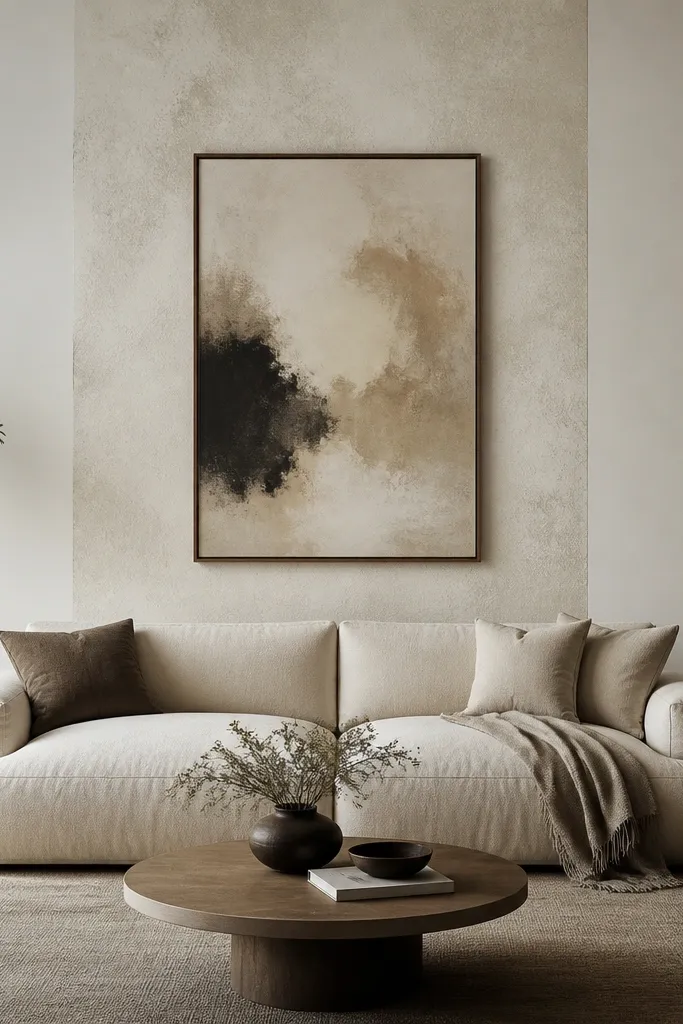
Start by painting the wall base color first and let it cure for a day so the texture adhesive sticks better. Measure the stripe width — I use about 28-34 inches for many standard sofas, then adjust based on your wall width. Apply the texture panel centered behind the sofa, smoothing from the middle outward. If your panels have seams, place seams where you won’t stare — usually near the left and right thirds of the wall. Hang one large art piece above the sofa so the stripe frames the art area.
Texture is the secret weapon when you don’t want to build frames. I used a peel-and-stick plaster texture panel in a narrow stripe so it adds dimension without covering the whole wall. The stripe creates a focal column, which looks good with both square and low sofas because it gives the eye a place to land. If your sofa has a pattern or bold color, keep the stripe neutral; if your sofa is plain, you can go slightly warmer in the texture tone. This design also hides small wall imperfections because the texture breaks up reflections.
AvoidAvoid placing the stripe too narrow; it turns into a random strip instead of a design.
Good to knowUse a plastic squeegee to push out air bubbles. Metal tools can scratch the texture surface.
8. Picture Ledge Grid with 6x8 Frames
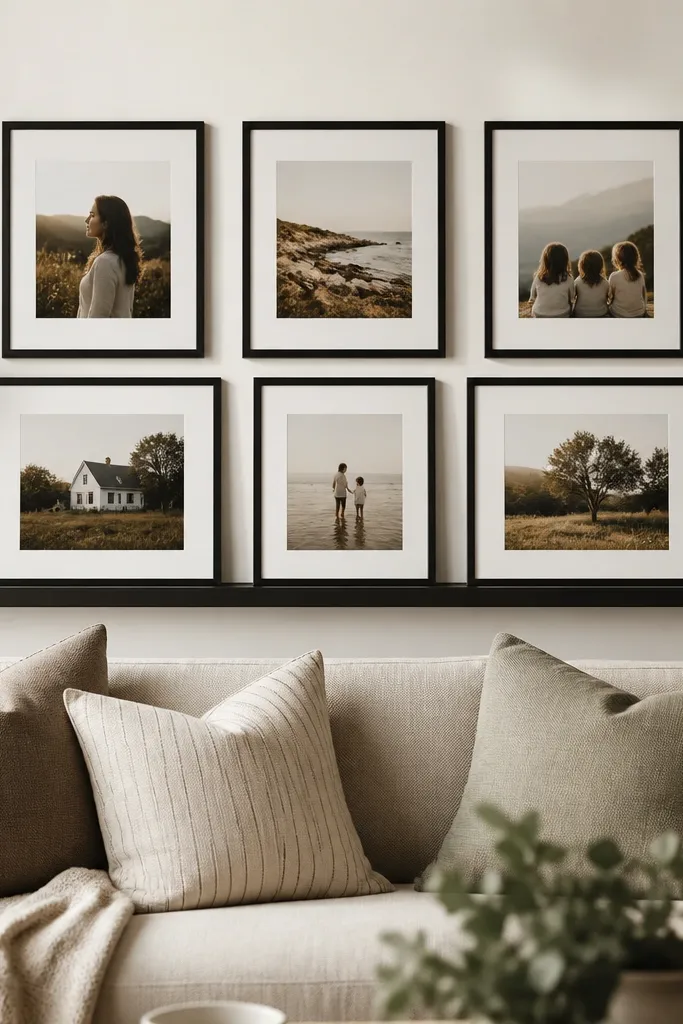
Start by deciding your grid size. I like a 3 across by 2 down arrangement for a typical 84-90 inch sofa, using 6x8 frames so the total width matches the sofa. Install a picture ledge or hang the frames on a French cleat system at the same level. Keep the top of the grid around 64 inches from the floor and center the whole thing to the sofa. Use spacers or frame mats in the same color so the gaps look even. Style with two accent items on the sofa so the wall doesn’t feel isolated.
A frame grid is the easiest budget design that still looks “done.” I built mine around 6x8 frames because they’re tall enough to balance a sofa back without swallowing the wall. The frames are all the same finish — black matte — so it looks like a set, not a thrift pile. This works best when your sofa has solid upholstery and you want the wall to add interest. It flatters small rooms because the grid creates order and the negative space keeps it airy.
AvoidAvoid mixing frame finishes like brass and silver; the wall looks accidental.
Good to knowUse the same mat color inside every frame even if the photos differ.
9. 1x3 Wood Board Wall with Staggered Rows
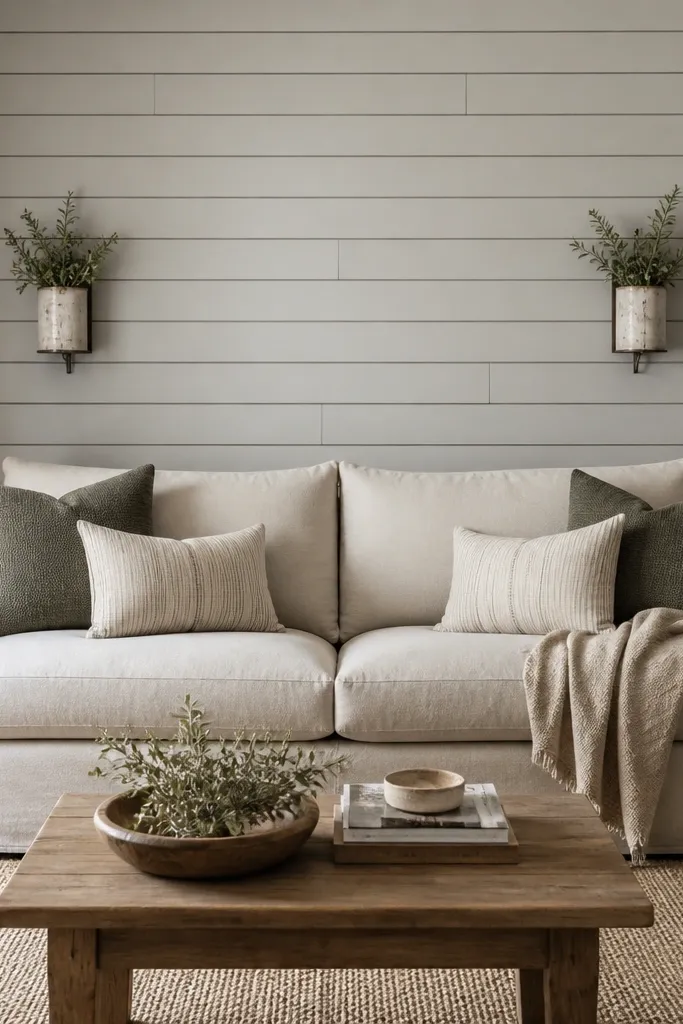
This is where cheap wood turns into a real feature wall. I used 1x3 boards, spaced about 1 inch apart, and staggered the rows so the seams don’t line up. Paint everything in one color so it looks like a single panel system. It flatters sofas because horizontal rhythm matches the seat line and makes the whole living room feel cohesive. If your sofa is low and wide, the staggered boards add visual structure without making the wall feel heavy.
Start with a layout that matches your sofa width. Measure the wall width and mark a centered “panel zone” that’s about 4-8 inches wider than the sofa. Cut boards to length and sand the edges lightly so paint looks smooth. Attach the first row level, then add spacers for the 1-inch gap and stagger the next row so the ends land between boards below. Paint with a foam roller to keep texture uniform. Finish by adding one centered art piece above the highest row or by keeping the wall clean if the wood pattern is enough.
Pre-paint boards before installation if you’re busy — it seals knots and makes touch-ups faster.
Avoid wide gaps; if the spacing is too big, it looks like unfinished shelving.
10. Oversized Corner-to-Corner Canvas Dip-Dye Effect
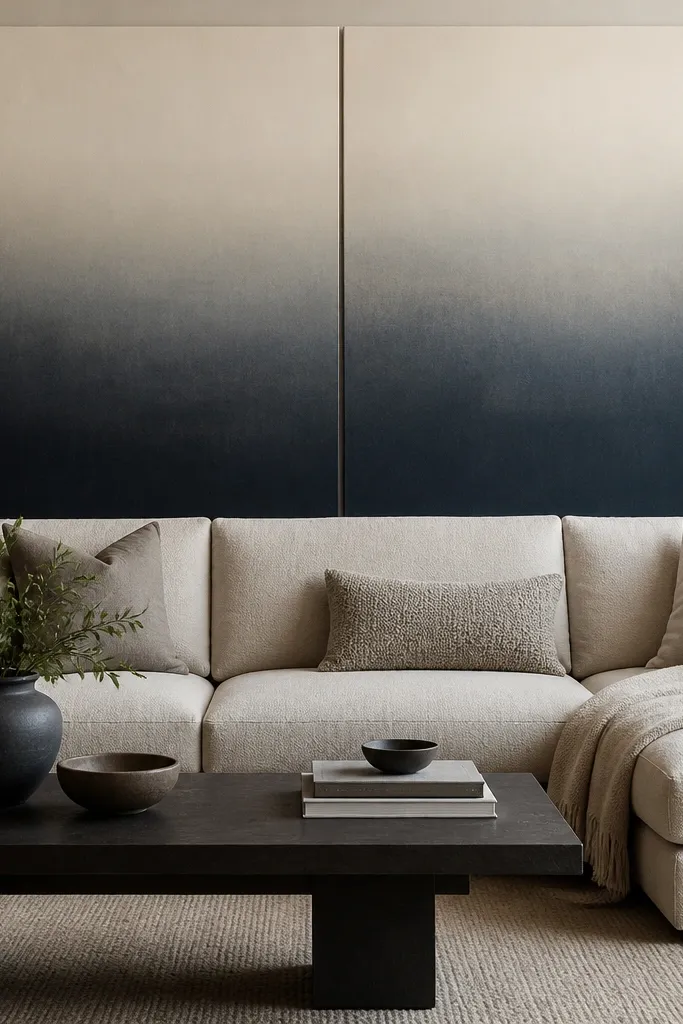
Start by buying two stretched canvases that match your sofa width — I usually do 24x36 each for a standard 84-90 inch sofa. Paint a base off-white first and let it dry. Dip a wide brush into the darker paint and blend the edges with a dry brush technique so the fade stays soft. Hang the canvases so they meet with a small gap — about 1/2 inch — centered behind the sofa. Add a single matching throw pillow color and keep the rest neutral.
Painted gradients are expensive when you buy them, but you can fake the look with two affordable canvases. I used a deep blue-gray and blended it with a lighter base so the color fades softly toward the center. The effect makes the sofa look like it has depth behind it, which is the whole point of a back wall design. It flatters dark furniture by adding a cooler tone and keeps light sofas from looking washed out. Choose a gradient that matches one pillow color so it feels coordinated.
AvoidAvoid hard color edges; they read like a blocky craft project.
Good to knowUse a foam roller for the base coat so the background is smooth before blending.
11. Monochrome Wallpaper Mural in a Single Panel
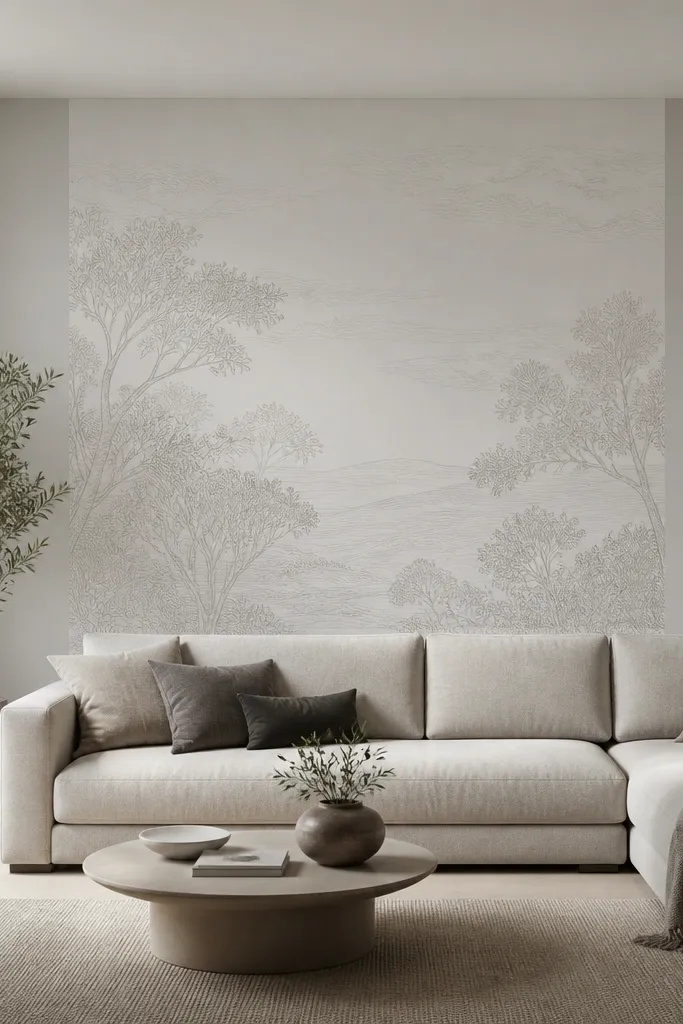
A mural works when it’s sized like furniture, not like a random accent wall. I used a monochrome mural roll and trimmed it to a panel that matches the sofa width so the pattern feels like it belongs there. The monochrome palette keeps it from competing with pillows and keeps it budget-friendly because you don’t need multiple rolls. It flatters busy living rooms because the design is controlled and repeatable. If your sofa has a warm undertone, use a mural that leans warm gray, not icy blue.
Start by painting the wall around the mural in a close match so the edges don’t look like tape lines. Measure the sofa width and pick a mural panel height that lands the top around 66-68 inches from the floor. Apply wallpaper carefully with a smoothing tool, then trim the edges with a sharp blade. Install a thin frame trim around it if the product doesn’t already have a border. Style with one or two solid pillows in the mural’s darker tone so the wall and sofa connect.
Keep the mural matte. Gloss makes line art look cheap and glarey.
Avoid murals that run too high; if the pattern goes above eye level, it stops feeling intentional.
12. Pegboard Accent Wall with Painted Back Panel
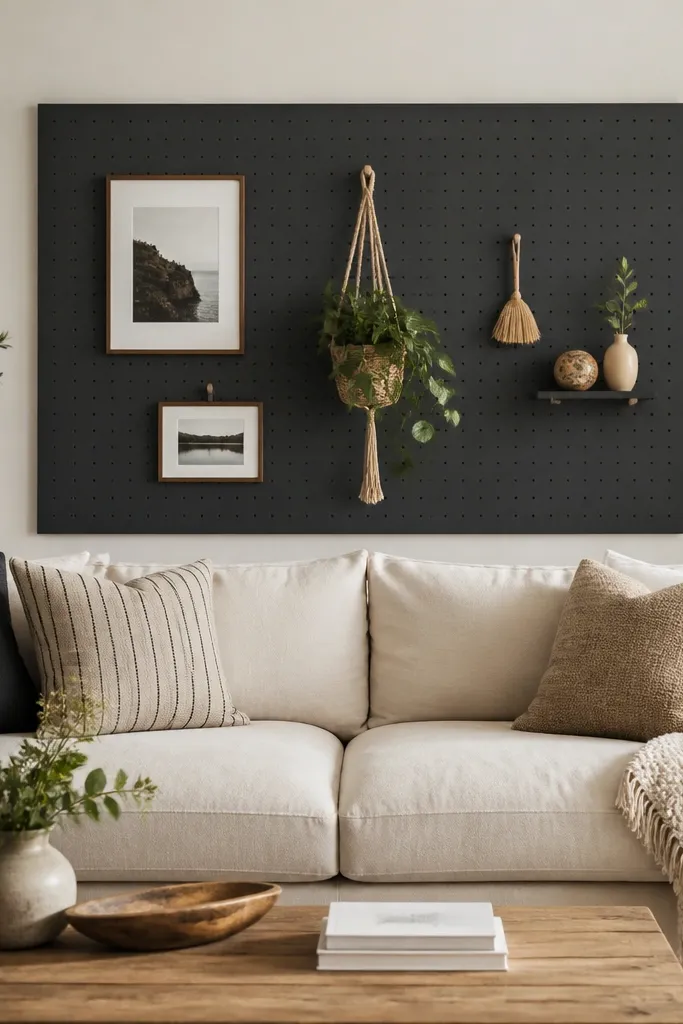
Start by sizing the pegboard panel to the sofa width minus 2-6 inches so you don’t cover the whole wall. Paint the pegboard before installation if you can — it’s easier to reach all the holes. Mount it level using wall anchors, then add a thin border trim if you want it to look finished. Style by hanging two frames, one plant hanger, and one small tray so you don’t clutter. Finish by placing a single tall floor lamp or sconce nearby so the pegboard grid is visible.
Pegboard isn’t just for garages. When you paint it and keep the styling tight, it looks like a design wall. I used a charcoal pegboard with a clean border, then added a couple of frames and a small wall plant to keep it airy. It flatters modern sofas because it adds function and a grid order behind the softness of cushions. If your sofa is neutral, the dark pegboard gives contrast without adding loud color. If your sofa is already dark, keep the pegboard one shade lighter so it doesn’t swallow the wall.
AvoidAvoid hanging too many items; pegboard looks best with a small set.
Good to knowUse picture hooks with a locking clip so frames don’t tilt over time.
13. Rope-Tied Macrame Panel with Ceiling Rod
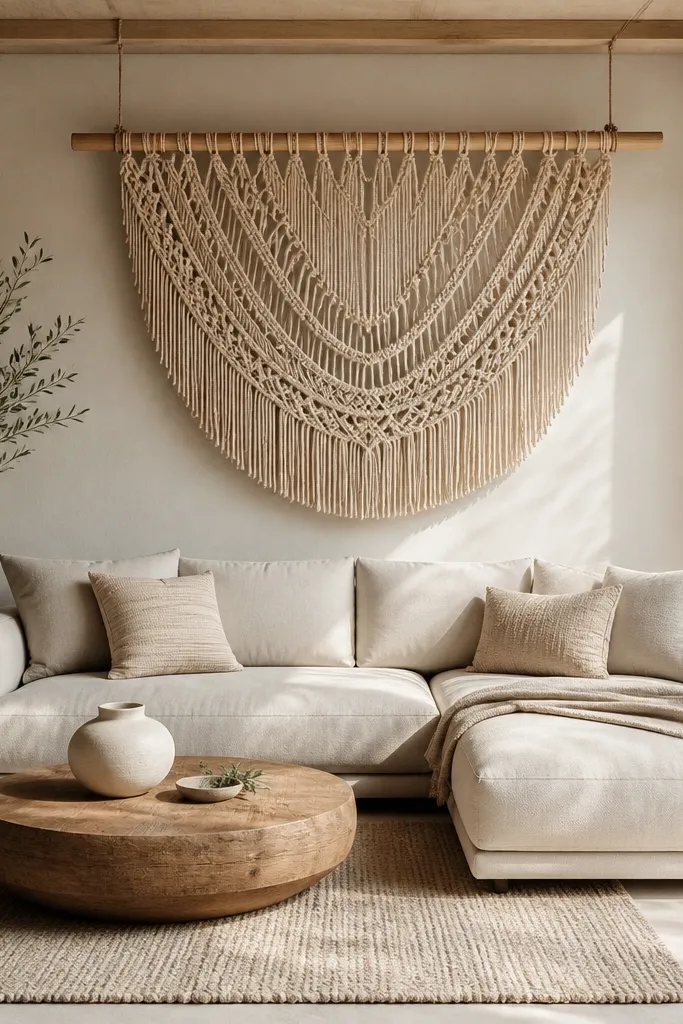
Macrame behind a sofa makes the wall feel soft and handmade without needing wall art frames. I use natural rope panels in a warm beige and hang them centered so the bottom edge lines up with the sofa back. It flatters casual, boho, and even modern minimal rooms because the texture adds warmth without bright color. If your sofa is white or cream, this gives contrast that still feels cozy. If your sofa is dark, choose a slightly lighter rope so the wall doesn’t feel heavy.
Start by measuring the sofa back height and choosing a macrame length that ends around 2-4 inches below the top of the sofa back cushions. Mount a small ceiling rod or two ceiling hooks and run a simple rod across for a clean top line. Tie the panel evenly so both sides hang straight and the center dips slightly. Add one small wall planter or a single framed print near the side, not behind the macrame, so it stays the focal texture. Keep pillows in solids and let the rope do the work.
Use a steamer on the rope panel before hanging to remove creases from shipping.
Avoid overly thick chunky macrame; it can look messy when it sits right behind a sofa.
14. Matte Black Steel Shelf Rail with Line Art
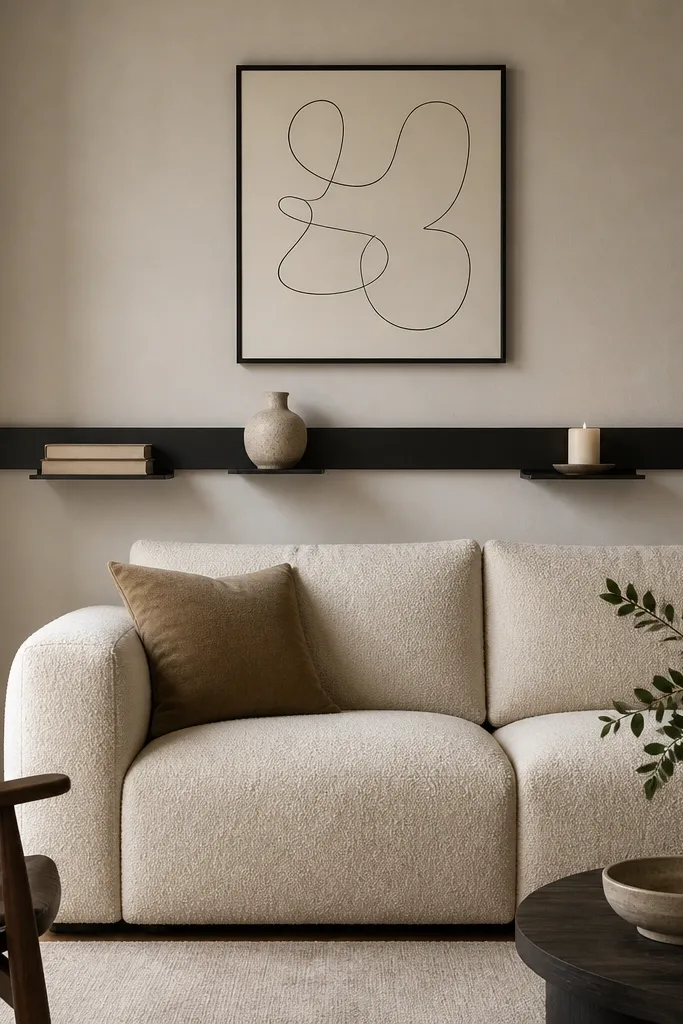
Start by choosing a rail length that matches the sofa width, then install it so it sits above the sofa back by about 2-4 inches. Mount the rail level — I use a bubble level and recheck after tightening. Add two small shelves or brackets depending on your rail system. Style with one tall object, one low object, and one book stack — three items max. Hang one line art print above the rail centered to the sofa so the wall has a top anchor too.
This design has a clean, modern look without expensive built-ins. I used a matte black metal rail system and kept the shelf styling minimal so it reads intentional. The black ties into black legs, black frames, or even dark lamp bases, which matters more than people think. It flatters neutral sofas because the rail adds crisp edges. If your room has lots of warm wood, pair the rail with warm ceramics so it doesn’t feel too industrial.
AvoidAvoid mixing metal finishes like gold brackets; it looks like a parts bin.
Good to knowWipe metal shelves with rubbing alcohol before styling so dust doesn’t grab and smudge.
15. Painted "Shadow Box" Panels with Foam Trim
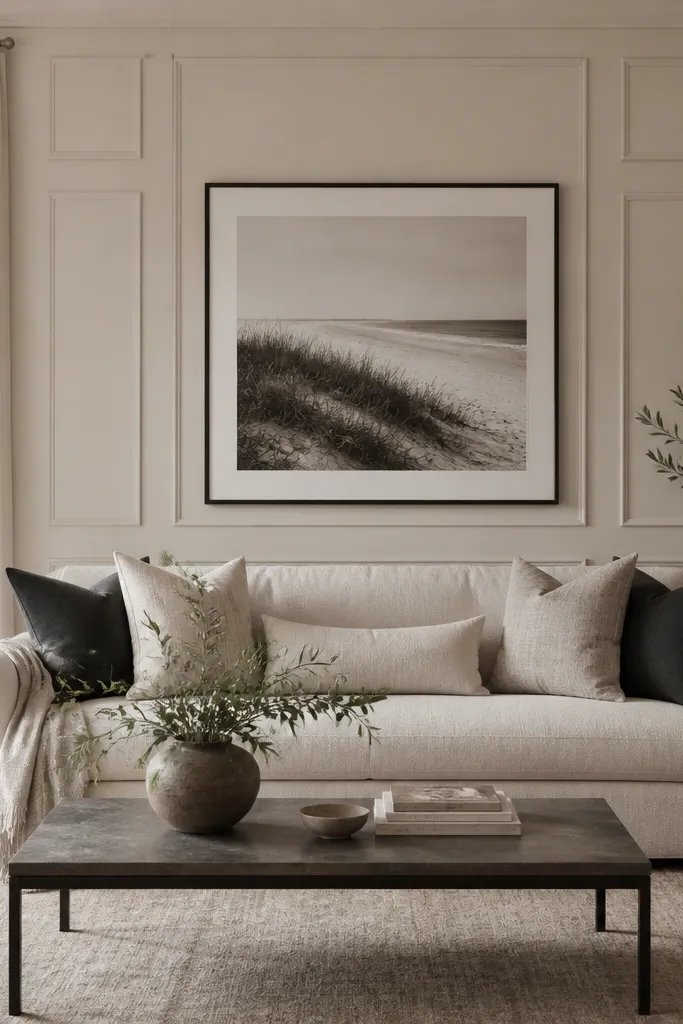
Start by painting the entire wall first in your base color. Then map a simple grid behind the sofa — I do two columns by two rows for many setups. Use foam trim pieces and hot glue or construction adhesive to attach them, then add painter’s caulk in the seams so it looks smooth. Paint the foam trim in the darker shade, using a foam roller to avoid brush marks. Install one centered frame above or keep the top area clean so the panel grid is the feature.
Raised foam trim is one of those budget tricks that looks way more expensive once it’s painted. I used 1-inch foam trim strips, cut into rectangles, and painted them in a shade darker than the wall so shadows show up without loud contrast. It flatters almost every sofa because it’s calm and dimensional. If your sofa has tufting or a lot of seams, this keeps the wall pattern from becoming too busy. For light walls, go one shade darker; for dark walls, go one shade lighter so the shadow still reads.
AvoidAvoid thick caulk blobs; they create bumps that catch light.
Good to knowPress a straight metal ruler along edges while the caulk sets so lines stay crisp.
16. Oversized Fabric-Wrapped Bulletin Board
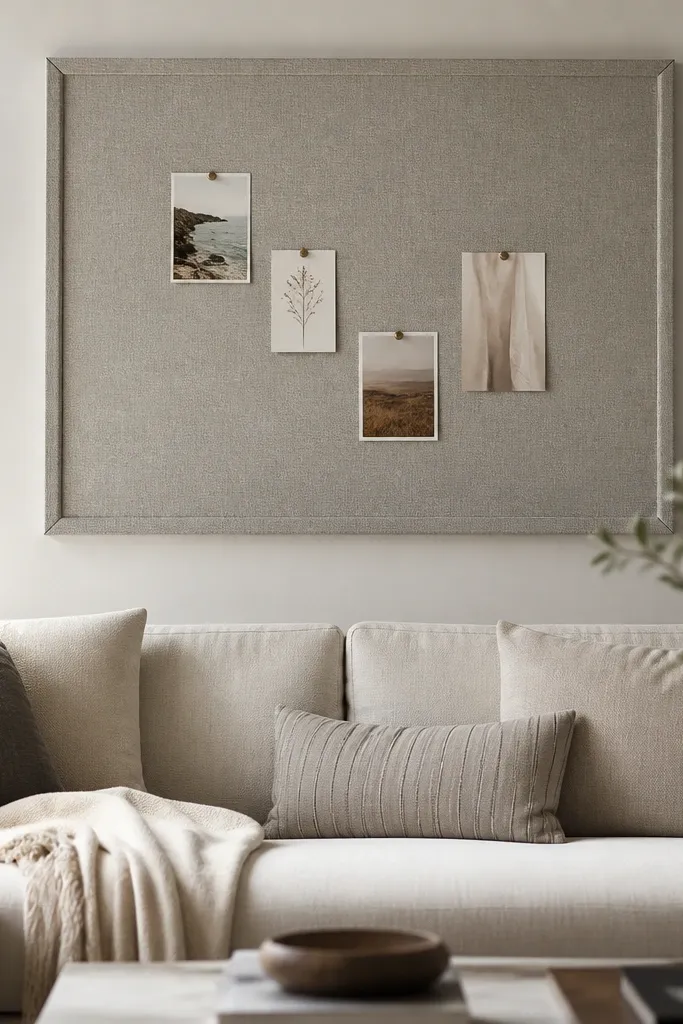
This is the design I do when I want function and soft texture in the same spot. I wrapped a cork board or foam backing with linen-look fabric and added a thin wood frame around it. The result looks like a padded wall panel, not a bulletin board. It flatters sofas with lots of pillows because it gives you a calm “background” that absorbs visual noise. It also works if you like changing seasonal decor — you can pin small pieces without redoing the wall.
Start by buying a cork board or foam panel sized to the sofa width minus 6-10 inches. Wrap it tightly with fabric, pulling taut and stapling on the back, then build a simple frame with thin wood strips. Mount the finished piece with heavy-duty wall anchors so it sits level behind the sofa. Add 2-4 small pinned items — a photo, a small print, and one fabric tag — so it stays curated. Style the sofa with one pillow color that matches the fabric undertone.
Choose a fabric with a visible weave; smooth fabric shows wrinkles and looks cheap.
Avoid using slippery satin fabric; it puckers when you stretch it.
17. One Big Mirror with a DIY Wood Frame
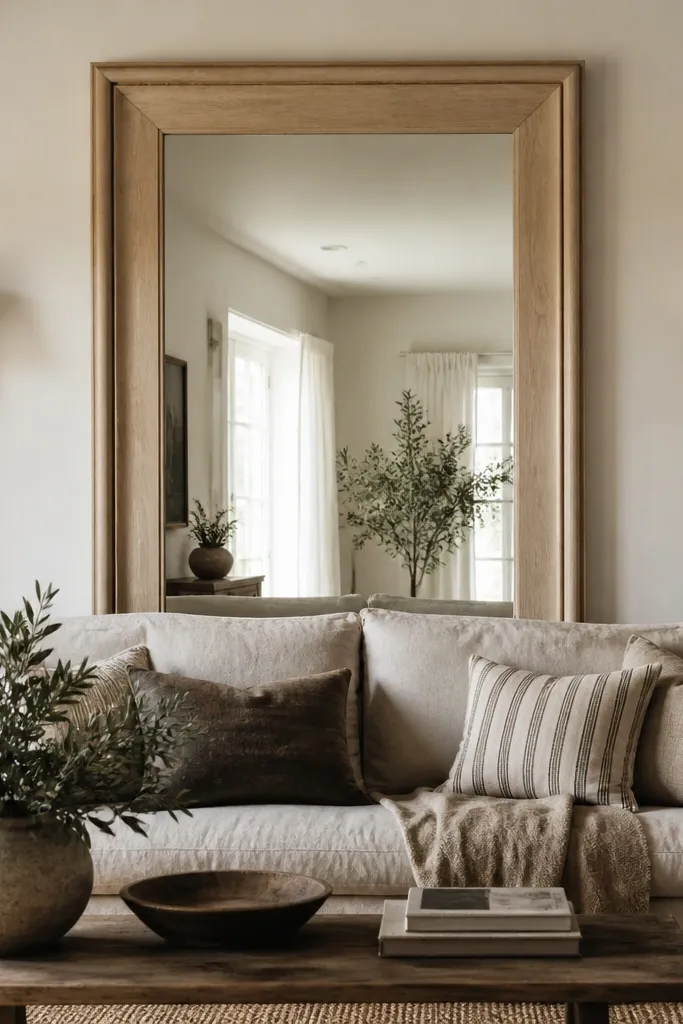
Start by choosing mirror size so the bottom edge sits about 8-12 inches above the sofa seat line. Build a frame that’s 2-3 inches wide to look substantial. Sand, then stain or paint, and let it dry fully before mounting. Mount with mirror-safe clips so the mirror doesn’t rely on adhesive alone. Keep the wall around it simple so the mirror doesn’t look like it’s floating in a busy feature wall. Add two matching small lights or decor pieces on either side if you want symmetry.
Mirrors make a budget wall feel bigger fast, and the right frame makes it look like custom furniture. I used a plain large mirror and built a simple frame from 1x3 boards, then stained it medium oak or painted it warm white. The mirror reflects the room and adds depth behind the sofa without needing texture or pattern. It flatters small living rooms and narrow spaces because it visually widens the wall area. If your sofa has warm tones, use warm stain; if your sofa is cool gray, use painted frame with a cool undertone.
AvoidAvoid frames that are too thin; they look like a dollar-store add-on.
Good to knowUse mirror clips and level twice. A slightly tilted mirror shows immediately in photos.
18. Gallery Rail with 3 Wide Canvases
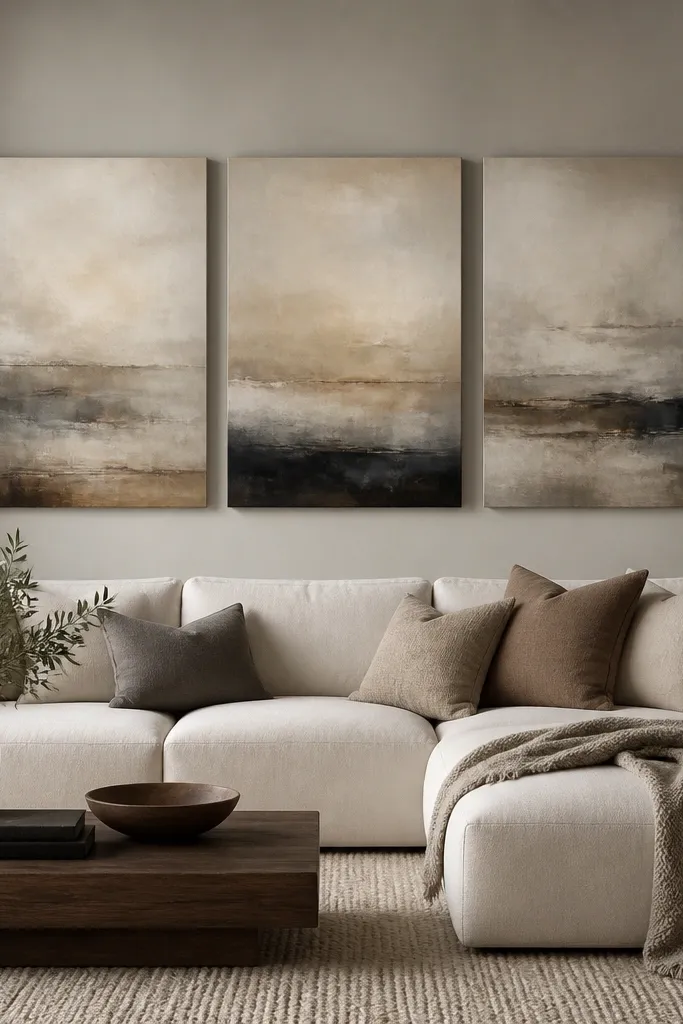
Wide canvases give you a “built-in” feeling because they cover a big chunk of wall like furniture does. I did this with three canvases in the same color family — warm sand, soft taupe, and charcoal line accents — and it made the sofa look styled without adding a lot of objects. This works especially well when your sofa back is tall because wide art fills that space. It flatters dark sofas by adding lighter tones across the wall and it flatters light sofas by adding contrast lines. Keep the palette tight so it still reads cohesive on a budget.
Start by measuring the sofa width and choosing a combined canvas width that’s about 80-95% of that measurement. Hang the canvases so the center of the middle canvas lands around 60 inches from the floor. Use a consistent spacing gap between canvases — I aim for 1-2 inches. If you’re using a rail system, install the rail level and hang all three using the same height hooks. Style with two solid pillows that match the canvases' darkest and lightest tones.
Matte varnish on top of canvases reduces glare from overhead lighting.
Avoid mixing canvas sizes wildly; one off-size piece makes the whole row feel accidental.
19. Horizontal Fabric Panel with Contrast Stitch
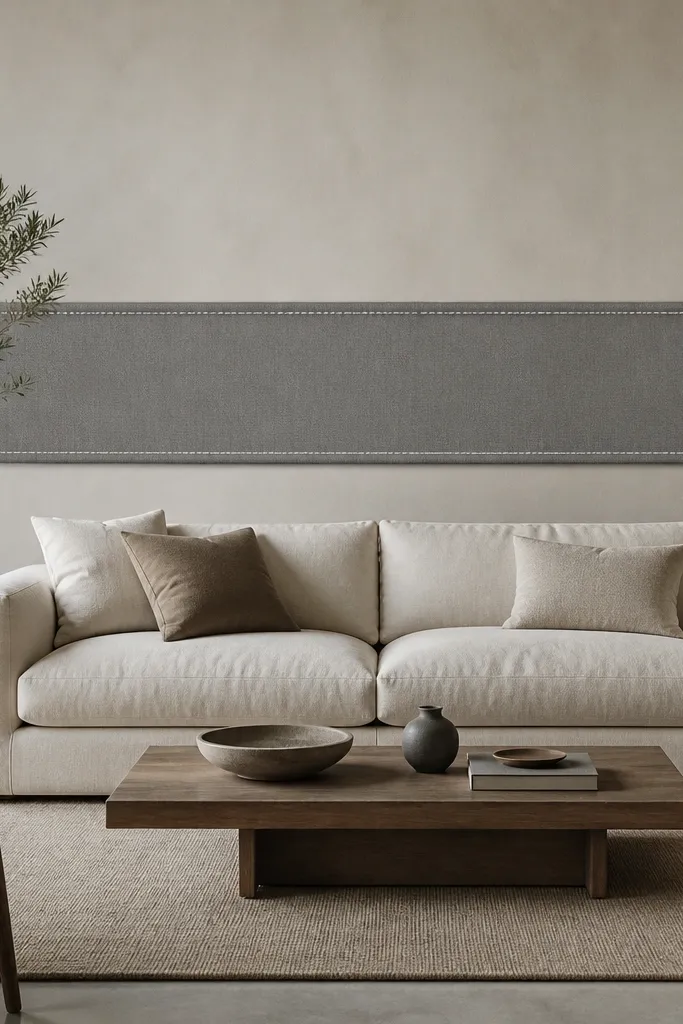
Start by building a simple backing board sized to the sofa width minus 4-6 inches. Stretch fabric over the board tightly and staple on the back, then add trim around the edges. Mount the panel so its top edge sits about level with the sofa back cushion top or slightly above — I like 2-4 inches above. Choose contrast thread or piping along the edge if you want that tailored look. Style with one throw and two pillows in solid tones that match the panel fabric — no busy patterns competing with the stitch.
A horizontal upholstered band is a trick I learned the hard way after buying the wrong tall art. It looks intentional because it lines up with how your eye reads the sofa seat line — left to right. I used a thick upholstery fabric like cotton canvas and stretched it over a simple backing panel, then added trim so it looks framed. It flatters both modern and classic rooms because it’s basically “soft trim.” If your sofa is low, this keeps the wall from looking empty; if your sofa is tall, it balances the vertical mass with a grounded horizontal line.
AvoidAvoid thin curtains as a “panel.” They look like window fabric pasted onto a wall.
Good to knowUse fabric that doesn’t fray easily. Fraying edges show fast along the trim seam.
20. Rattan Woven Screen Behind Sofa
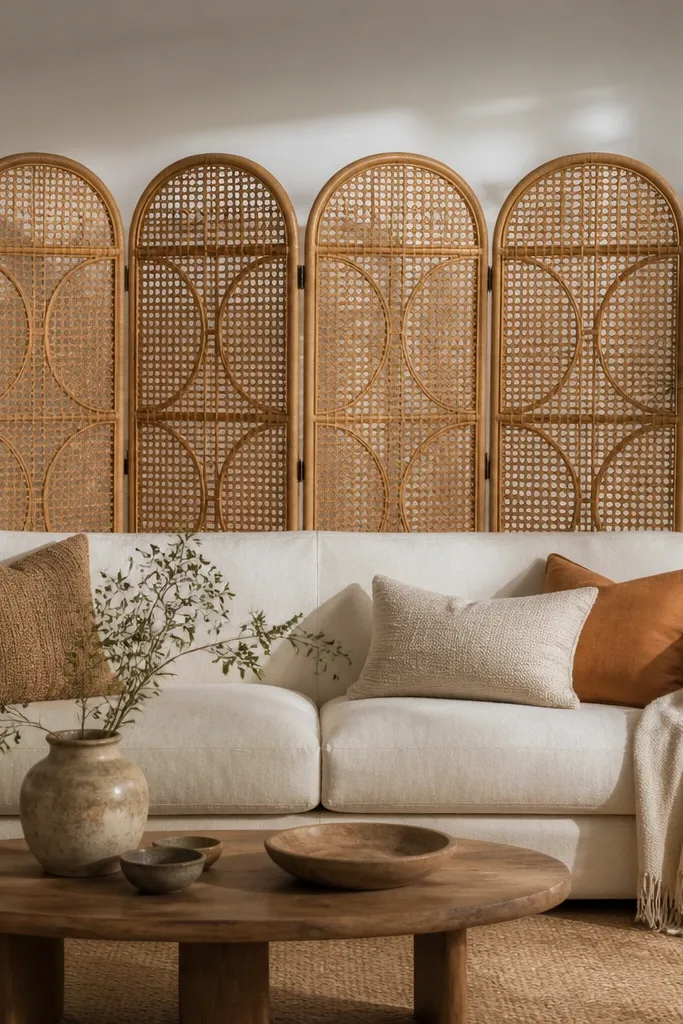
Start by measuring the sofa width and choosing a screen that’s slightly wider, so it covers the empty wall area on both sides. Place the screen 2-6 inches behind the sofa so you get a shadow gap without bumping into the back cushions. Center it to the sofa and straighten the vertical lines using a level. If the screen is too tall, trim the visual height by adding a large art piece above so your eye stops at the art. Style the sofa with natural fibers like a jute throw or a linen pillow to keep the look cohesive.
A woven screen gives you instant pattern and shadow without drilling into the wall. I’ve used rattan and cane screens behind sofas when I needed a non-permanent solution. The weave creates a textured backdrop that flatters both light and dark sofas because the pattern sits in the mid-tone range. It’s especially good for renters because you can move it if you rearrange. If you have kids or pets, rattan looks forgiving because scuffs blend into the weave.
AvoidAvoid screens that are too flimsy; they wobble and ruin the “intentional” look.
Good to knowAdd felt pads at the screen feet so it doesn’t scratch floors and so it stays stable.