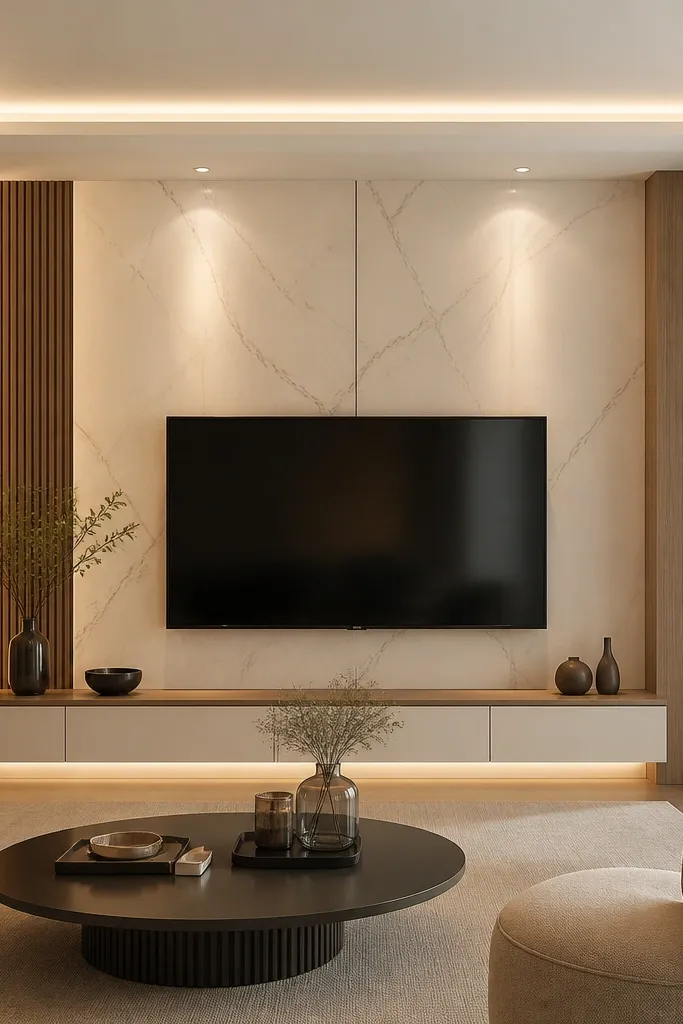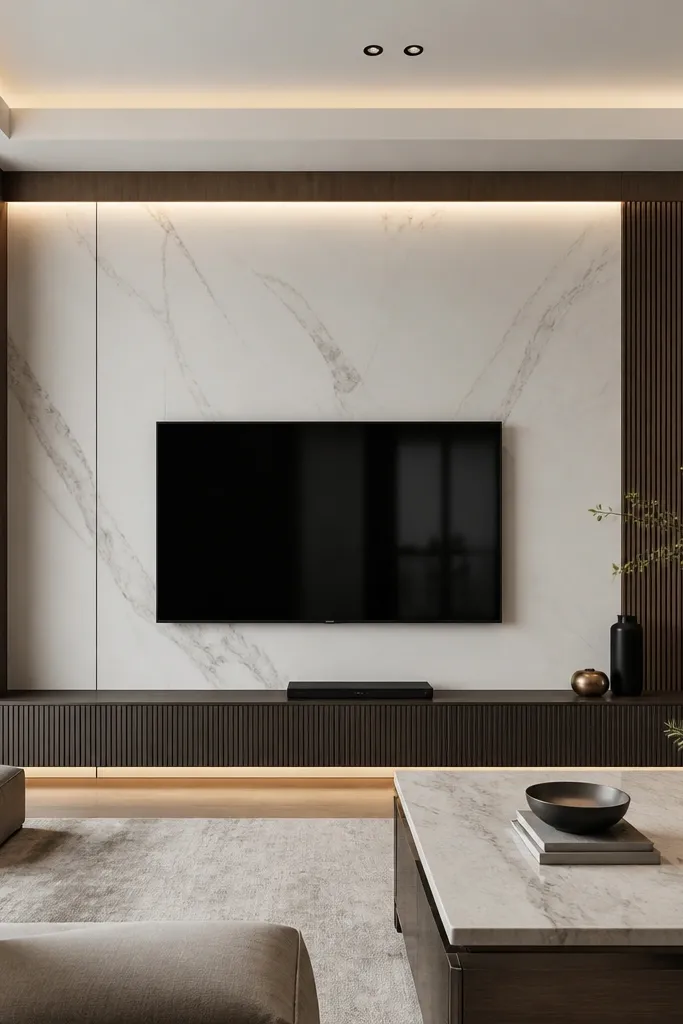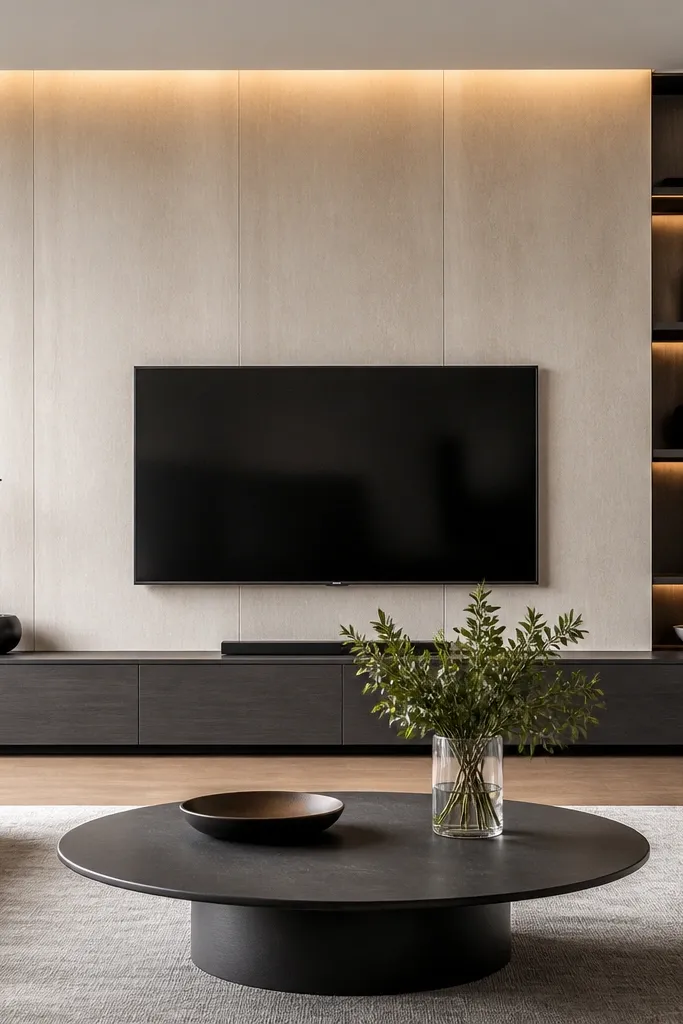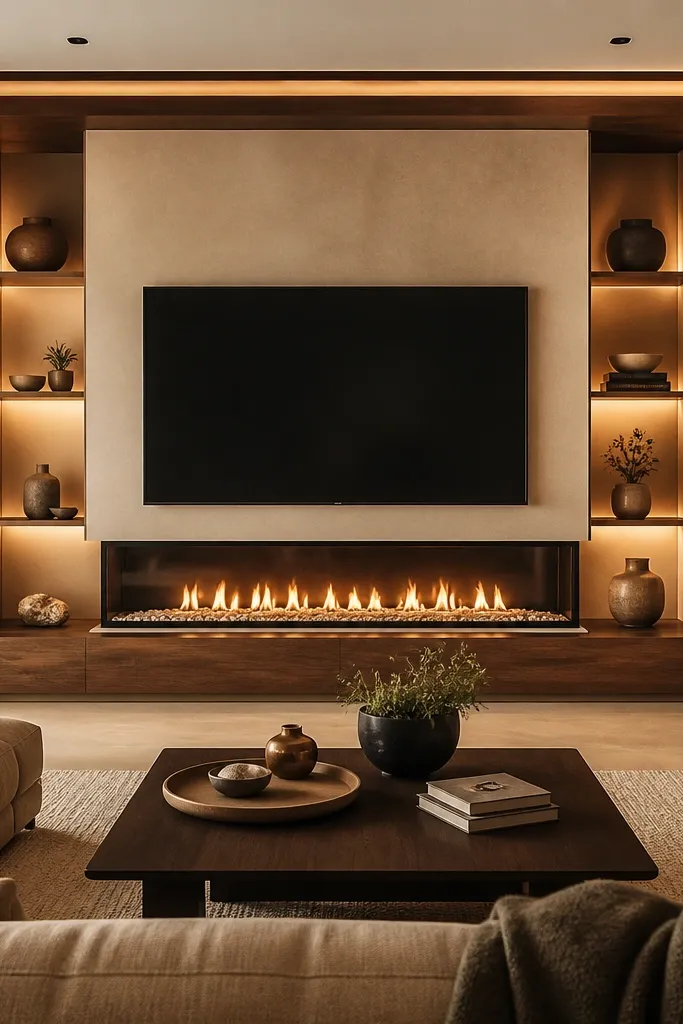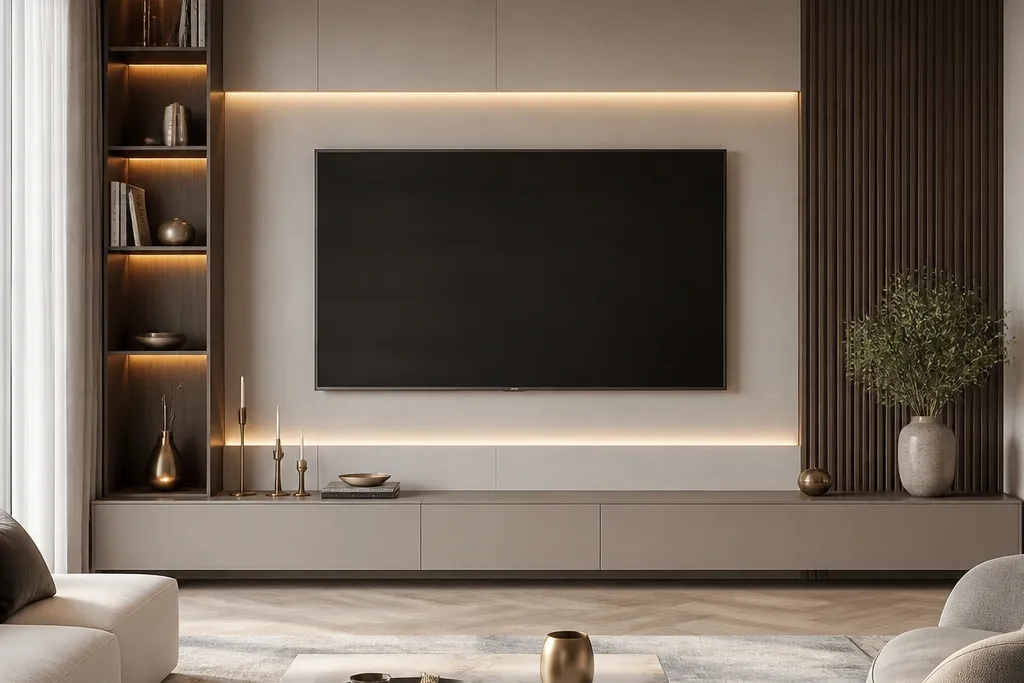
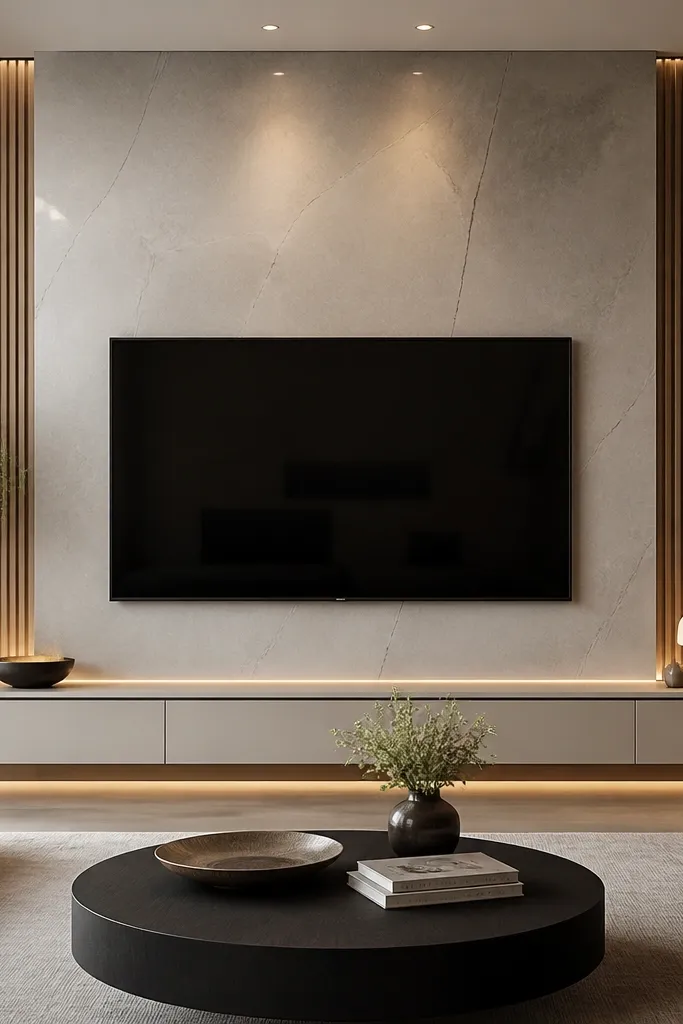
1. Picture-Frame Trim Wall With Hidden LED Edge
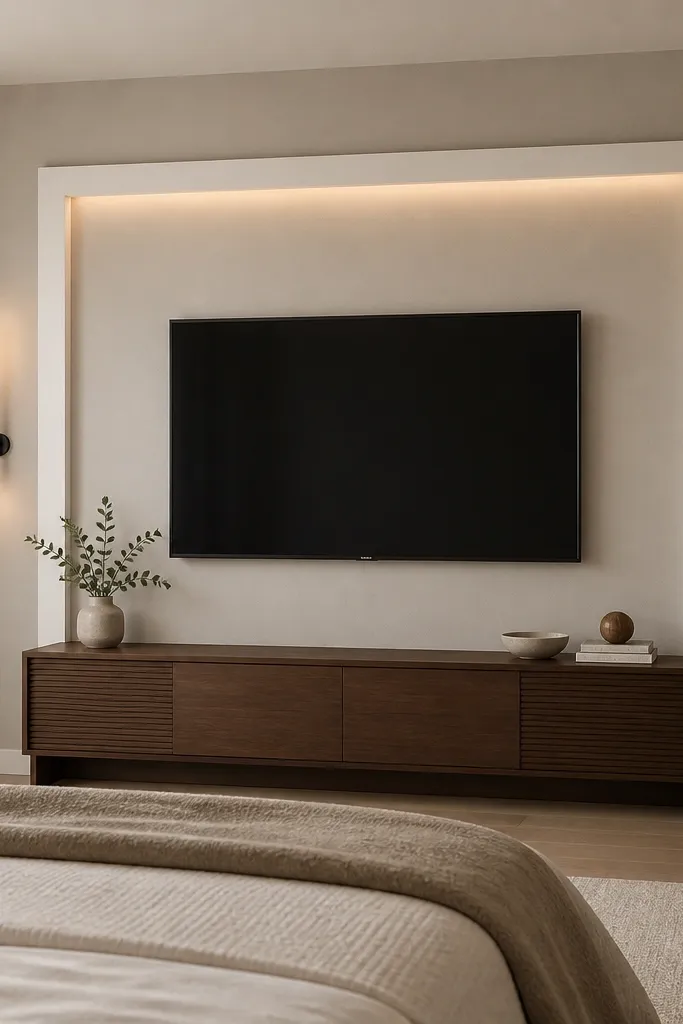
I like this look because it makes the TV feel like a piece of furniture, not a black box taped to drywall. The frame is flat and crisp, so it reads modern luxury even in a small bedroom. Use a warm white trim (not bright school-white) and pair it with a warm wood console like walnut or dark oak. If your skin tone runs warm (golden undertones), this combo flatters it in the space because the wall is creamy, not icy. The styling principle is repetition: the same trim line shows up in the TV border and the console’s hardware so everything looks planned.
Start by measuring your TV width and height, then mark a rectangle with a 1-inch reveal around the TV on all sides. Cut MDF trim to match the rectangle, and dry-fit before fastening so corners sit tight. Install the trim with a small finish nail and wood glue, then fill seams with spackle and sand smooth. Paint the whole framed area in eggshell (I use Benjamin Moore White Dove mixed to a soft warm white) so it doesn’t glare. Finally, place an LED strip behind the inner top edge, run the wire to a hidden channel, and style the console with one tall object on each side plus a low tray in the middle.
Good to knowUse 2700K LED and dimmer control — the warm glow is the luxury part, not the brightness.
AvoidAvoid bright glossy paint on the frame; it reflects light and makes the trim look cheap.
2. Arched Panel Back Wall With Built-In Look
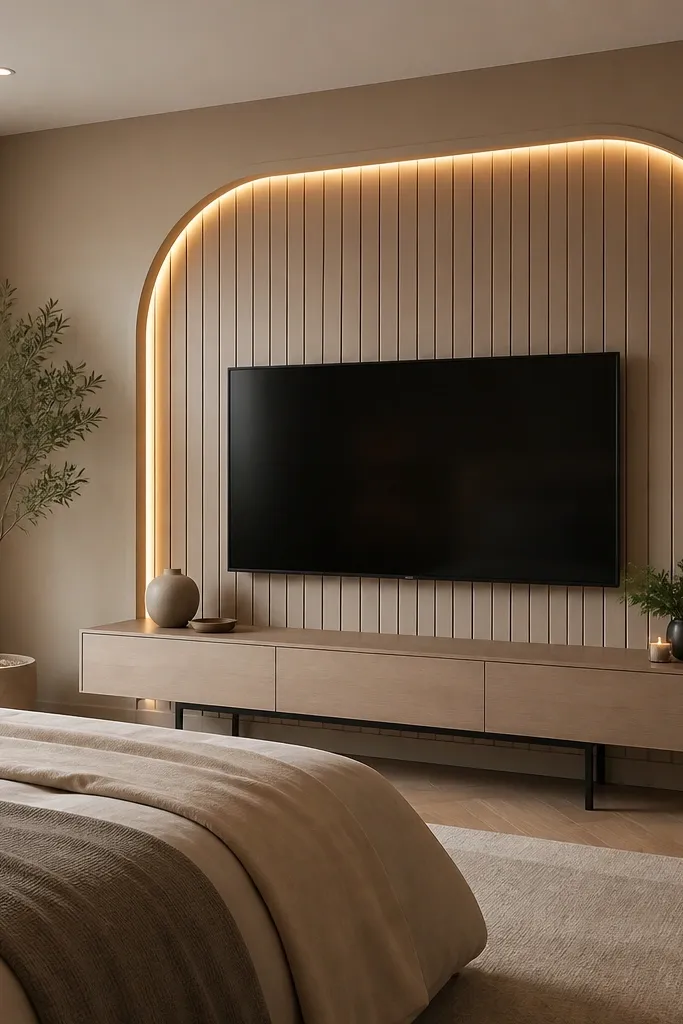
This is the design I use when a room feels too straight-lined and you want softness without going fully traditional. The arched panel gives the TV a focal shape, and the slat texture adds depth that reads expensive in photos and in real life. A matte warm taupe wall keeps the arch from looking like a painted prop. If you have cooler undertones in your skin or your lighting is a bit blue, taupe balances it better than greige. The principle is shape hierarchy: the arch is the main statement, so keep everything else clean and minimal.
Start by choosing an arch width that is about 6-10 inches wider than the TV on each side, so the shape doesn’t feel cramped. Build the panel using 1x2 MDF slats spaced about 1/8 inch apart, then glue and nail them onto a backing board. Cut the top into an arch template so both sides match, and sand the edges flush. Paint everything in matte or eggshell taupe, then caulk the seam lines for a built-in look. For styling, place the TV center under the arch and use a console with straight lines; add only two accent pieces — a textured ceramic on the left and a framed photo or slim mirror on the right.
Good to knowMake the arch panel depth at least 1/2 inch so shadows show even when lights are off.
AvoidSkip busy patterns on the console or rug; the arch already supplies the texture.
3. Tongue-And-Groove Accent Wall Behind TV
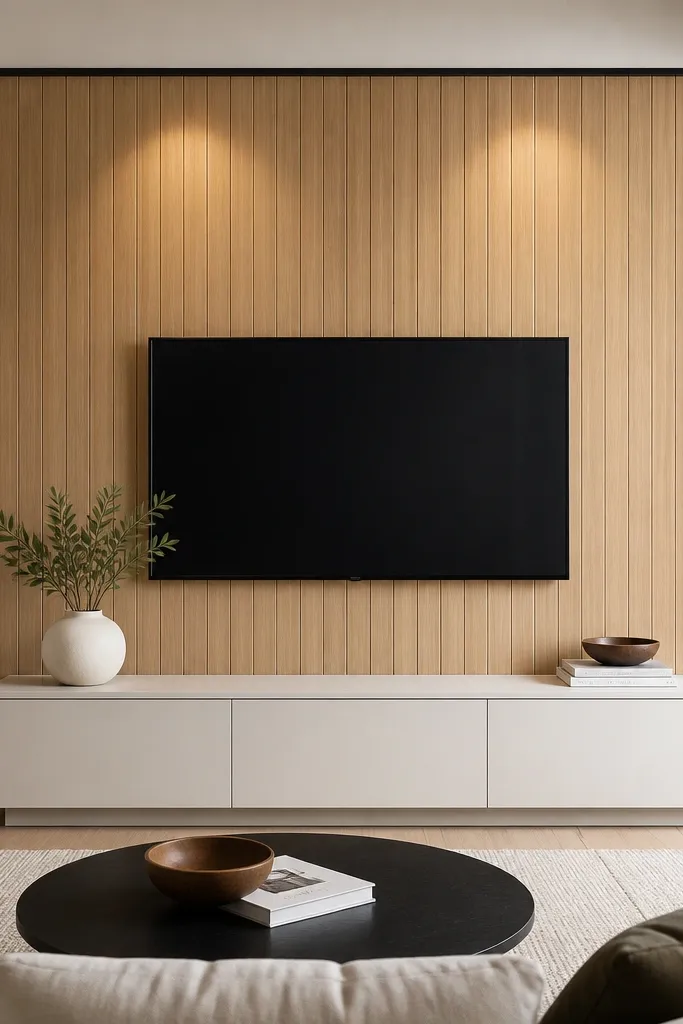
Vertical tongue-and-groove makes the wall feel custom because the texture is real, not printed. It’s also forgiving if your wall isn’t perfectly flat; the paneling creates its own order. Light oak keeps the room bright and makes the TV look warmer against the wood. If your bedroom furniture is white or cream, this paneling makes it feel less sterile without going dark. The luxury principle is tactile contrast: smooth TV screen + matte wood grooves + minimal hardware.
Start by marking a level rectangle behind the TV, then install tongue-and-groove boards horizontally or vertically — I prefer vertical because it lifts the eye in bedrooms. Use a gap of about 1/4 inch at the edges if you’re using real wood so it can react to humidity. Nail or screw the boards to furring strips, then fill nail holes and sand lightly. Finish with a matte clear coat or a warm oak stain, then add a thin trim border around the panel area for a clean cut line. Style the console with one long item like a black ceramic vase and one short stack of books tied with a thin ribbon or leather strip.
Use a clear matte topcoat; glossy wood makes the grooves look dusty fast.
Don’t paint the grooves white if your room has cool daylight — it can look chalky.
4. Wallpaper Medallion TV Zone With Floating Shelves
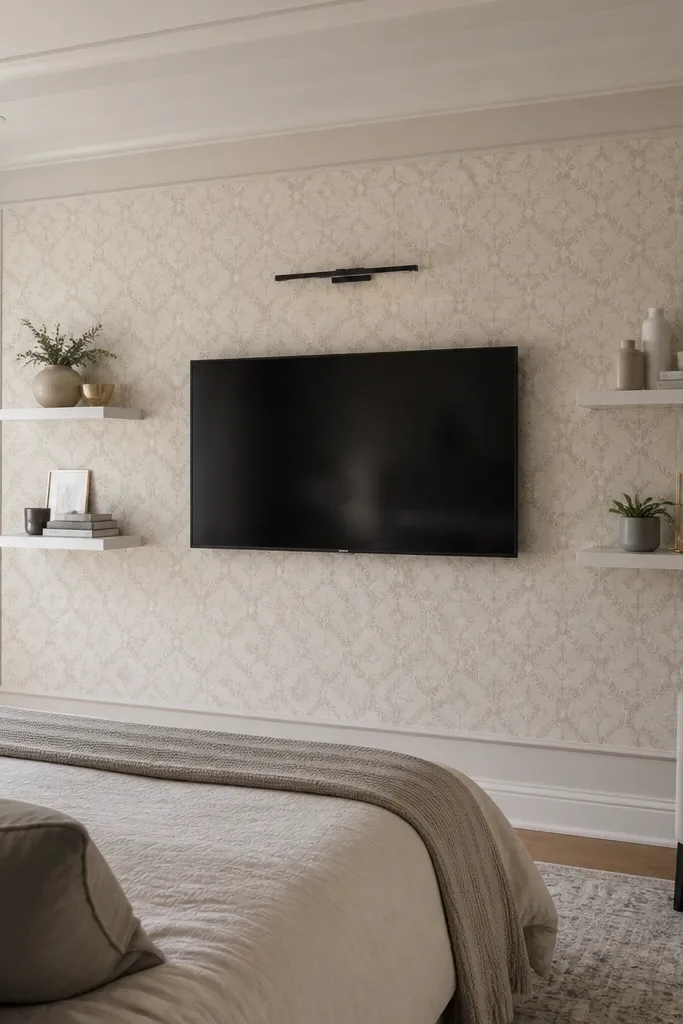
Wallpaper is the fastest way to make a TV wall feel designed, and medallion patterns look expensive because they add complexity without needing extra furniture. I like creating a “TV zone” by applying wallpaper only behind and around the screen area, then finishing it with a simple frame trim. Cream wallpaper with taupe pattern reads luxury because it’s soft and not loud. If your bedroom has warm lighting and beige bedding, this combo keeps everything cohesive. The principle is controlled pattern: one pattern zone, then quiet shelves and decor.
Start by determining your TV width, then cut your wallpaper panel so it extends 8-12 inches beyond the TV on each side and about 10 inches above the TV top. Apply the wallpaper carefully with a level line, and smooth out bubbles with a plastic smoothing tool. Once dry, add 1-inch trim molding around the wallpaper zone so edges look intentional. Mount a pair of floating shelves only on one side if you want a cleaner look, or place two shelves symmetrically if you have space. Mount a slim picture light or small wall sconce above the TV to add depth; then style the shelves with one object per shelf and keep the tallest item under the TV frame line.
Use painter’s tape to mark your trim outline before wallpaper — it prevents accidental misalignment.
Avoid matching the wallpaper pattern across the entire wall; the TV zone should be the star.
5. Black Slat Feature Wall With Warm Wood Console
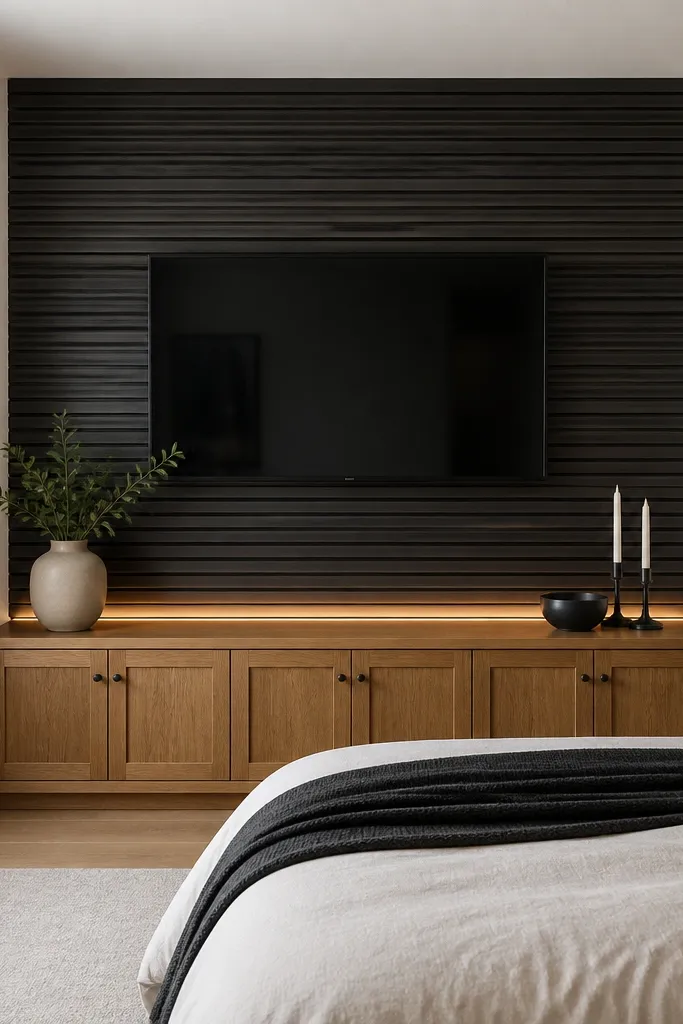
Horizontal slats look architectural, and black slats give you that luxury contrast immediately. Pairing black with warm oak keeps it from feeling too harsh, especially in a bedroom where you want calm. If your bedding is neutral like oatmeal or light gray, this wall makes the whole room feel styled without adding clutter. The luxury principle is contrast management: black is your statement, warm wood is your balance.
Start by building a slat panel that is about 2-3 inches wider than the TV on each side, then mark a straight grid using a laser level. Use 1x2 slats with 1/4-inch spacing so you get shadow lines but not a cluttered look. Paint the slats in matte black (I prefer a matte that isn’t chalky) and seal with a clear topcoat if you want easy wipe-downs. Install the panel onto the wall, then mount the TV on the center line. Add an LED strip behind the bottom edge of the slat panel, hidden in a small channel. Style the console with warm textures: a woven tray and a ceramic lamp base or candle holder in a light stone finish.
Good to knowKeep the TV cables routed through the wall or a raceway painted the same black as the slats.
AvoidDon’t use shiny black; it shows fingerprints and makes the room look neglected.
6. Plaster-Look Limewash Wall With Brass Sconce Glow
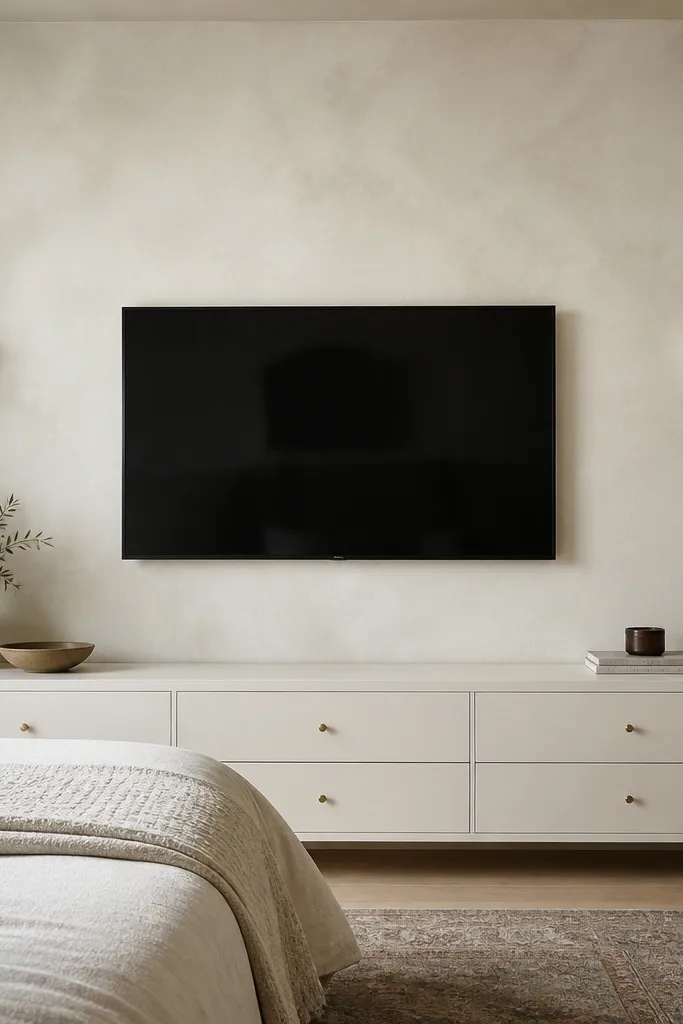
This is luxury that doesn’t shout. Limewash or limewash-style paint gives you that soft, uneven surface that looks expensive in daylight and gorgeous at night. The brass sconces add a warm metal note that flatters both warm and neutral bedding palettes. If your room has white furniture, this wall prevents the whole space from feeling sterile. The principle is texture plus one metal — keep everything else simple so the wall finish does the work.
Start by sanding the wall lightly and priming so the finish goes on evenly. Apply limewash-style paint in thin coats using a wide brush and work in sections, then stop and blend edges before it dries fully. Let it cure, then mount the TV with a standard bracket centered at your measured height. Install two sconces at roughly shoulder height when seated, about 10-12 inches to the left and right of the TV edge. Choose a low console in white with brass knobs or handles and keep the top mostly clear. Add a small brass tray or a single stone-textured vase on the console so the metal repeats.
Use warm bulbs around 2700K and keep the sconces on dimmers — the mottled wall looks better with softer light.
Avoid heavy contrast art right next to the TV; the wall texture already creates visual movement.
7. Fluted Panel Columns Framing The TV
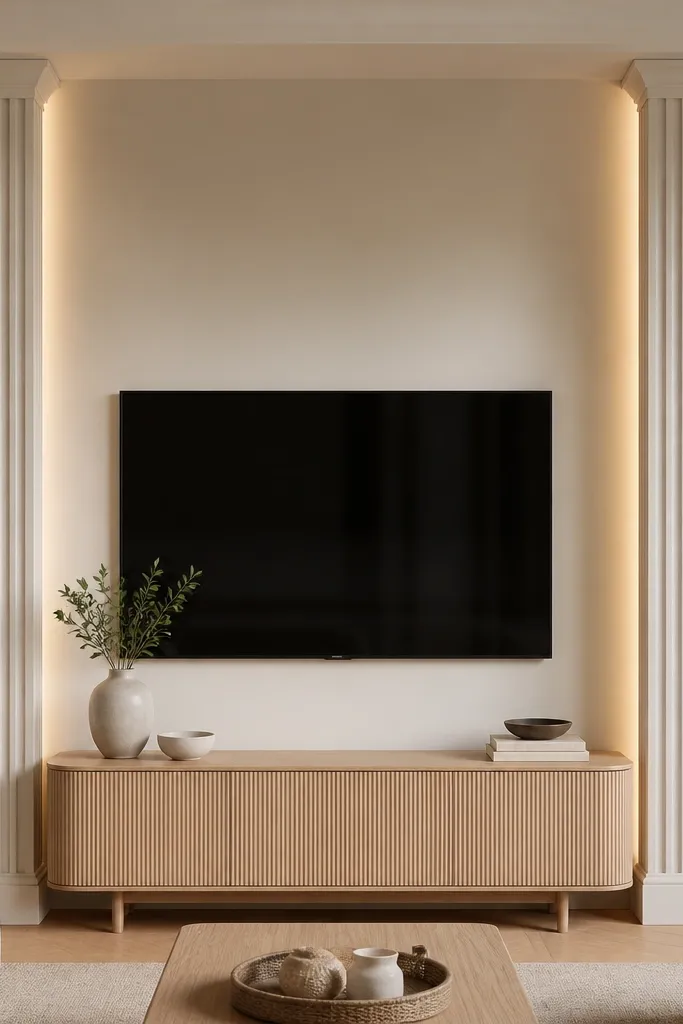
Fluted columns make the TV wall feel like a custom architectural niche. I like them because they frame the screen without covering it in busy patterns, and they photograph cleanly from across the room. Matte cream columns keep the look soft and bedroom-friendly, while the oak console adds warmth so it doesn’t feel like a gallery. If your furniture is already cream or beige, this blends in while still looking intentional. The principle is vertical rhythm: the flutes pull your eye upward and make the whole wall feel taller.
Start by deciding column width — I use about 6-8 inches per column for most bedrooms. Mark where the TV centerline is, then center each column so there’s about 3-5 inches of breathing room between the TV edge and the column inner edge. Build the columns using fluted MDF panel sheets or apply fluted trim to a backing board, then paint in a matte cream. Mount the TV on the wall or a concealed bracket so it sits flush. Add an LED strip behind the top inner edge of each column, tucked so you see glow but not the diode. Style the console with a pair of matching bookends or two candles that mirror each other.
Good to knowIf your columns feel too tall, trim their height by 4-6 inches so the top stops around the TV top line.
AvoidDon’t add a bunch of decor on the console; flutes already bring movement.
8. Slab Look Concrete-Gray Panel With Floating Console
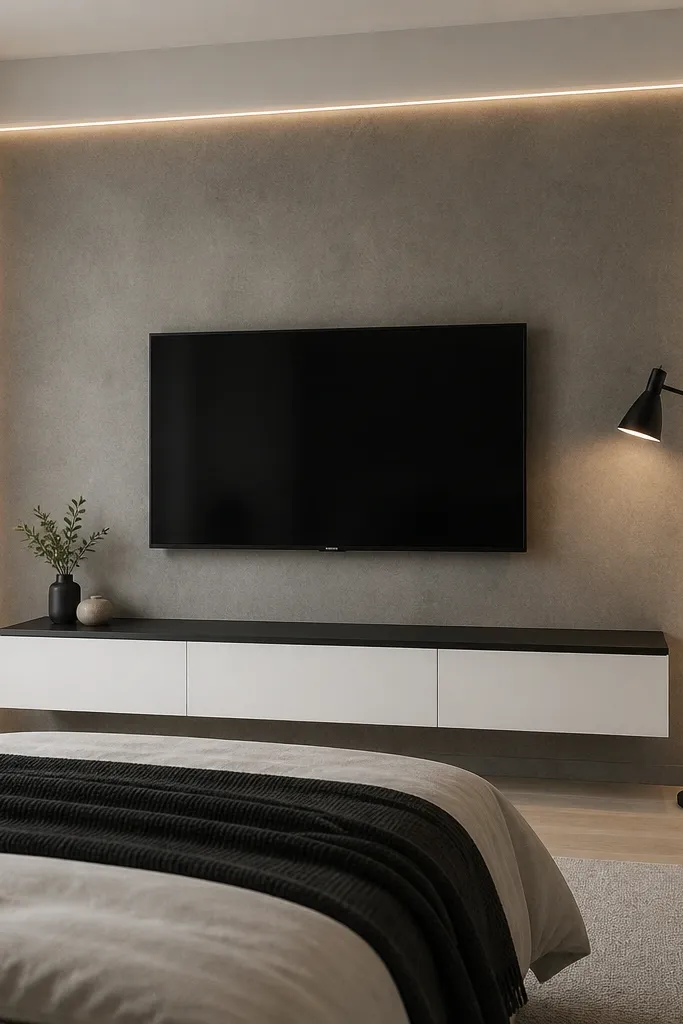
Microcement or concrete-look panels give you that modern luxury vibe with zero clutter. The surface is smooth, so the TV looks crisp and the wall doesn’t compete with your bedding. Concrete-gray works best when the rest of the room is warm (wood floors, cream textiles) because it needs warmth to look inviting. If you have a lot of black accents already, this setup makes them feel intentional. The principle is a single bold surface paired with clean furniture lines.
Start by installing a large panel or peel-and-stick concrete panel behind the TV zone — measure so it extends 6-8 inches past the TV on each side. Seal the panel if the product requires it, then mount the TV using the bracket holes aligned to the studs. Paint the surrounding wall a warm off-white so the concrete doesn’t feel cold. Add a hidden LED strip along the lower edge of the panel so it glows onto the console, not into your eyes. Choose a floating console with a matte white finish and a black top or legs to repeat the gray tone. Style with one low tray and one tall plant or branch in a thin vase.
Wipe the panel with a dry microfiber cloth; concrete textures show smudges fast.
Avoid glossy concrete-look finishes; they reflect the room lights and look plasticky.
9. Mirror-Back TV Wall With Soft Backlighting
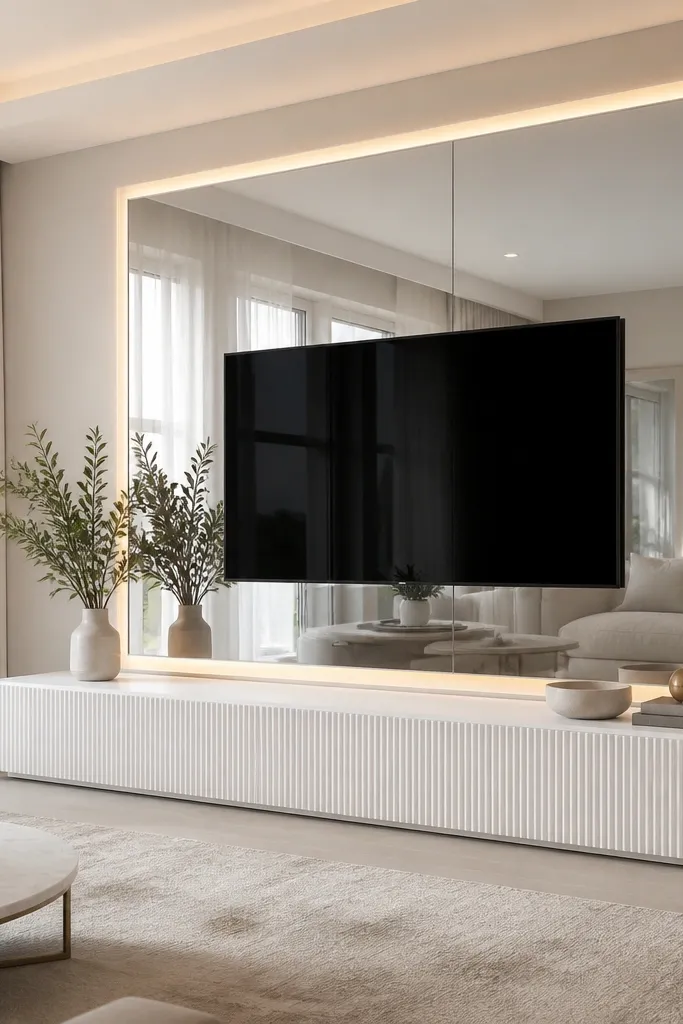
A mirror-back TV wall sounds dramatic, but it’s actually a practical luxury trick in small bedrooms. It bounces light and makes the TV zone look bigger even when the room is tight. I prefer a clear mirror with warm lighting because it feels softer than silver-heavy mirror finishes. If your bedroom is on the darker side or has one window, this setup makes the wall feel brighter without adding more furniture. The principle is light control: mirror reflects, LED warms, decor stays minimal.
Start by measuring the TV zone and selecting a mirror panel that extends at least 6 inches beyond the TV on each side. Install the mirror with mirror-safe adhesive or clips, and use a protective backing if your TV bracket needs drilling. Mount the TV on studs, not the mirror — plan the bracket so it sits centered within the mirror area. Add warm LED strips behind the mirror perimeter using a channel so the light spreads evenly. Keep the console simple: white or light wood with minimal hardware. Place one low decor piece on each side only if the reflection looks cluttered; otherwise keep the center empty for a clean look.
Use a dimmer and aim for 2700K so the mirror glow looks like a boutique hotel, not a stage light.
Don’t put a bright overhead light directly above the TV; it creates glare across the screen.
10. Wood Slab Shadow-Gap Wall With Oversized Frame
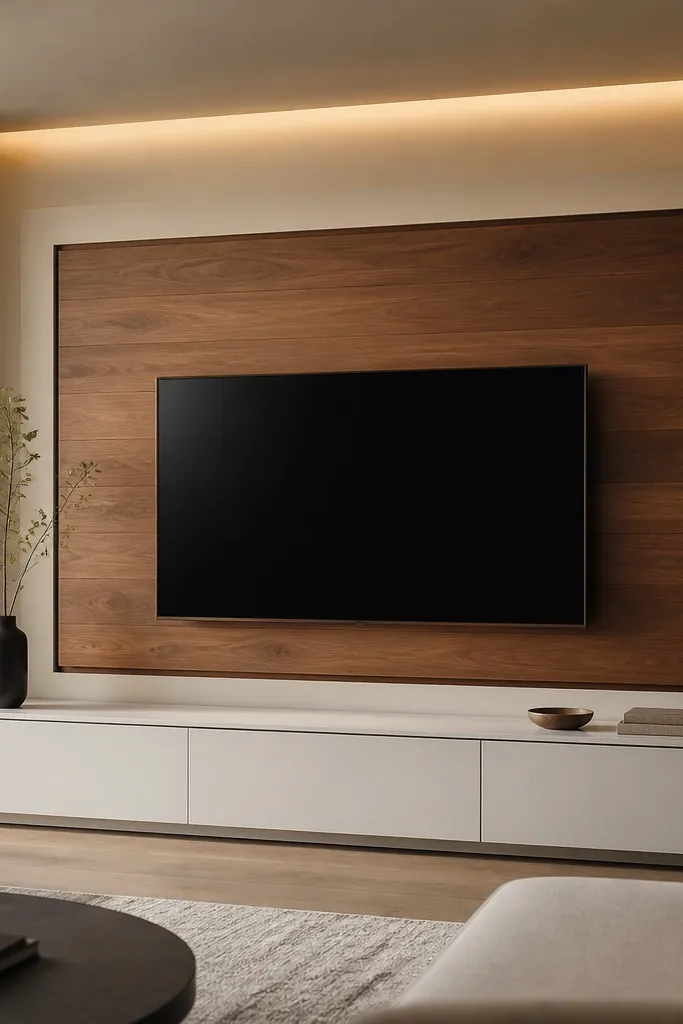
Shadow gaps are the cheat code for luxury because they create depth even when the room is simple. This design looks like a built-in because the wood panel sits inside a frame with a visible line. Walnut adds richness without making the room feel heavy if you keep the rest light. For bedrooms with white bedding and light curtains, the walnut slab gives warmth where it matters. The principle is separation: the shadow gap tells your eye that the wall was built, not patched.
Start by deciding your frame size — make the outer border about 10-12 inches wider than the TV on each side. Install a flat painted border (soft white or warm greige) first, then create the shadow gap by using spacer strips or a small backer that leaves a 1/2-inch inset. Mount the walnut slab panel inside the inset, keeping the edges aligned so the shadow line is even. Sand and matte-finish the wood so it doesn’t glare. Install a hidden LED strip in the top border so light hits the wood edge, not the TV. Style the console with one long piece like a driftwood tray and keep cables hidden in a back channel.
Good to knowMeasure the shadow gap width with a caliper or ruler and keep it consistent; uneven gaps ruin the effect.
AvoidAvoid thin veneer with a shiny finish; cheap-looking reflection kills the premium look.
11. Two-Tone Built-In Look With Upper Niches
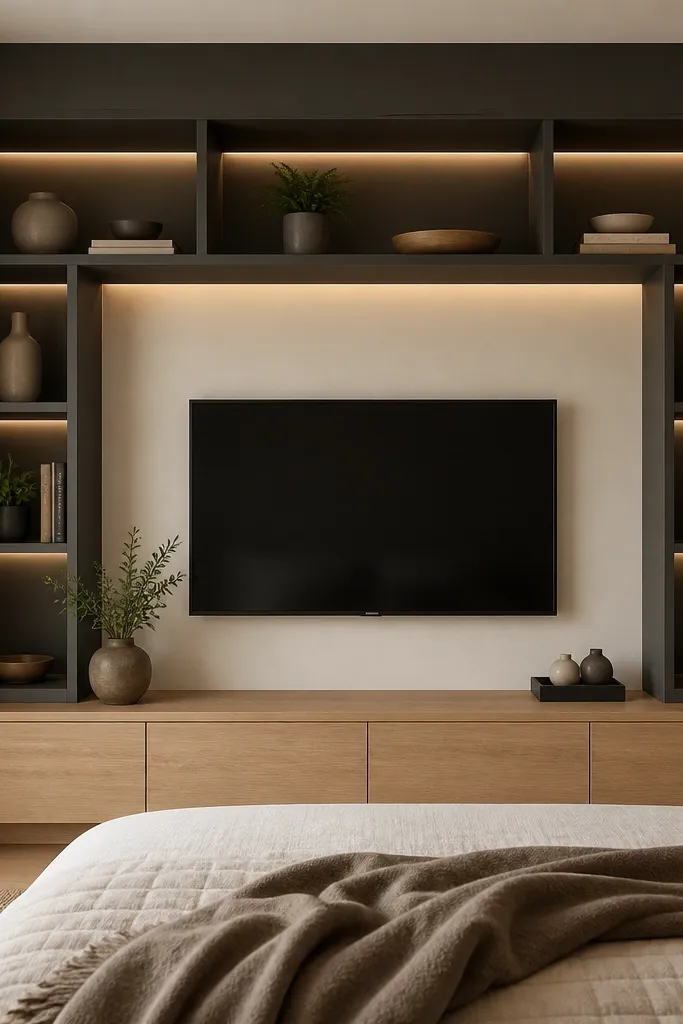
Two-tone walls feel luxurious because they add architecture, not just color. The charcoal niches make the TV pop, and the off-white base keeps it calm enough for a bedroom. I like this when you want storage that doesn’t look like a big bookcase. Charcoal also hides dust better than light shelves, which matters in real life. The principle is contrast with intention: use one dark tone in a controlled shape and keep the rest light and clean.
Start by painting the base wall in off-white first so it’s even. Build the niche frames using MDF strips or prefab shelving frames and install them around the TV so they line up symmetrically. Paint niches charcoal matte and caulk the seams so edges look sharp. Mount the TV on the back wall centerline and keep a consistent gap between TV and niche edges. Add LED strips inside the niches with a channel so the light is hidden. Style the shelves with items that match the room palette: cream ceramics, black frames, and one natural texture like a woven basket.
Keep shelf items at least 2 inches below the top edge so the niches still look deep.
Don’t overload the shelves; the dark niches make clutter look heavy.
12. Rattan-And-White Panel TV Corner Wall
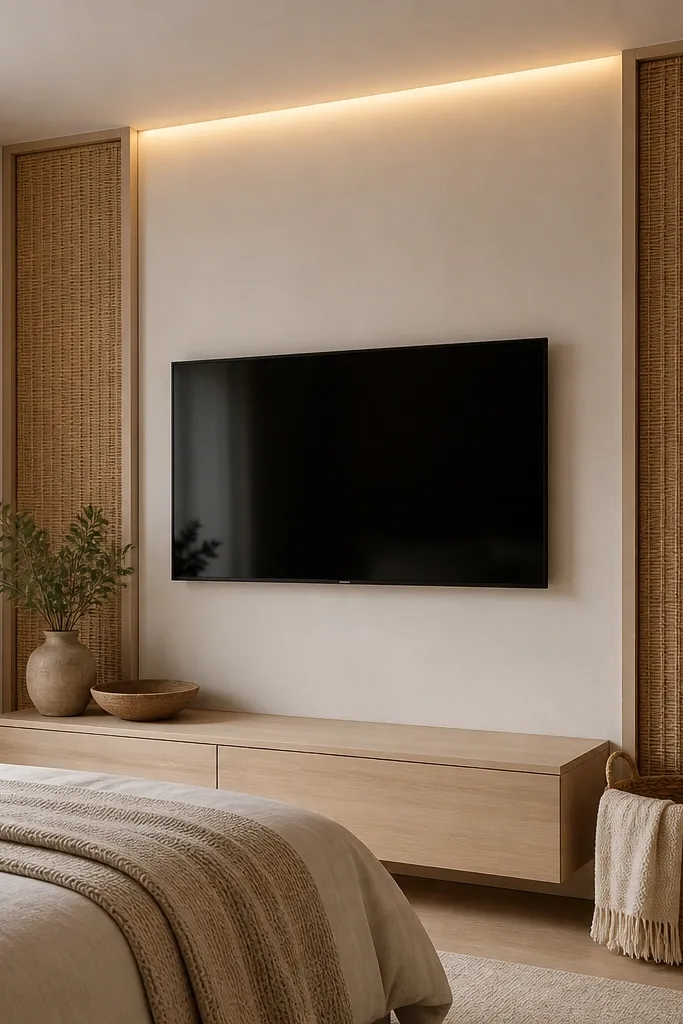
Rattan panels make a modern luxury wall feel warm and lived-in, not sterile. The woven texture softens the TV zone and adds depth without needing heavy molding. White paneling keeps it crisp, and rattan brings a natural tone that works with beige, ivory, and light tan bedding. If your room has a lot of smooth surfaces like glass or laminate, rattan adds the texture contrast that makes it feel expensive. The principle is texture layering: smooth white behind the TV, woven sides, simple console below.
Start by building a recessed white panel area behind the TV, using flat panel boards or MDF sheets painted a durable eggshell. Frame the sides with recessed sections where rattan panels fit — keep each rattan side about 10-14 inches wide depending on wall space. Cut rattan to fit the frames with a clean edge trim so it doesn’t fray. Mount the TV centered on the white panel area. Install a warm LED strip behind the top edge of the white panel for a gentle glow. Style the console with a woven basket and one tall plant or faux pampas, keeping the color palette to white, tan, and one black detail.
Use a damp microfiber cloth on rattan carefully; don’t soak it or it warps over time.
Avoid pairing rattan with heavy dark walls; the corner can look too busy and cramped.
13. Whiteboard Laminate TV Panel With Brass Trim
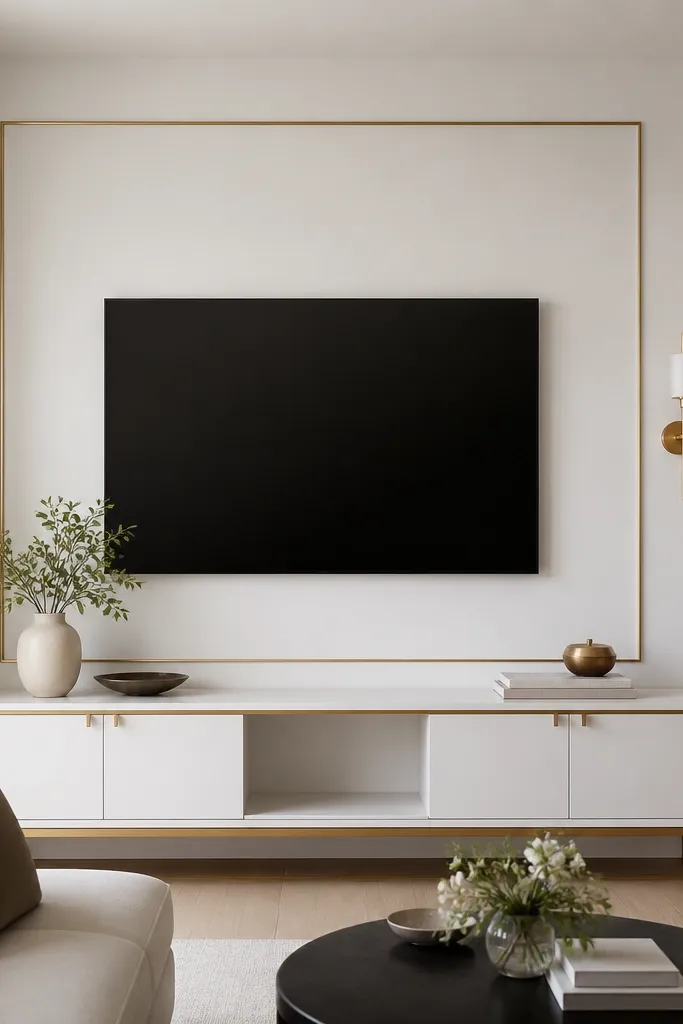
This is for people who want clean, modern luxury without wood or wallpaper. Matte white laminate is smooth and forgiving to wipe down, and the thin brass trim gives that jewelry-like edge that reads high-end. It works especially well if your bedroom has white bedding and you want the wall to feel crisp. Brass also flatters warm skin tones because the color temperature is warm, not neon. The principle is clean geometry: a single panel, a thin frame, and minimal decor.
Start by measuring your TV and cutting a white laminate panel to extend 6-8 inches beyond the TV on each side. Attach it to the wall over studs or a backing board so it stays flat. Outline the panel with thin brass metal trim strips, using corner miter cuts for a crisp frame. Mount the TV bracket through the backing studs, and run cables into a hidden raceway behind the panel edge. Add one warm sconce or a small LED puck light to the side so the brass catches light. Style the console with a white tray, one small brass object, and two books stacked vertically for height.
Good to knowKeep the brass trim width consistent across the frame — small inconsistencies show up fast.
AvoidSkip thick chunky trim; it can look like cheap picture-frame hardware.
14. Dark Walnut TV Wall With Floating Bookshelf Strip
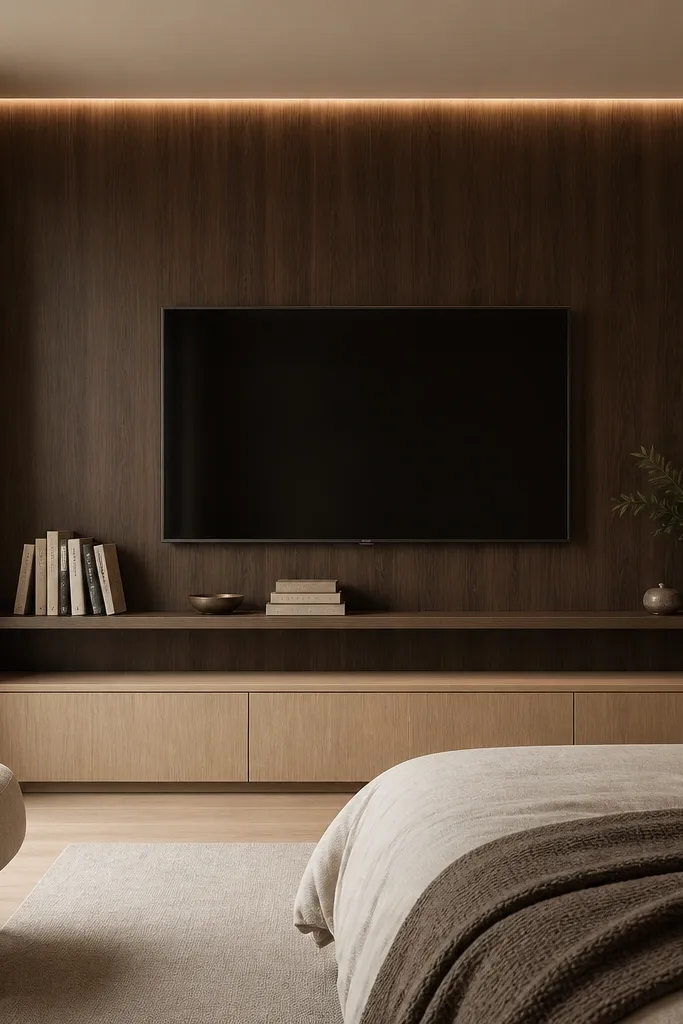
Dark walnut makes the TV wall look expensive because the grain reads like furniture. I use this when the rest of the room is light and I want one grounded statement. The floating shelf strip under the TV is a smart compromise: it gives you a place for books or decor without building a big cabinet. If your room has light walls and a white ceiling, the walnut gives depth without shrinking the space. The principle is single-material luxury: walnut panel + walnut-toned shelf, then contrast with a lighter console.
Start by installing a walnut veneer panel behind the TV, sized to extend at least 6 inches beyond each side of the screen. Seal the veneer with a matte protective finish so it doesn’t glare. Mount the TV on the centerline and keep the bracket flush so the screen sits tight to the panel. Add a floating shelf strip below the TV using hidden brackets, keeping it about 8-10 inches tall so it reads like a built-in ledge. Install a warm LED strip along the top edge behind the TV frame so the glow wraps the panel. Style the shelf with 5-7 books in two colors max, then add one small object like a black ceramic bowl near the center.
Good to knowUse matte finish on walnut; shine makes fingerprints and looks less premium.
AvoidDon’t stack decor on the shelf and console together; pick one zone for clutter and keep the other clean.
15. Monochrome Grey Paneling With Recessed TV Niche
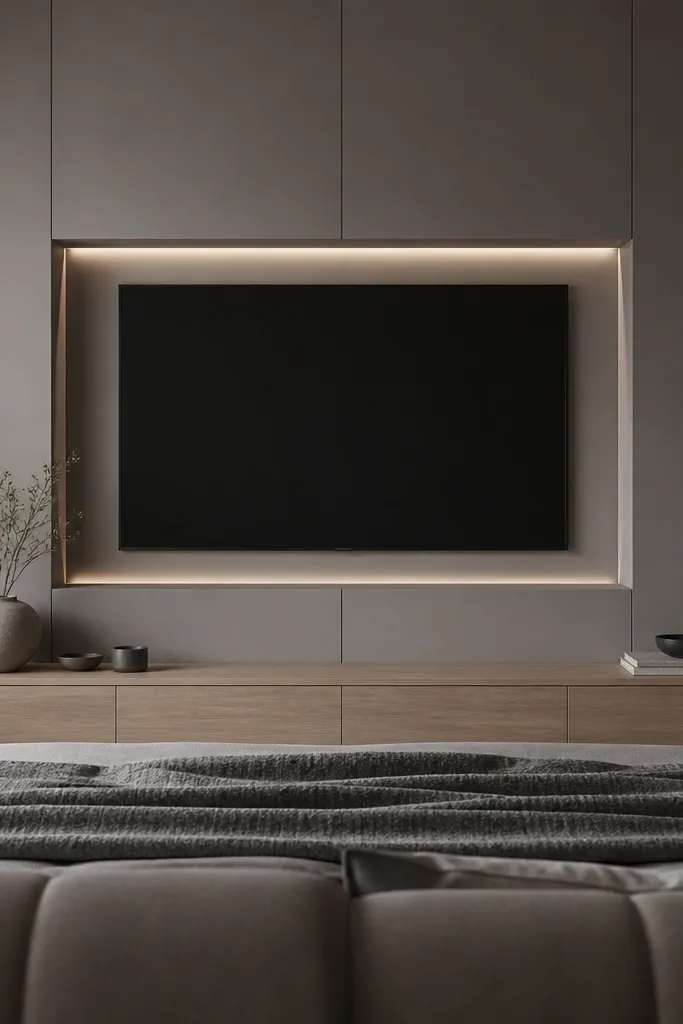
Recessing the TV into a niche makes it look built-in even if you only do paneling around it. Monochrome grey works because it’s calm, and the recessed border adds depth without competing with your bedding. This design flatters bedrooms with grey headboards or cool neutral textiles, because the tones match without looking flat. If your walls are currently a plain off-white, this gives them dimension. The principle is monochrome control: one color family, one niche edge, and hidden light for depth.
Start by building a recessed niche frame with MDF so the TV sits about 1/2 to 3/4 inch back from the surrounding wall. Add vertical panel lines around the niche using thin strip paneling or prefab boards, keeping spacing even. Paint everything in the same grey family, but make the niche border 1 shade lighter so it reads as an edge. Mount the TV inside the niche and route cords through the niche backing. Add a hidden LED strip along the top inner edge for a soft glow, and keep the light warm at 2700K. Style the console with a light wood base, then use one textured fabric item like a small knit throw folded neatly on the side of the console.
Use a matte paint for the wall and a low-sheen for the niche border so the edge catches light without glare.
Avoid mixing warm and cool greys; it makes the wall look patchy.