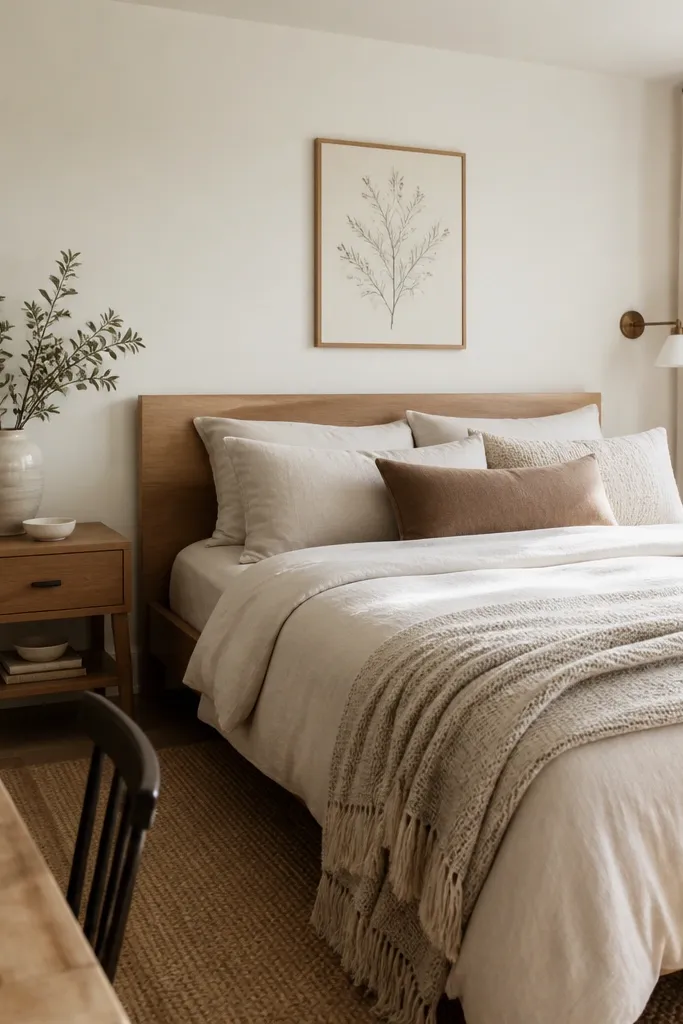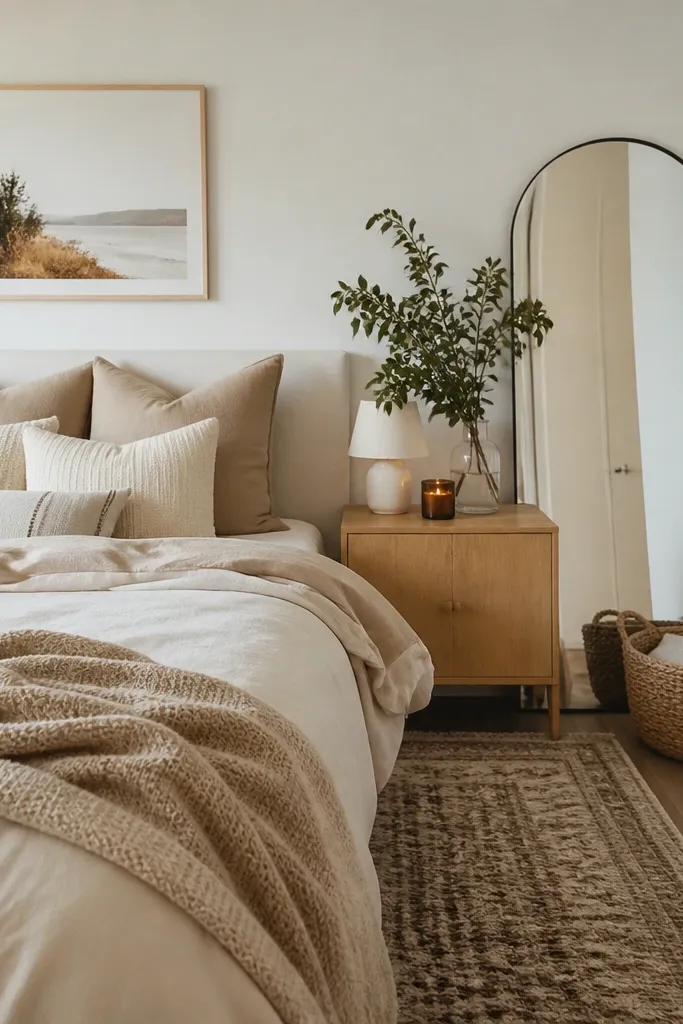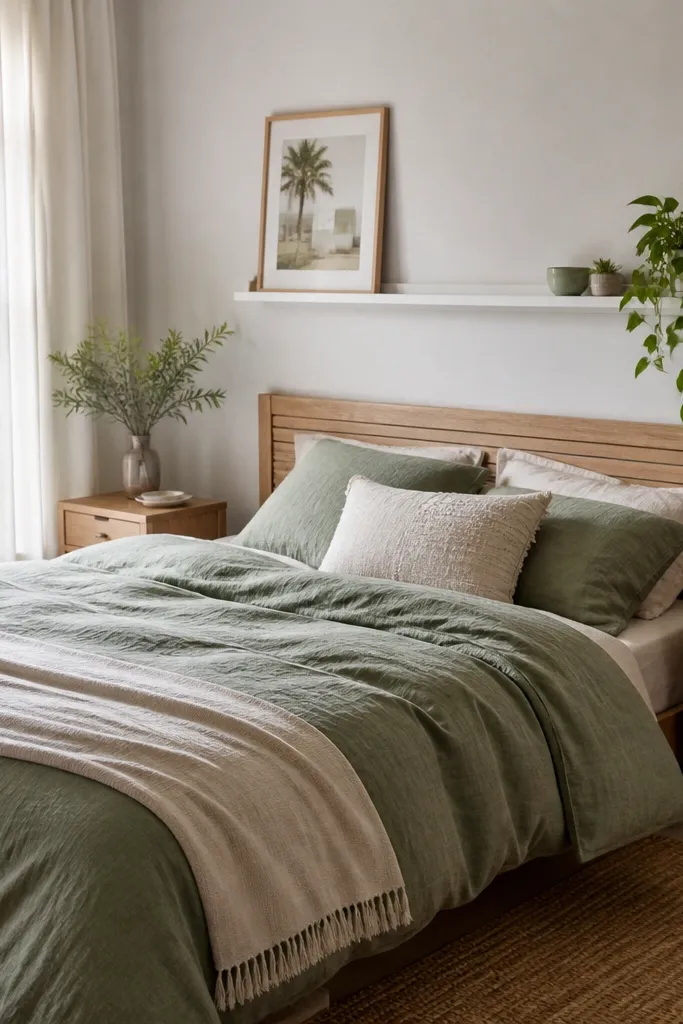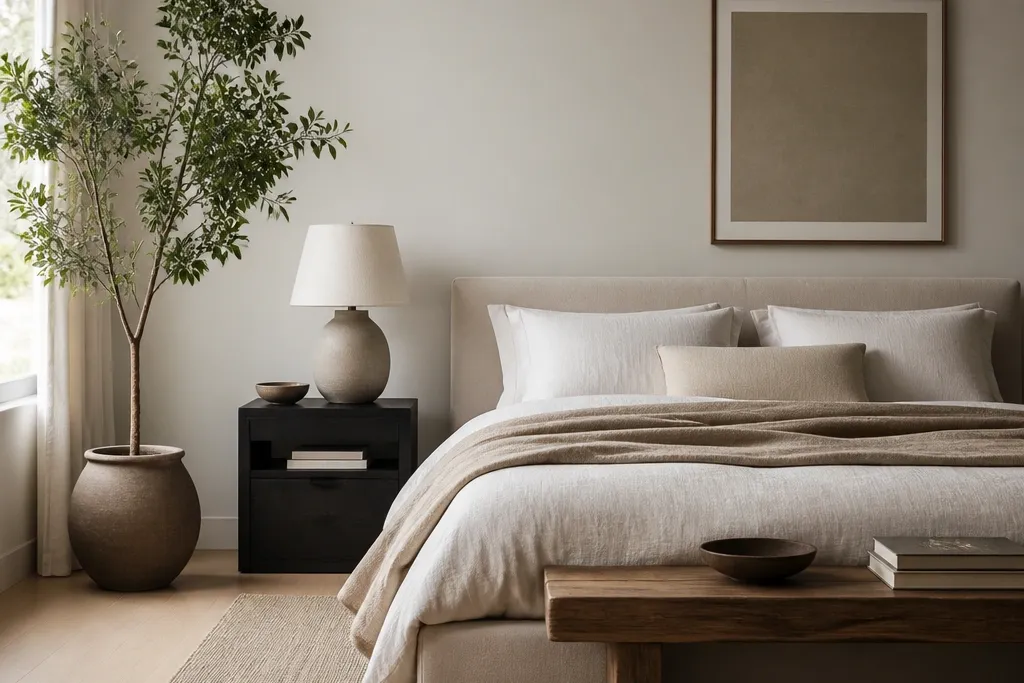
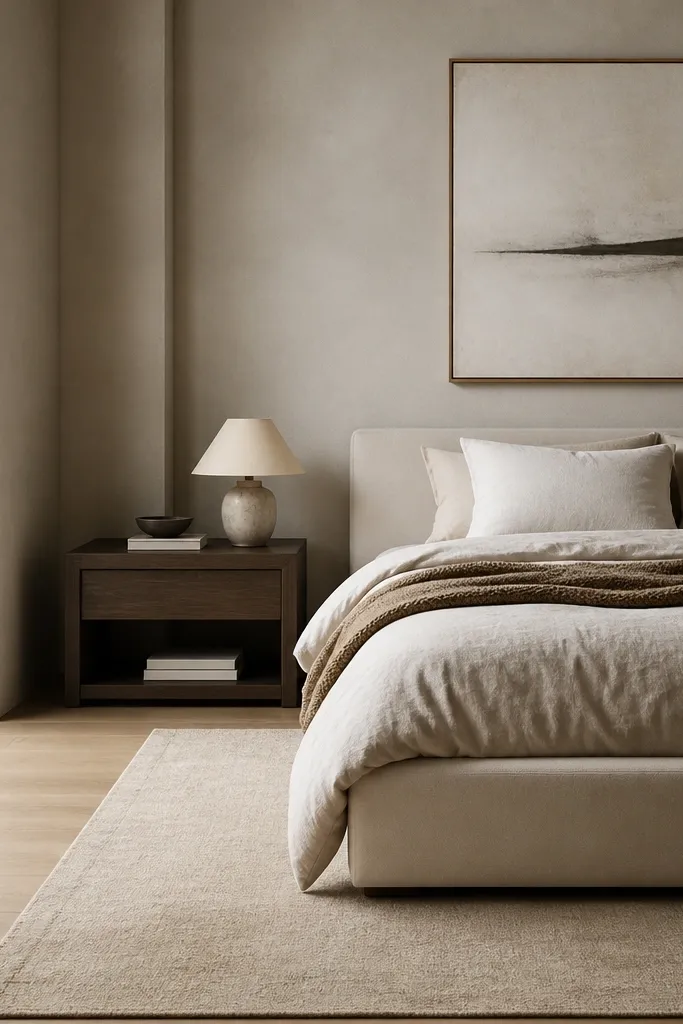
1. Headboard halo with a linen runner
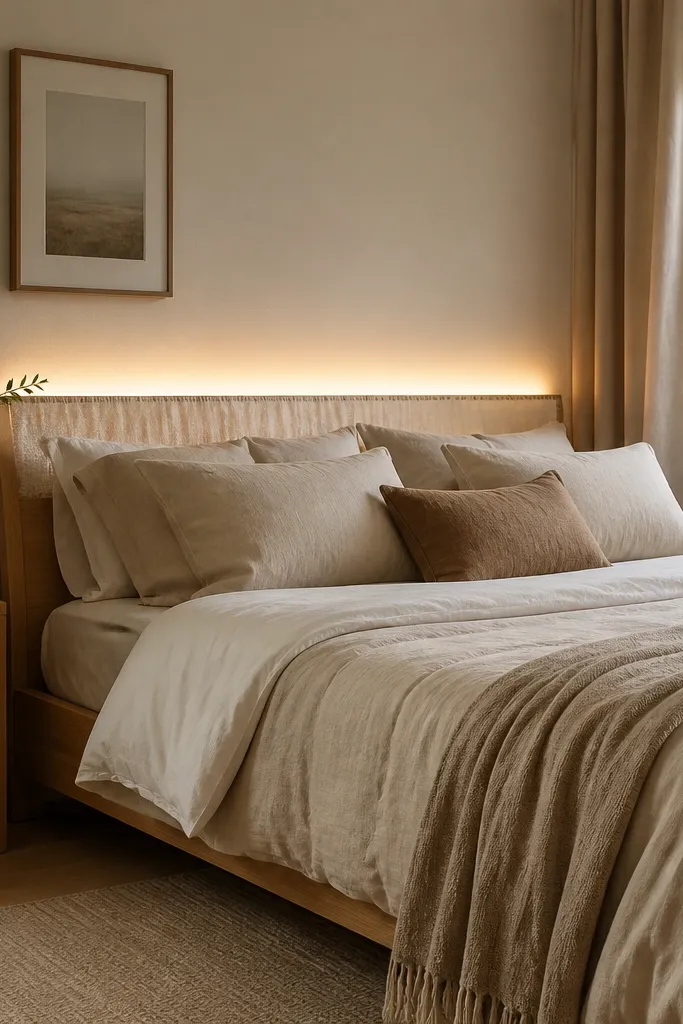
This setup works because it turns fairy lights into a backlight. I use a pale linen runner (rough weave, off-white or oatmeal) and clip the fairy lights behind it so the bulbs shine through fabric instead of into your eyes. The glow looks warm against light wood and white paint, and it makes plain bedding feel styled — especially a white duvet with a textured throw. It flatters most rooms, but it’s especially good if you have a low headboard or a headboard that looks too flat on its own.
Start by centering the linen runner across the headboard so it hangs 2 to 4 inches down on both sides. Then attach the fairy lights behind the runner using small cable clips or clear tape dots on the back edge — keep the wire at least 1 inch away from the fabric surface so it doesn’t create hot spots. Finally, angle the runner slightly outward at the top (just a touch) so the light spreads across the wall instead of staying tight to the bed. Use a timer battery pack and set it for 4 to 6 hours so the glow feels effortless at night.
Good to knowIf you want the glow to look “clean,” choose a linen color that matches your wall undertone — warm cream for warm whites, cool grey-beige for cooler walls.
AvoidAvoid laying the lights directly on top of the bedding where you’ll see the wire and get uneven bright dots.
2. Mirror edge glow with a clear cord line
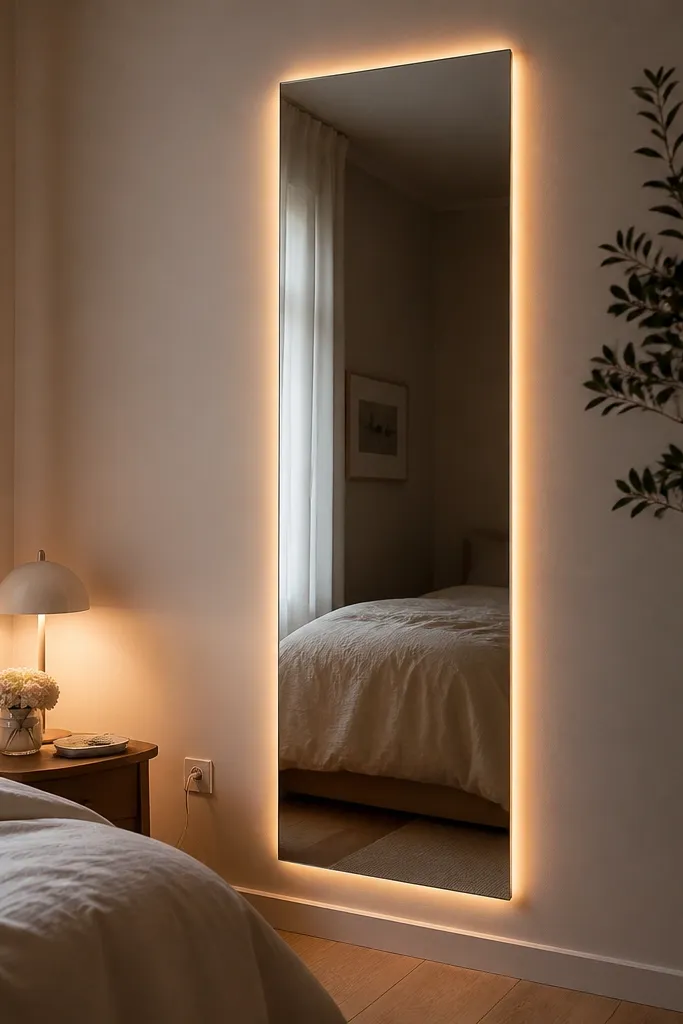
A mirror is already a “frame,” so lighting its edges makes the whole room feel taller and calmer. I like warm white fairy lights here because the mirror reflection softens the bulbs and makes the glow look like a continuous line. It’s perfect for modern minimalist bedrooms with one statement mirror and simple furniture, since the light adds depth without adding clutter. This also flatters people who do their makeup or hair in the bedroom because the glow gives gentle illumination without harsh overhead light.
Start by cleaning the mirror frame area and the wall with a dry microfiber cloth so tape sticks well. Then run the fairy lights behind the mirror edge using clear mounting tape along the back corners — keep the wire tight to the perimeter so it doesn’t sag. Finally, route the cord down behind a slim nightstand or dresser and hide it with a white cable sleeve if needed. Set the lights to steady mode for the cleanest minimalist look.
Use a timer plug if you have one nearby; the mirror glow looks best when it turns on at dusk automatically.
Don’t use multi-color fairy lights here — the mirror reflection makes colors look messy fast.
3. Curtain rail fairy lights behind sheers
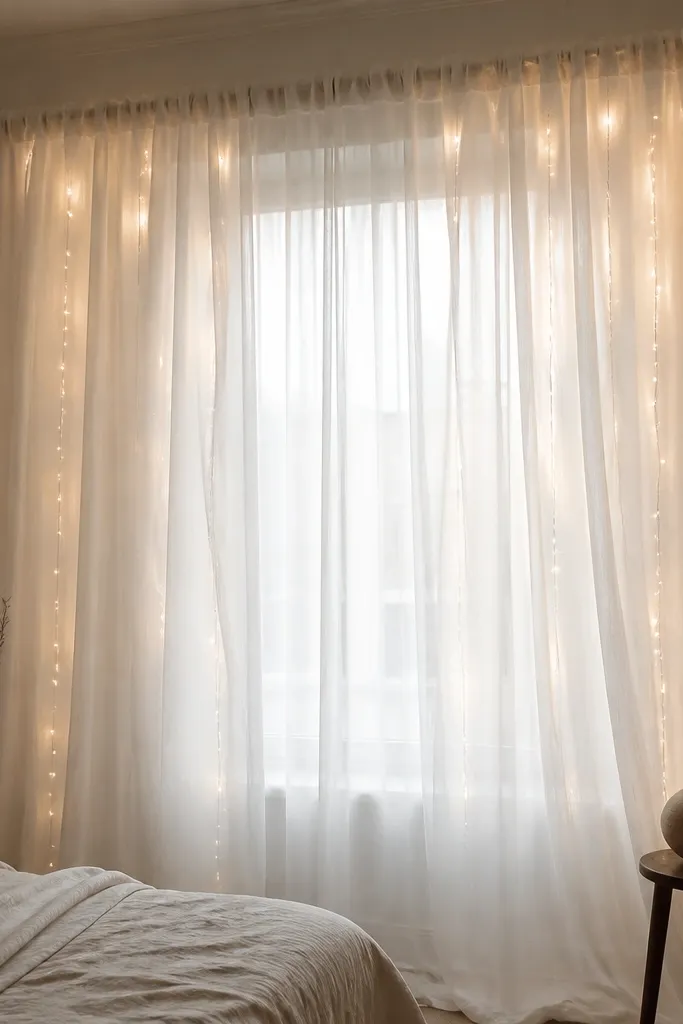
This is my favorite “cozy without clutter” trick. When fairy lights sit behind sheer curtains, the fabric diffuses the bulbs into a gentle glow that feels like warm daylight. It looks great with neutral bedding and simple wall art because the curtains become the light source, not the wire. I’ve used it in bedrooms where the window is the only bright spot, and it instantly makes the room feel calmer at night. It also works well if you sleep with your curtains partially open — you get movement and softness.
Start by pulling your sheer curtains fully open and marking where the rod sits behind the fabric. Then clip the fairy lights to the rod or to a thin tension wire behind it, keeping the bulb spacing even — I aim for about one bulb every 2 to 3 inches along the top line. Finally, gently gather the curtain so it falls in smooth folds; the glow will fill those folds without looking like a strand. Turn the lights on while the curtains are still, then adjust the bulb placement until the brightest spots sit above eye level.
Good to knowChoose sheers with a slightly heavier weave; very thin organza can make the bulbs look sharp instead of soft.
AvoidAvoid running the lights in front of the curtain where you’ll see the strand and get a “string left on the window” look.
4. Under-shelf light strip look with fairy rope
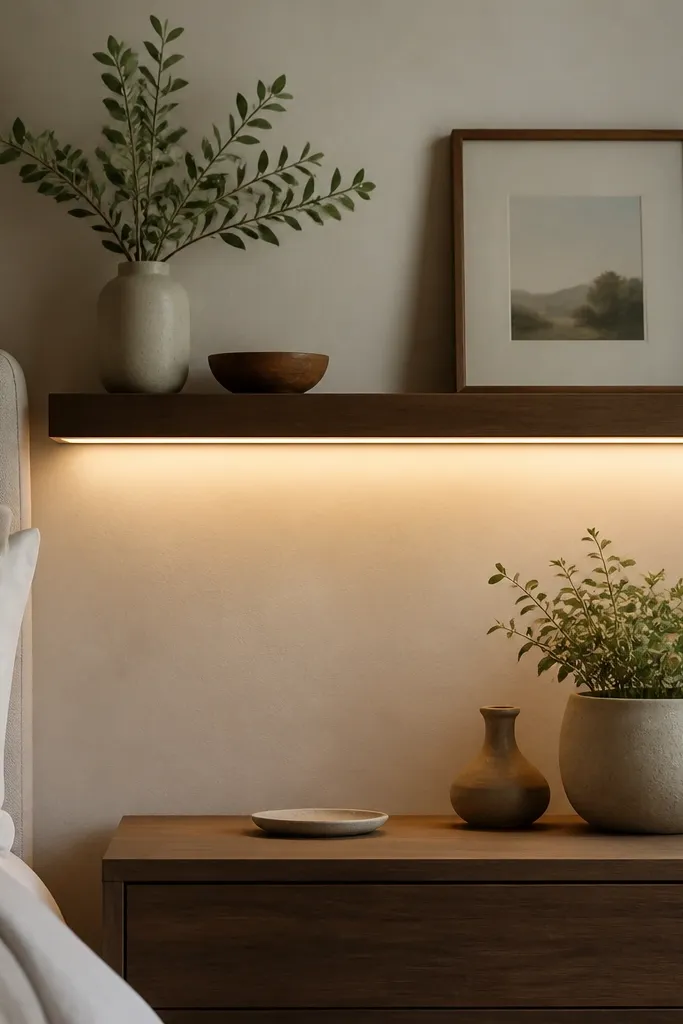
If you want the look of a modern LED strip but you don’t want to drill, this is the workaround I keep coming back to. Fairy rope lights create a line, and lines read modern. I tuck the rope under a floating shelf so it looks built-in, and the warm glow makes the wall behind your decor feel intentional. It flatters small bedrooms because it adds light without taking up floor space, and it’s great if your headboard lighting feels too direct.
Start by placing the shelf at a height where the shelf lip sits above your pillow line when you’re lying down. Then tape the rope along the underside using small clear cable clips spaced every 4 to 6 inches so the rope doesn’t sag. Finally, keep the shelf decor minimal: one ceramic lamp-style object or a small tray, nothing tall that blocks the glow. Test the light with the shelf decor in place and move the rope slightly forward if the glow looks too high.
Good to knowUse a rope light with a diffuser cover if you can — it makes the line look smoother than bare bulbs.
AvoidAvoid cluttering the shelf; if objects block the glow, you’ll see bright and dark patches.
5. Bedside column glow using two vertical strings
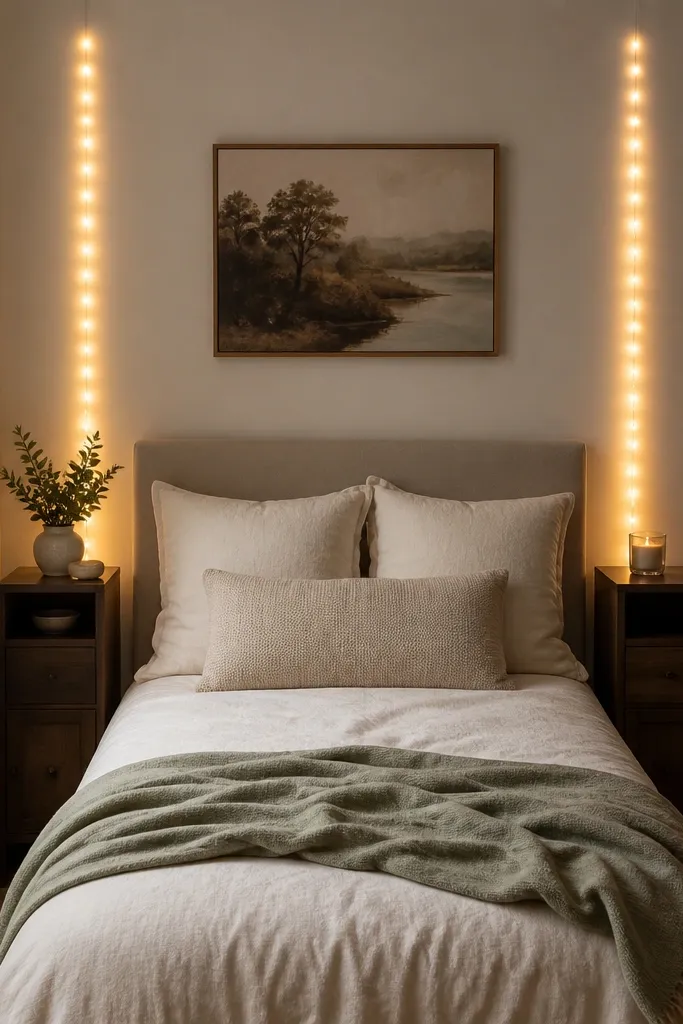
This setup is for rooms that feel too narrow or too plain. Two vertical light columns add height and symmetry, which makes the bed look styled even when your bedding is simple. I use warm white lights because the glow pairs well with wood tones and neutral fabrics like oatmeal, greige, and cream. It’s flattering for most bedroom layouts, especially if you have two matching nightstands and want the space to look balanced. It also helps with nighttime reading because the light sits beside you, not above your face.
Start by tucking the ends of each fairy strand behind its nightstand so the wire doesn’t show from the doorway. Then run the lights vertically along the wall at the outer edge of the nightstand, keeping the bulb spacing tight so the column looks even. Finally, secure the wire with matte command hooks or thin cable clips every 6 to 10 inches, and stop the run at headboard height. Use steady mode and keep both columns the same height for a clean minimalist look.
Good to knowIf your nightstands are different heights, trim one strand to match the headboard glow line instead of forcing it to reach the same top point.
AvoidAvoid one tall strand plus one short strand unless you want an intentional asymmetry — mismatched columns read accidental.
6. Rattan headboard backlight with mesh diffusion
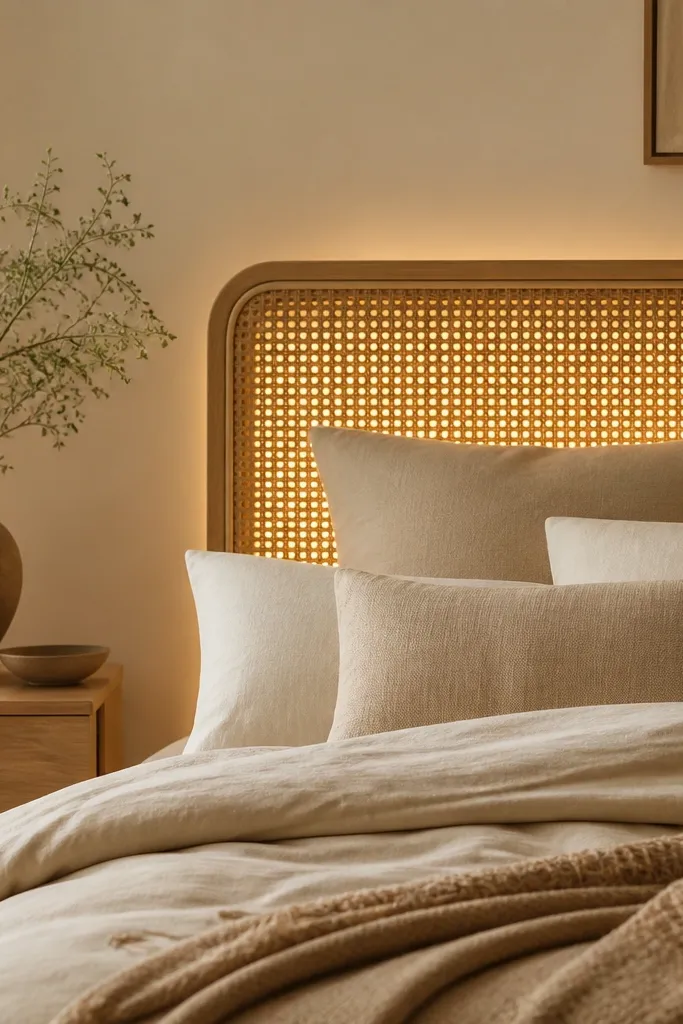
Texture is the whole point here. Rattan already has open space, so fairy lights behind it create a warm, patterned glow that looks handmade. I use a thin off-white mesh panel behind the rattan if the bulbs are too visible through the slats; it turns harsh points into a soft wash. This looks especially good with modern minimalist rooms that have one natural element like a rattan chair, cane lamp, or woven basket. It’s also forgiving if your bedroom has a mix of whites and creams because the warm light ties them together.
Start by checking how visible the bulbs are through the rattan. If you can see bright points, add a lightweight mesh behind the headboard area, stapling or securing it to the back frame with small ties. Then place the fairy lights behind the mesh, running them in two horizontal lines so the glow covers the whole headboard area. Finally, keep bedding simple — solid duvet, one throw, and a couple of neutral pillows — so the headboard glow stays the focus.
Choose a mesh that matches your bedding undertone; a cool white mesh can make the glow look slightly blue.
Avoid placing the lights too close to the mesh; leave a small air gap so you don’t get concentrated bright spots.
7. Floating picture ledge lights for gallery warmth
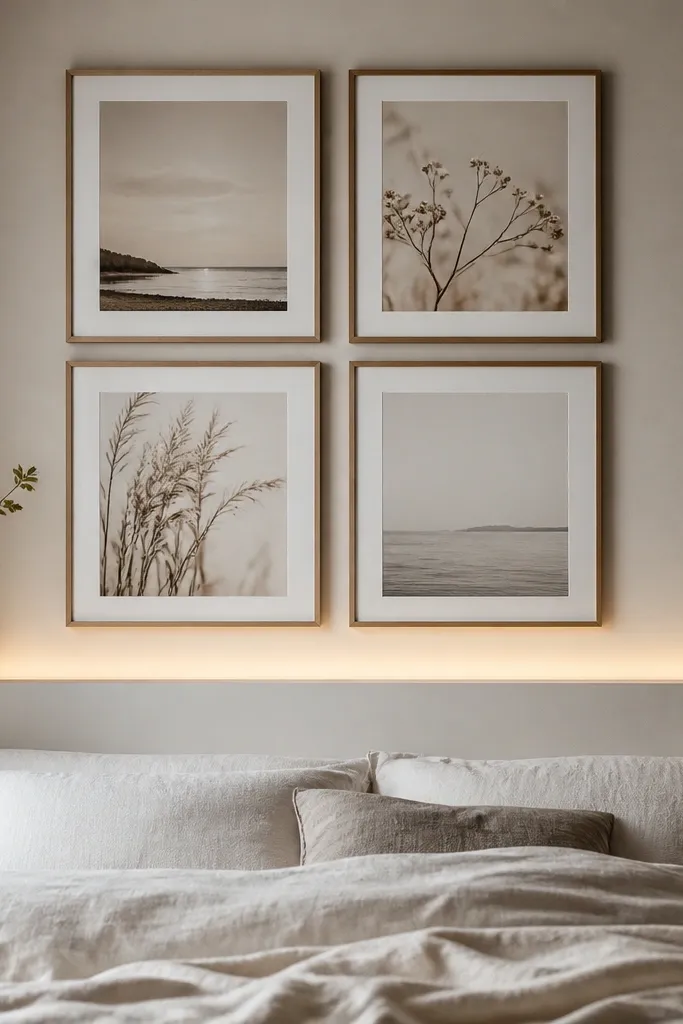
Frames look better when they have a gentle light source from below. This setup makes your gallery feel cozy and modern without adding a lamp. I like it with small-to-medium frames in black, walnut, or white because the warm glow brings out paper texture and matte finishes. It flatters people who have blank wall space near the bed and want something more interesting than one print. The light is also great for reading the art at night without turning on the overhead lights.
Start by installing (or temporarily mounting) a shallow picture ledge 2 to 3 inches below your frame bottoms. Then run fairy lights along the underside of the ledge and secure them with small clips so the bulb line stays straight. Finally, position your frames so their bottom edges sit above the brightest part of the glow; you want the frames to catch light, not block it. Use steady warm white and keep the frames spaced evenly so the glow doesn’t look random.
Good to knowIf your ledge is wood, wipe it with a dry cloth before sticking clips — dust makes clips loosen and the glow line droops.
AvoidAvoid too-bright settings or flashing modes; the frames will look like a timer light instead of decor.
8. Wardrobe mirror corner light for tight spaces
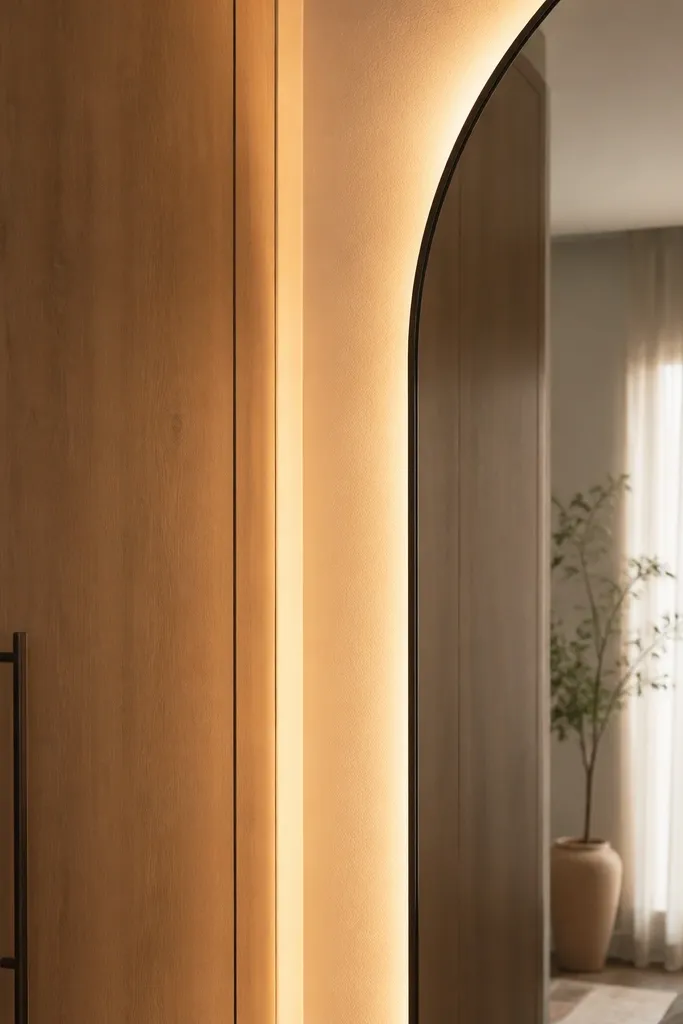
In small bedrooms, corners are where the room feels cramped and dark. Adding a tiny amount of light inside a corner makes the space feel wider because your eye has a warm reference point. I use warm white and keep the glow low and close to the wall so it doesn’t cast harsh shadows. This is great for renters because you can mount clips to the inside of the wardrobe trim instead of the visible wall. It also pairs well with minimalist decor like a single mirror, slim dresser, and light bedding.
Start by pulling the mirror away from the wall enough to route the fairy light wire behind it. Then attach the lights along the inside edge of the mirror frame or the wardrobe trim using clear tape or small cable clips. Finally, tuck the power cord down along the wardrobe side and hide it behind a skirt or inside the cabinet gap. Turn it on and stand where you enter the room — adjust until the glow outlines the corner but doesn’t shine directly into your face.
Good to knowUse battery lights if the outlet is far; you’ll get cleaner lines in a corner than with a long cord trail.
AvoidAvoid stacking multiple strands in one corner — the glow turns patchy and you’ll see uneven brightness.
9. Bedside reading nook with a sheer lamp shade glow
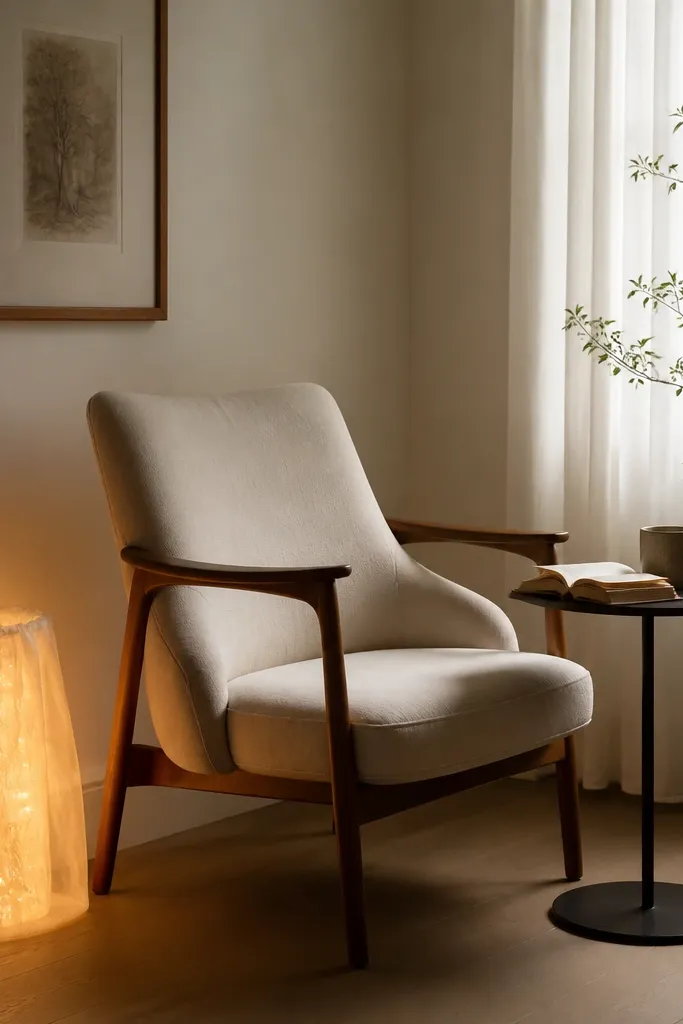
This is a “fake lamp” idea that still looks modern. Fairy lights inside a sheer lamp shade create a warm orb glow that feels cozy but doesn’t look like a string of lights. I’ve used it with simple table lamps that have opaque shades and wanted a softer night look. The glow is flattering on skin tones because it’s warm and diffused, not harsh. If your bedroom has one chair or reading spot, this makes that corner feel intentional.
Start by choosing a lamp shade or shade cover with enough open space for the fairy lights to sit safely inside. Then place warm white fairy lights inside the shade and secure the cord along the inner rim using small fabric-safe clips. Finally, keep the lamp base simple — light wood or matte black — so the glow reads as a single light source. If the bulbs are visible through the sheer, add a second thin layer of fabric inside so the light smooths out.
Use fairy lights with LED bulbs if you’re putting them inside fabric; the heat stays lower than older styles.
Avoid letting the bulbs touch fabric directly; keep a small gap so nothing scorches over time.
10. Floating nightstand tray with warm light behind plants
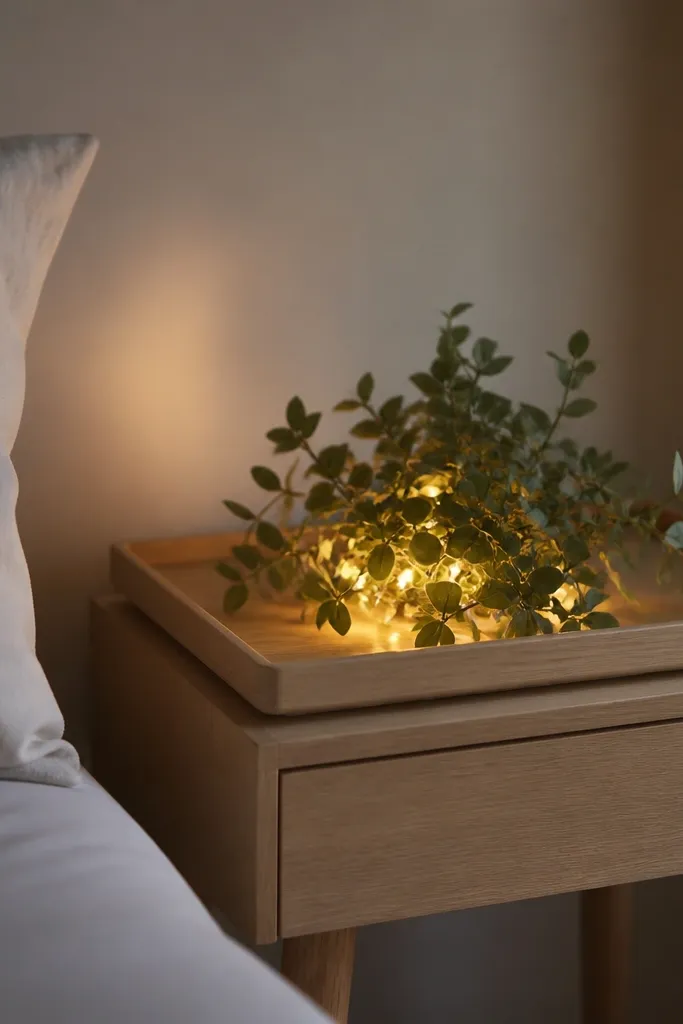
Plants look amazing with backlight, even subtle fairy light. This setup gives you a cozy glow without covering the whole wall, and it’s perfect for bedrooms where you don’t want any light on the bed itself. I use it with low plants like pothos or a small sansevieria because the leaves catch the light and look fuller. It flatters people who have darker bedding or richer colors like charcoal or navy, because the warm glow adds contrast. Keep it small and controlled so it still feels minimalist.
Start by placing your tray on the nightstand and deciding where the plant sits. Then tuck the fairy lights behind the plant stem line and anchor the wire under the tray edge with tape dots so it doesn’t shift. Finally, angle the plant slightly toward the light so the leaves create a gentle halo. Use steady warm white and keep the bulb cluster tight — 10 to 20 bulbs is plenty for a tray.
Good to knowIf your plant leaves are glossy, try a slightly dimmer setting or fewer bulbs so the glow doesn’t look too bright.
AvoidAvoid wrapping the lights around the pot where you can see the wire — it looks messy even when the room is clean.
11. Footboard step lights on the wall behind shoes
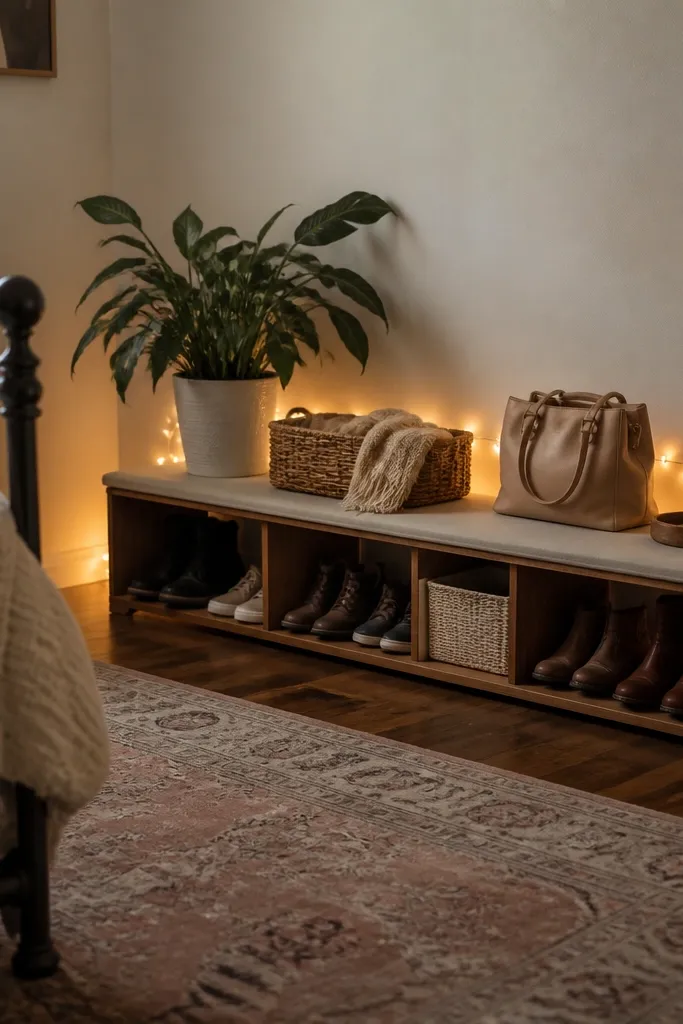
This is a sneaky way to add warmth in bedrooms with an entry nook. The low horizontal light makes storage feel like part of the room design instead of an afterthought. I use warm white lights and route them behind the bench so you only see the glow. It’s great for modern minimalist bedrooms where you want a clean, calm look but still need practical lighting near where you drop bags or shoes. The glow also helps you find things without turning on overhead lights late at night.
Start by placing the bench or storage where you normally use it, then mark the wall height where you want the glow line — usually 8 to 12 inches above the floor. Then tape or clip the fairy lights along that line behind the bench, keeping the strand straight and tight to the wall. Finally, hide the cord where the bench meets the wall or run it behind a thin baseboard gap. Test from the doorway and from bed — you want the glow visible but not the bulbs themselves.
Use a low-output battery pack so the line looks like ambient light, not a spotlight.
Avoid placing the lights too high; if the glow line sits at shin or knee height, it looks like a mistake.
12. Ceiling perimeter glow using a slim track and cable clips
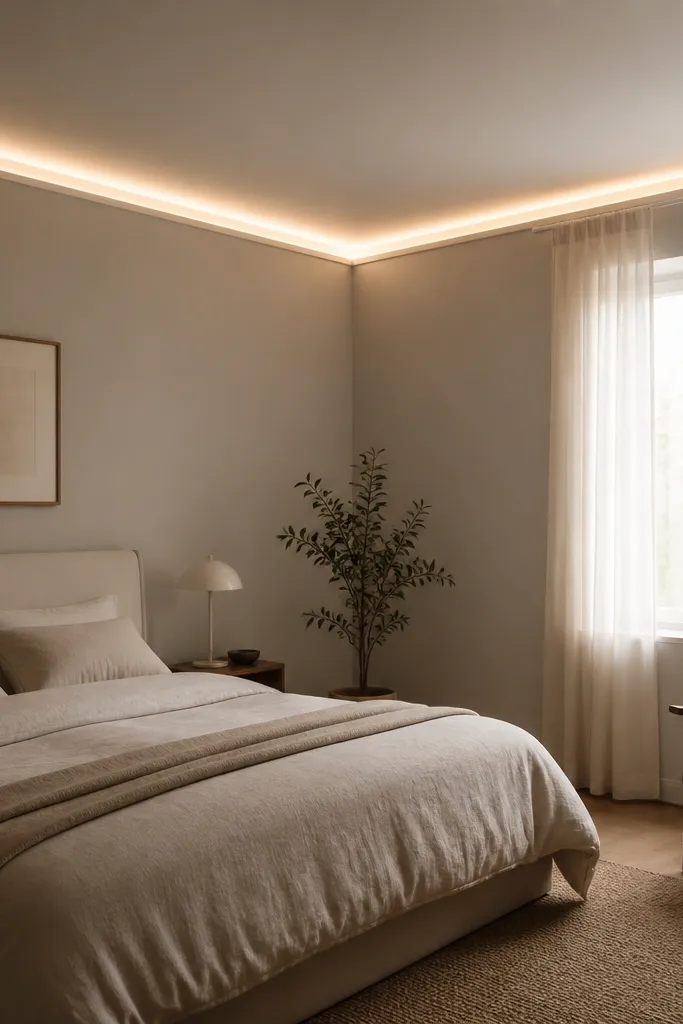
If your bedroom feels too small, ceiling perimeter lighting makes it feel softer and bigger. Fairy lights can do this when you hide them under the ceiling edge or a thin molding track. I like this approach for rooms with white walls and simple furniture because the light band reads clean and architectural. It flatters night routines too — you get gentle light for getting dressed without glare. The key is even spacing and steady mode; flashing makes it look like a party.
Start by finding the best hidden channel: a narrow ceiling ledge, crown molding gap, or a thin adhesive track along the top. Then attach the fairy lights along that hidden channel using cable clips spaced every 8 to 12 inches so the line stays straight. Finally, power it with a timer pack and set the lights to steady warm white. Walk around the room and adjust bulb spacing if you see one brighter section — that usually means the strand is bunching.
Use painter’s tape to map the line before you stick anything permanently. You’ll save yourself from redoing it later.
Avoid letting the lights hang down where you can see individual bulbs — that kills the clean band effect.
13. Bed canopy frame with transparent acrylic rods
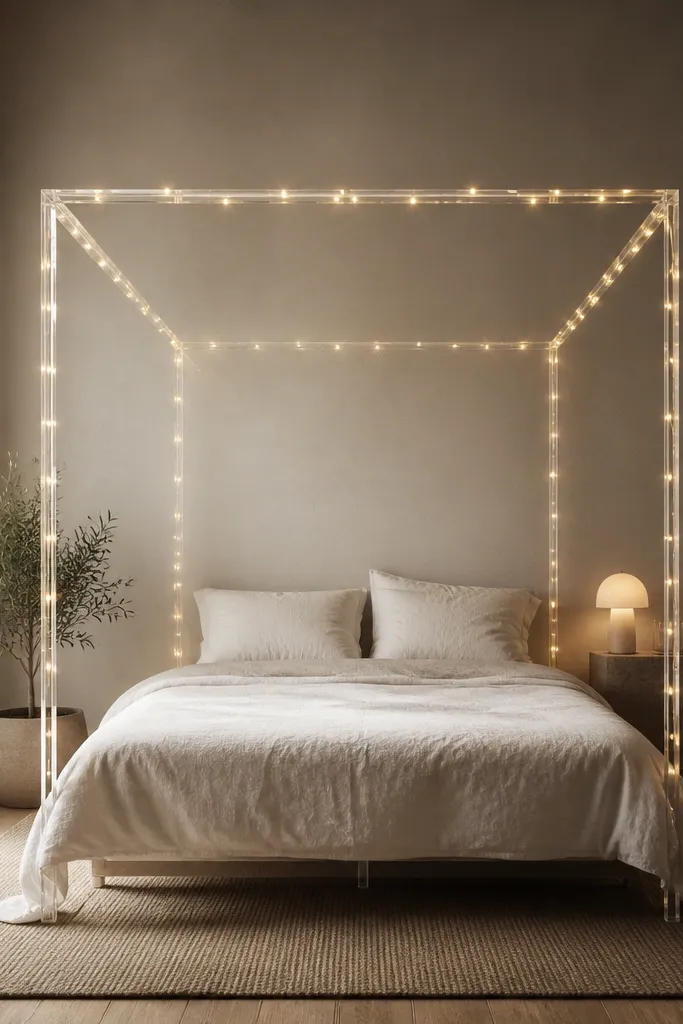
This looks like a modern canopy without the weight of heavy fabric. I like transparent or clear acrylic rods because they disappear, so the glow reads as a light outline instead of a bundle of wire. It flatters bedrooms with clean lines — platform beds, simple dressers, and neutral bedding — because the frame stays crisp. It also looks great on photos because the light sits above the bed and doesn’t clutter the scene at eye level. If you want cozy but still minimalist, this is the “structured” option.
Start by measuring the width of your bed and choosing a frame that sits 10 to 14 inches above the mattress line. Then wrap or thread warm white fairy lights around the acrylic rods so the bulbs face inward and spread across the canopy area. Finally, hide the power cord behind the headboard or run it inside a cable sleeve along the frame leg. Use steady mode and keep the bulb count moderate so the frame looks like a line, not a star field.
Good to knowIf your acrylic picks up glare, tilt the frame slightly toward the wall so the glow softens instead of reflecting hard spots.
AvoidAvoid using a dark rod frame; it makes the wire look like it’s hanging on display.
14. Shelved stair-step lights for a small wall niche
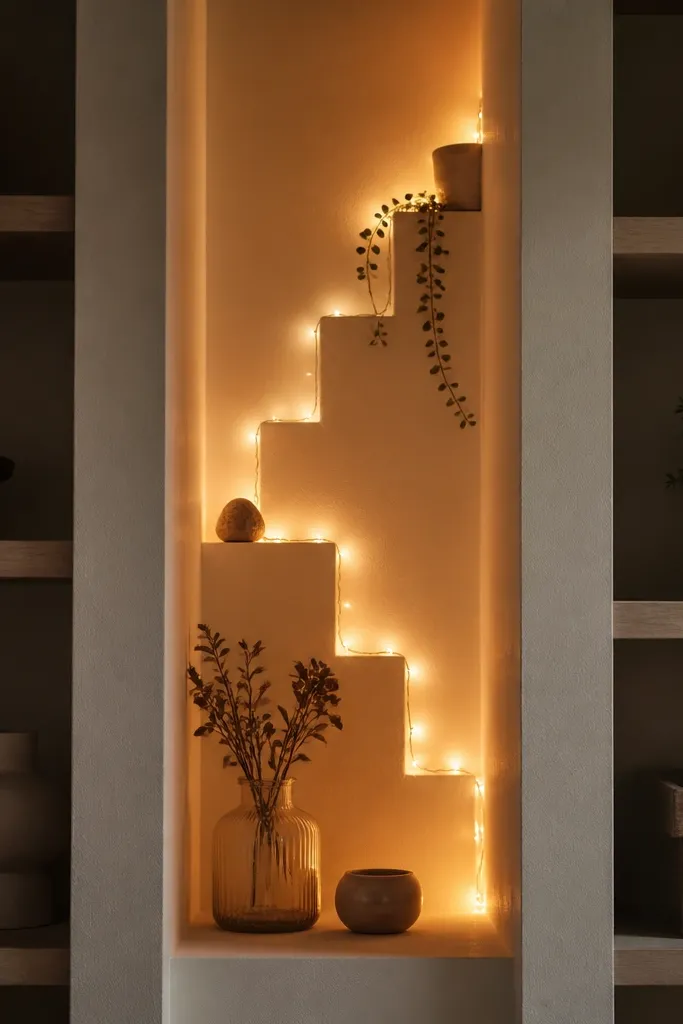
Wall niches are perfect for fairy lights because they already have depth. A stair-step arrangement keeps the glow layered and prevents the “one flat string” look. I use warm white lights and keep the wiring tucked behind the niche edges so it reads like a built-in feature. This works best in small bedrooms where you have one awkward corner and want it to look designed. It also flatters minimalist wall decor like one ceramic vase and a single framed print because the niche glow gives them a stage.
Start by fitting the fairy lights along the back edge of the niche first, then add a second run along one shelf lip at a slightly lower height. Secure the wire with small clips so it follows the niche geometry and doesn’t sag. Finally, place decor in front of the brightest bulb areas — a small vase or a folded linen towel — so the glow looks diffused instead of pointy. Turn on the lights and check from bed height to make sure the bulbs aren’t directly visible.
Good to knowUse a shorter strand for niches. One long strand usually bunches and creates a bright clump.
AvoidAvoid random placement across the niche floor; it makes the niche look like you draped lights for the holidays.