1. Floor-to-ceiling mirror panel over the sink
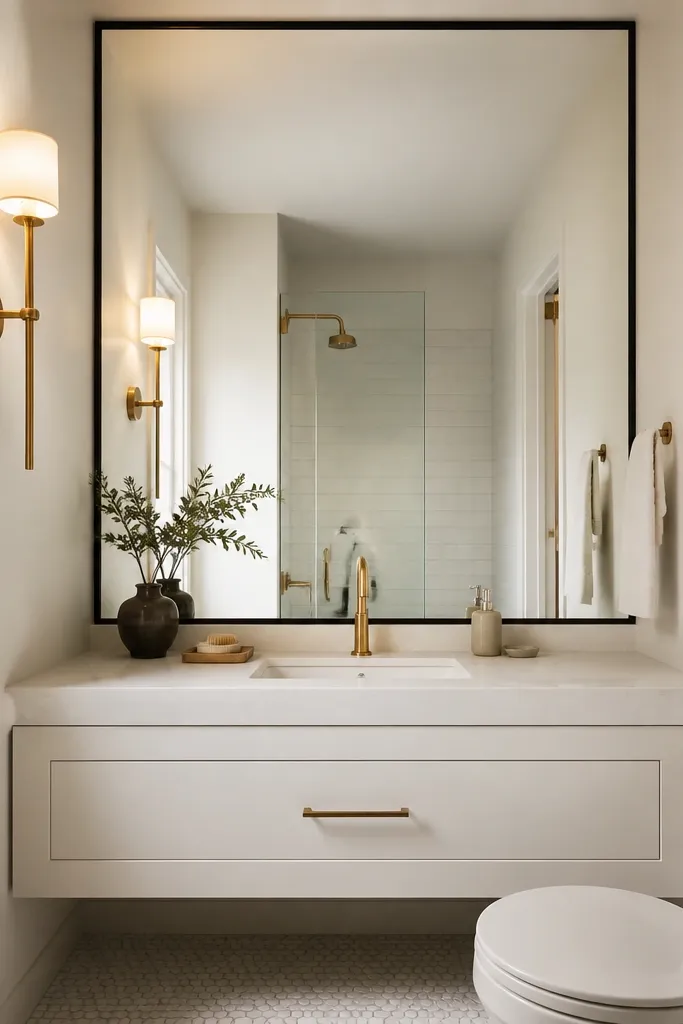
This is one of the quickest ways I’ve found to make a small full bathroom feel taller and more open without moving anything. The mirror panel is the same width as the sink plus a few inches, so your eye treats it like a single uninterrupted surface instead of a bunch of edges. I like a thin matte black frame because it reads crisp in person and doesn’t look chunky in tight rooms. It flatters most skin tones because it gives you neutral, even light for shaving and makeup — especially if you pick a warm-white bulb. The styling principle is simple: one large reflective plane beats several smaller mirrors.
Start by measuring the mirror area height from just above the countertop backsplash to as high as you can reach without hitting a vent or light trim. Use a mirror that is at least 2/3 the vanity width, then center it so the sink faucet sits visually in the middle of the glass. If you’re mounting yourself, attach a mirror mending kit or use a proper mirror adhesive rated for glass, and keep the bottom edge level with a laser or phone level. Finish by adding one sconce on one side (not two) so the reflection looks intentional, not busy. Then style the sink with a single tray and keep bottles under the counter — the mirror makes clutter obvious.
Hang the mirror so its bottom edge is at least 6 in above the tallest countertop clutter line you normally leave.
Avoid a mirror that’s too narrow — it makes the wall feel chopped up and the room looks shorter.
2. One-piece tub-to-wall surround in glossy white
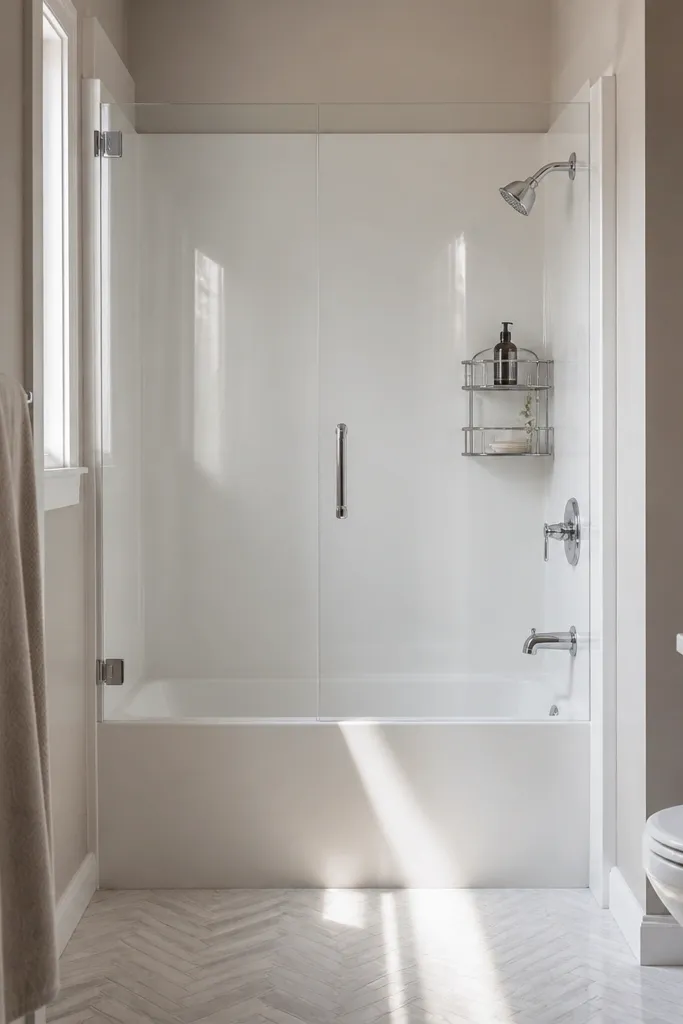
If your tub surround looks tired or has dated tile, a glossy one-piece surround is a fast remodel look that still holds up to water. The glossy finish bounces light so the bathroom feels brighter, and because it’s a single surface, it reduces grout lines that make small rooms feel busy. Pair it with a clean, minimal shower caddy in chrome or brushed nickel so the hardware matches the faucet. This works great for small full baths because it doesn’t visually “stack” patterns on patterns. The styling principle is surface continuity: fewer breaks in the visual field equals more space.
Start by checking whether your tub is level and the surround you buy matches your tub dimensions exactly. Dry-fit the panel or surround pieces and mark any cutouts for the spout and drain, then follow the manufacturer’s caulk and adhesive points. Use a high-quality silicone that cures clear and stays flexible, and apply it in continuous beads for a tight seal. Choose a shower door that is clear or lightly tinted so the glossy surround keeps reflecting light. Finish with a single matching towel ring or hook inside arm reach of the tub so you don’t rely on cluttered counters.
Use a grout-less caulk line and keep it thin — thick caulk beads look cheap in person.
Avoid mixing glossy and matte finishes on the same wall area; the shine mismatch makes the room look unfinished.
3. Paint the ceiling bright white and the walls warm greige
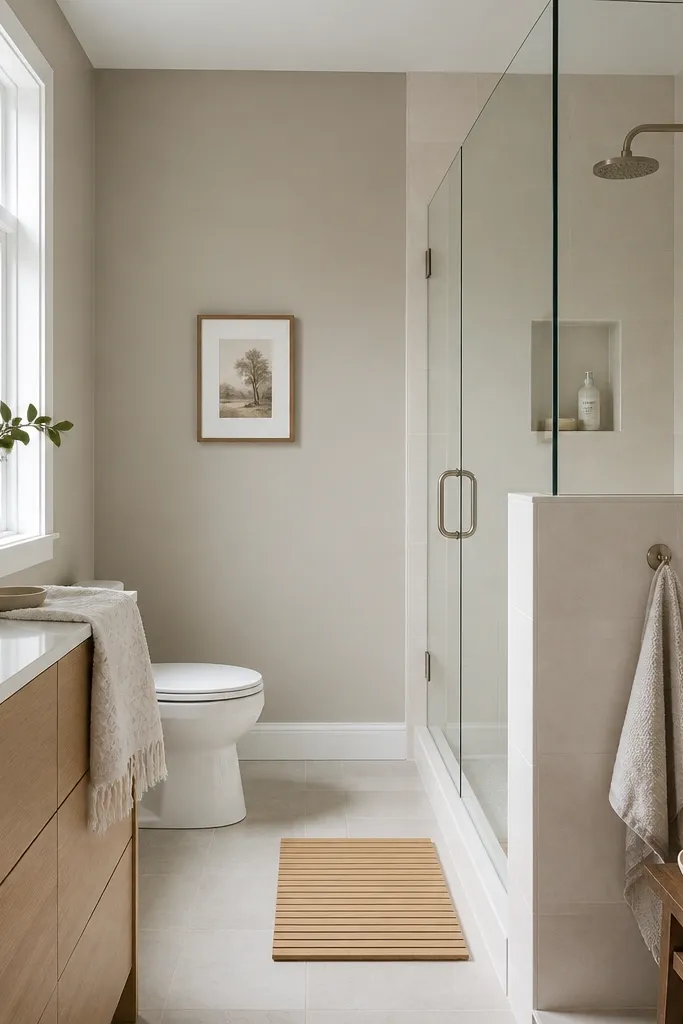
This is the paint trick I keep coming back to: bright white ceiling, warm greige walls. In a small full bathroom, your ceiling is the biggest “blank” surface, and painting it pure bright white makes the whole room read taller. Warm greige on the walls keeps the space from feeling sterile, and it doesn’t fight with chrome, brushed nickel, or brass hardware. I’ve used this combo in bathrooms with north-facing light and it still looks soft, not gray. The styling principle is contrast control: you create depth with a ceiling highlight, not with darker wall colors.
Good to knowIf your bathroom has a fan light, paint around the housing the same day to keep sheen consistent.
Start by taping the trim edges and cutting in with a 2.5 in angled brush, then roll with a 3/8 in nap roller for a smooth finish. Paint the ceiling first, then let it dry fully before you do the walls so you don’t scuff fresh paint. Use a wall paint with an eggshell finish, not satin, so small scuffs won’t look obvious. Keep the greige warm by testing a sample card on two parts of the wall: near the vanity light and near the toilet. Finish by swapping out any dark accessories (black plastic canisters, old towel bars) so the new color doesn’t look dull.
AvoidAvoid flat paint on walls; it stains and makes the room look dirty faster.
4. Large-format peel-and-stick tile in a light herringbone
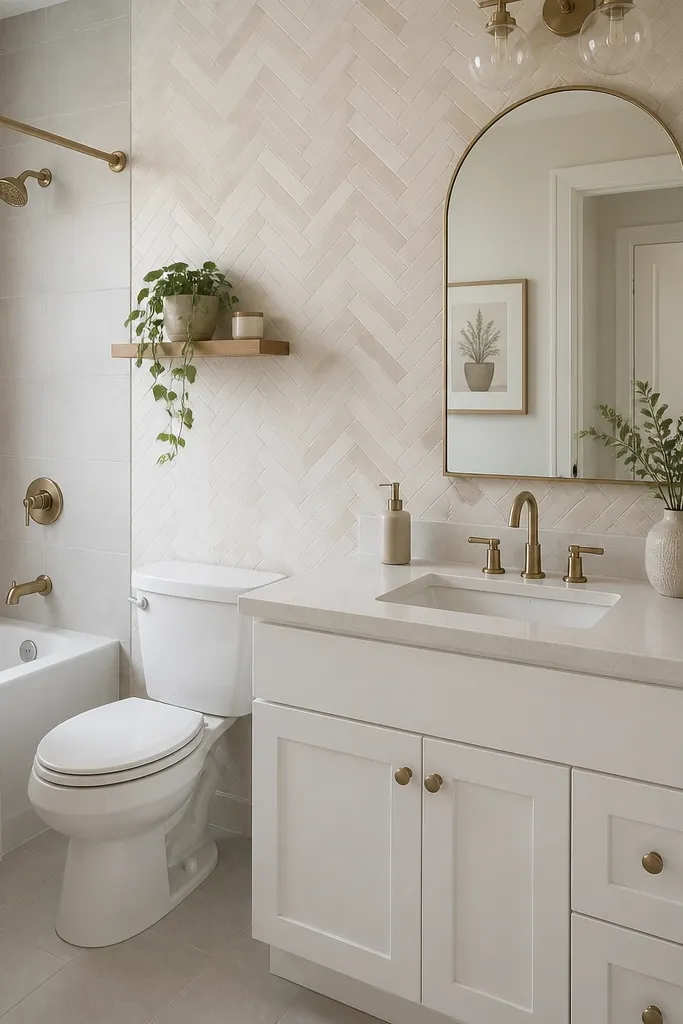
Peel-and-stick tile can look legit when you choose the right scale. I like a light herringbone or staggered pattern behind the sink because it adds movement without turning the room into a busy grid. The light stone look reflects light better than cool marble greys, so the bathroom feels cleaner and brighter. This works especially well if your bathroom already has neutral fixtures and you just need a face lift. The styling principle is one patterned zone: keep the rest of the room simple so the tile reads intentional.
Good to knowPlan the pattern so the “V” shapes in herringbone hit the centerline of the sink for a balanced look.
Start by cleaning the wall with a degreaser and letting it dry completely, then wipe again with plain water to remove residue. Dry-fit a corner strip to see how the pattern lands relative to the sink centerline. Apply from a straight reference line you snap or tape, working a few rows at a time so you don’t drift. Use a plastic smoothing tool to press from center outward and prevent bubbles, then trim carefully with a fresh blade at the edges. Seal the border area around outlets and any wet zone with painter’s caulk or the product’s recommended sealant.
AvoidAvoid applying over glossy paint or loose texture; it lifts at the corners within months.
5. Back-of-door towel rack and a slim hamper
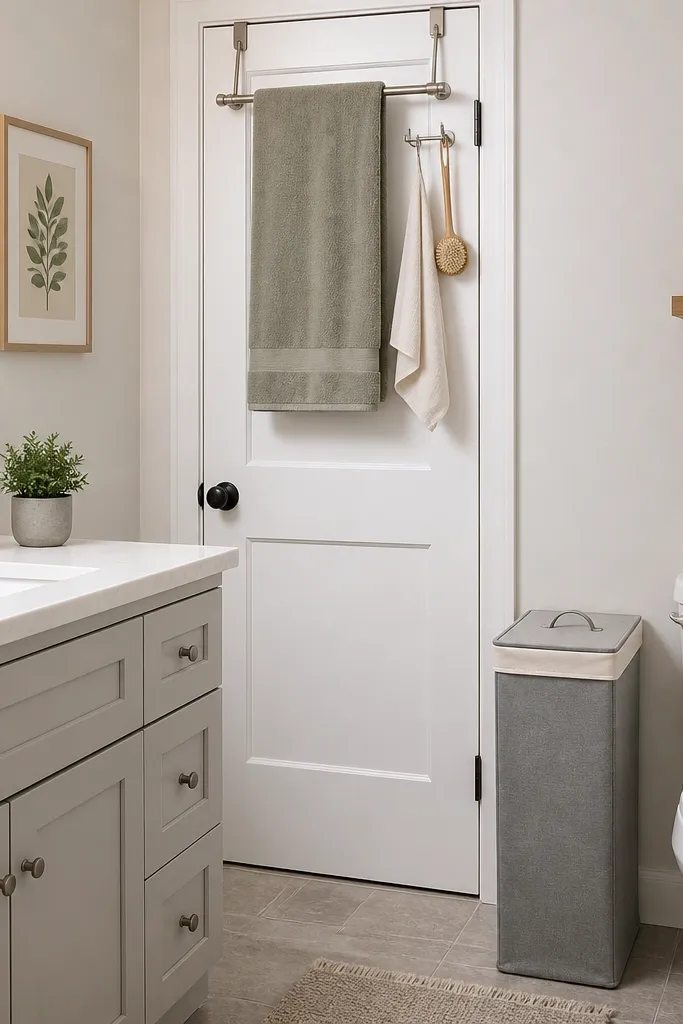
Storage is where small full bathrooms win or fail, and the back of the door is free real estate. A towel rack on the inside of the door keeps towels off the wall and counter, which makes the room look calmer immediately. Pair it with a slim hamper that fits behind the door swing or along the narrow wall next to the toilet. I like hampers that are 10-12 in wide because they don’t steal the walking path. This setup is flattering in the “visual” sense too — fewer items out in the open means your eye sees clean surfaces. The styling principle is reach-first organization: put the daily items where your hands naturally go.
Good to knowUse two towel thicknesses: one thinner hand towel for daily use and one thicker bath towel for after showers.
Start by marking the door interior height so the towel bar sits around chest-to-waist level when the door is closed. Use a towel set that isn’t too thick; folded linen or cotton blends look neat and dry faster than plush terry. Then measure the gap next to the toilet or the wall behind the door and choose a hamper that fits without scraping baseboards. Place the hamper so the door still opens fully and the hamper doesn’t block the toilet lid. Finish with one small hook for a robe or hair dryer, but keep it minimal so the door doesn’t turn into a clutter wall.
AvoidAvoid towel stacks on the counter; they look messy even when you fold them neatly.
6. Vanity upgrade to a 20-24 in floating style
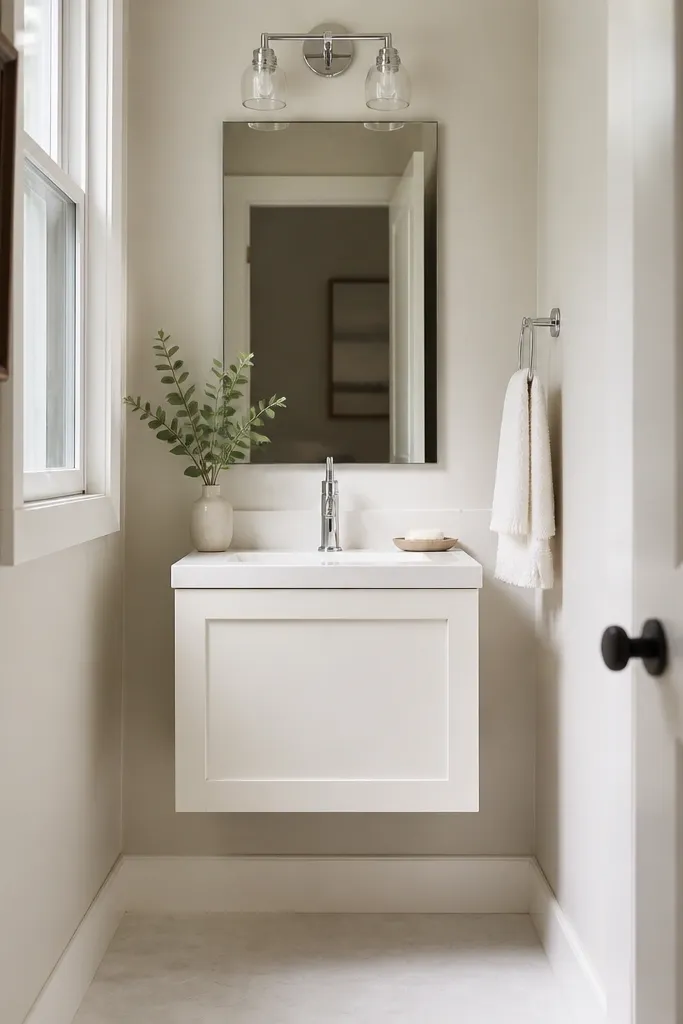
A floating vanity changes how the room reads because you see more floor. In a small full bathroom, that open area makes the walking path feel wider, and it also makes cleaning less annoying. Choose a 20-24 in width if you’re trying to keep the door-to-toilet path comfortable; I’ve found 22 in is the sweet spot for most tight layouts. Warm white with simple hardware looks clean against both chrome and brushed nickel. This works for anyone who hates clutter because you can keep everything in drawers and leave counters empty. The styling principle is visual lightness: expose floor, reduce bulk, and keep lines straight.
Good to knowIf you’re painting the wall, do it before the vanity goes in so you don’t end up touching up around the cabinet later.
Start by measuring your current vanity width and the distance from the wall to the centerline of the drain, then confirm the new vanity’s drain cutout matches. Pick a floating vanity with a back panel that hides plumbing and allows access for shutoff valves. Install the mounting rail or ledger at the correct height so the countertop sits level — I use a laser level and check at both ends. Connect plumbing carefully and test for leaks before you mount doors and drawers. Finish by adding a tall, narrow cabinet or a wall shelf above toilet only if you still have space — otherwise, keep vertical storage off the wall behind the toilet.
AvoidAvoid a vanity with thick, chunky legs; it defeats the open-floor effect.
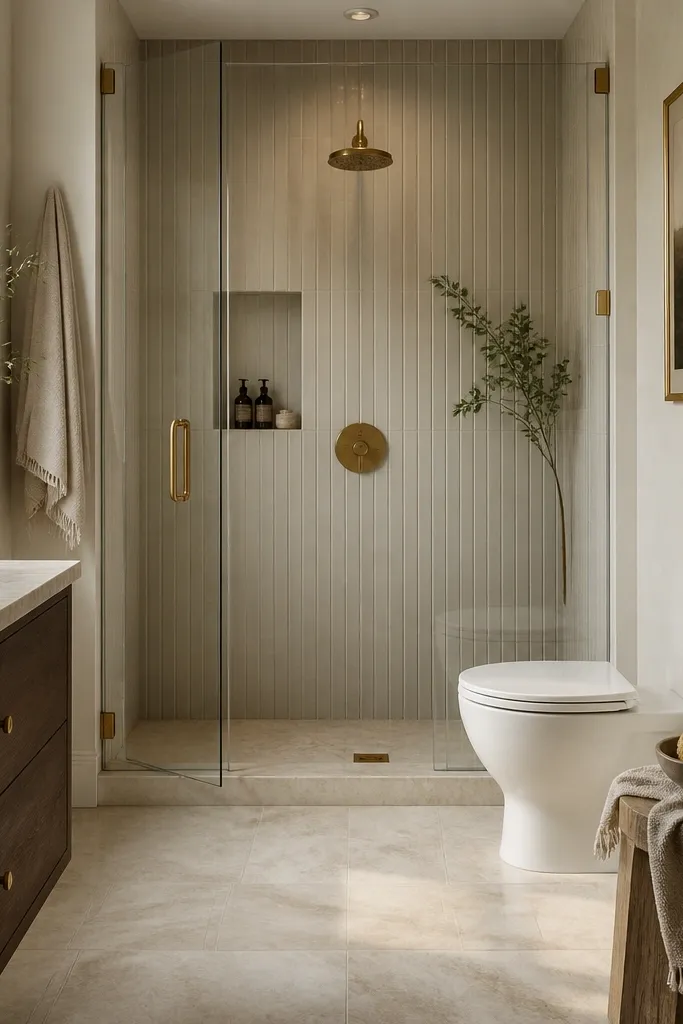
7. Frameless glass shower door and minimal hardware
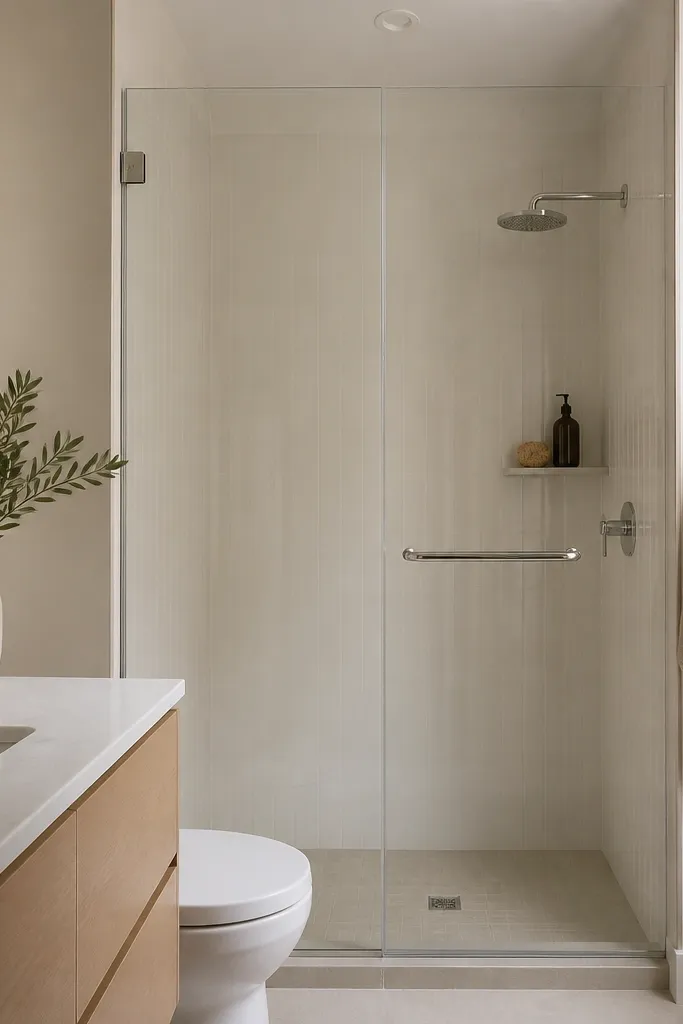
If your shower has a curtain or a bulky sliding door, switching to a frameless glass door changes the room instantly. Clear glass keeps the sight lines open, so the bathroom looks larger even if the footprint stays the same. Minimal hardware in chrome or brushed nickel reduces visual “noise” because you’re not seeing lots of bars and frames. I love this approach for small full bathrooms because it also makes the lighting feel brighter — there’s less shadowing. The styling principle is transparency: fewer opaque visual blocks makes a tight space feel airy.
Start by measuring the shower opening width and height accurately, then check whether your current track or frame needs removal. Choose a door with a handle that matches your faucet finish so everything reads cohesive. Install anchors into studs when possible, and use a level for the hinge or wall channels — small misalignment shows through glass. After installation, apply the recommended sealant to prevent water staining and wipe the glass so it stays clear. Finish by keeping shower accessories limited to one shelf or caddy and one towel hook near the door.
Use a squeegee after showers; clear glass looks expensive when it’s actually clean.
Avoid frosted glass if you want a bigger look; it kills the light.
8. LED mirror with backlighting and anti-fog
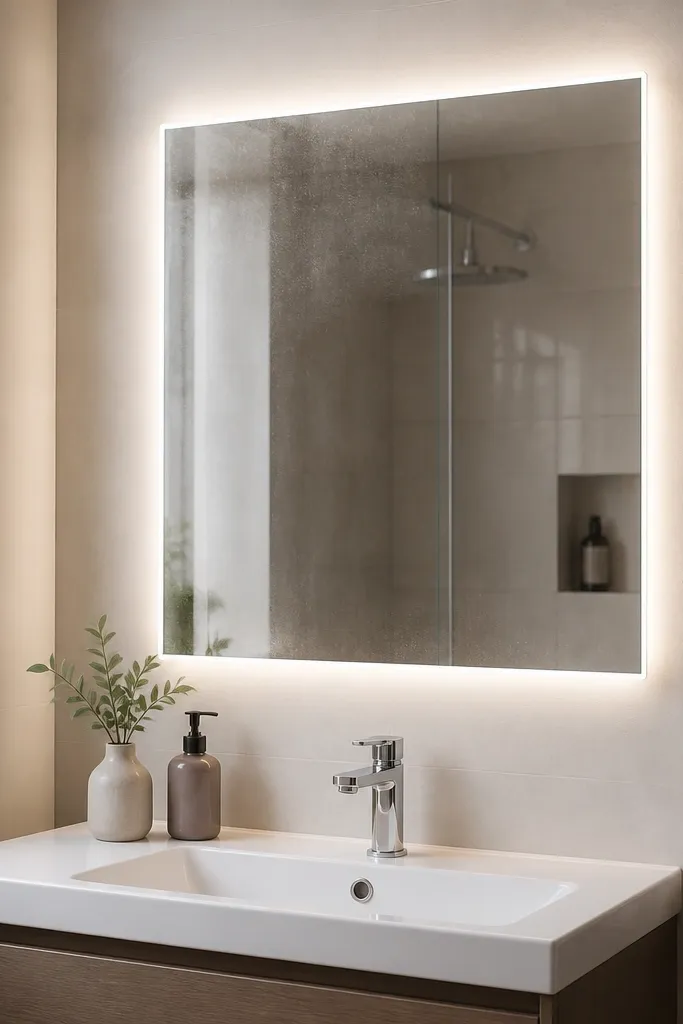
I installed one of these in a tiny full bath with no good overhead light, and it immediately changed how the whole room looked. Backlighting fills shadows under the chin and around the sink area, so the bathroom feels brighter without adding a big ceiling fixture. Anti-fog is the difference between using the mirror twice and never touching it again. Choose a mirror with neutral color temperature around 4000K for accurate bathroom lighting. This is flattering for everyone because it reduces harsh under-eye shadowing and makes skin tones look more natural. The styling principle is even illumination: light spreads across faces and surfaces instead of reflecting off only one spot.
Start by confirming your electrical box location and whether you can hardwire or need a plug-in model. Turn off power, remove the old mirror, and check that the wall is flat enough for the mounting clips. Mount the LED mirror level, then connect wiring or plug it in per instructions. Use the anti-fog setting after showers and test dimming if the model has it. Finish by matching the mirror’s finish to your faucet and light fixtures — if your faucet is chrome, pick chrome hardware, not matte black.
If you wear makeup, set the mirror brightness to 70-80% and don’t use max brightness; it washes out details.
Avoid cheap mirrors that flicker; they look off and can annoy you daily.
9. Two-tone vanity styling with a single bold cabinet color
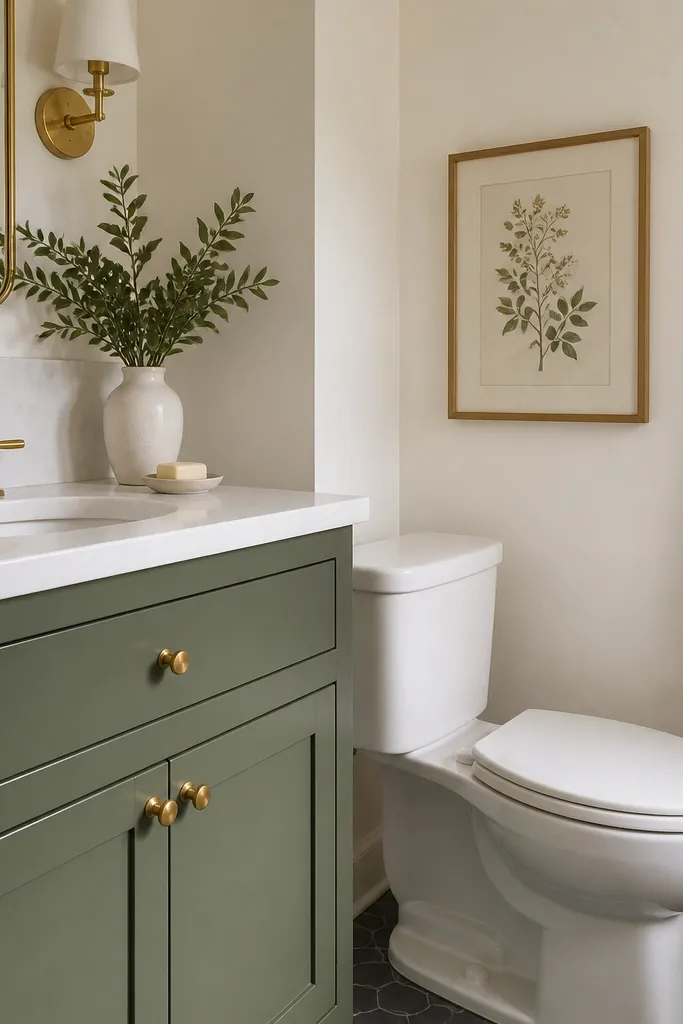
If you want color without making the room feel smaller, paint only the vanity cabinet and keep the walls light. A deep sage or muted terracotta on the vanity gives you a strong focal point that doesn’t swallow the room. Brass hardware warms up the look and makes the space feel intentional instead of random. This works great for people who want a designer vibe but hate loud patterns. The styling principle is one controlled color block: the vanity is the anchor, and everything else stays calm.
Start by removing hardware and cleaning the vanity with a degreaser, then lightly scuff with 220 grit so paint grips. Use a cabinet-grade primer and then paint with a durable finish like a satin enamel. Reinstall hardware once the paint cures fully, and keep the cabinet doors closed when painting the edges so you don’t get drips. Pair it with a white or cream bath mat and keep the shower curtain or glass area plain. Add one small framed print in a matching tone (sage or warm beige) so the color repeats without more clutter.
If you’re repainting, do two coats plus one thin touch-up coat on the cabinet faces for a smooth look.
Avoid painting the walls dark if you already have a dark floor; it makes the bathroom feel like a box.
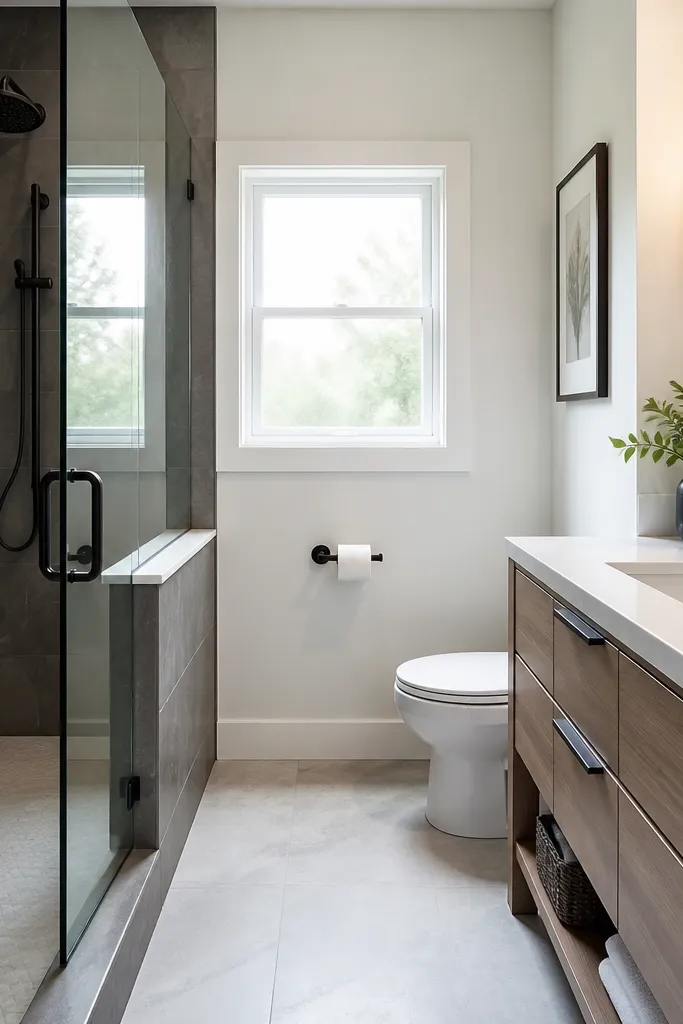
10. Matte black fixtures swap with warm white lighting
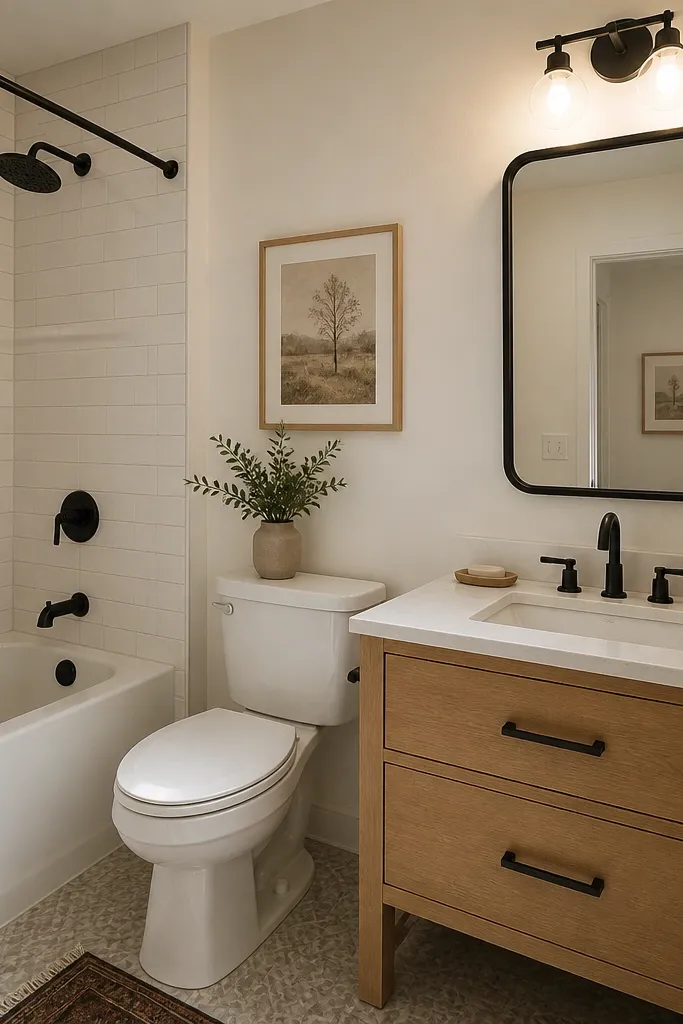
A coordinated fixture swap is the fastest “remodel” look you can get without touching tile. Matte black gives definition to edges — sink, mirror, towel bar — and it makes the space look styled instead of builder-grade. The warm white lighting is key because it keeps black from looking harsh or cold. This works especially well in bathrooms with light walls and light floors because black becomes an accent, not a shadow. The styling principle is finish matching: pick one dark finish and carry it through three areas so your eyes read it as design.
Start by listing what you want to match: faucet, towel bar, toilet paper holder, and cabinet hardware. Buy replacements in matte black from the same line if possible so the sheen is consistent. Turn off water for the faucet swap, replace the supply lines if they look older, and use plumber’s tape on threaded connections. Install the towel bar and toilet hardware into studs where you can, and use a level so it doesn’t tilt. Finish by choosing a warm-white bulb around 2700K and keep the rest of the accessories in light neutrals.
Bring one old piece to the store and compare the sheen under the store lights; matte can look different by brand.
Avoid mixing matte black with shiny chrome — it looks like you pieced it together.
11. Patterned wallpaper in the half wall behind the toilet
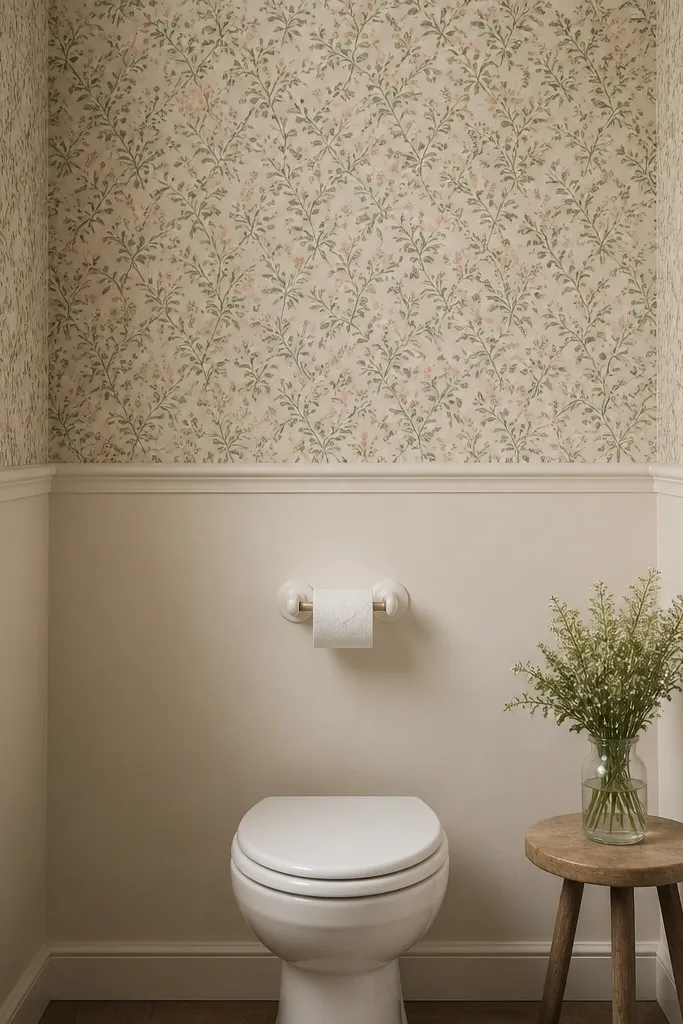
Wallpaper works in tiny bathrooms when you limit the coverage. The half wall behind the toilet is a sweet spot because your eye lands there while you sit, but the rest of the room stays clean. Small-scale botanical prints look expensive because the pattern is controlled, and peel-and-stick makes it renter-friendly. Choose cream base tones and muted greens so it doesn’t clash with chrome or brass. This flatters small spaces because it adds personality without turning the entire room into a busy wall. The styling principle is framing: you create a “designed” section instead of covering everything.
Good to knowMatch the wallpaper’s dominant color to your bath mat or hand towels so the room feels pulled together.
Start by cleaning the wall and smoothing any bumps, then measure the toilet tank height and decide how high you want the wallpaper to go. Cut your first panel carefully and use a level line at the center of the wall so the pattern stays straight. Apply from top down, smoothing with a plastic tool to push air out. Paint the lower half first if you want a two-tone look, then apply wallpaper after the paint cures. Finish by adding a slim picture ledge or small framed art so the wall feels balanced around the toilet.
AvoidAvoid large bold wallpaper patterns in full coverage; it makes the bathroom feel crowded fast.
12. Wainscoting look with vinyl chair rail and crisp paint
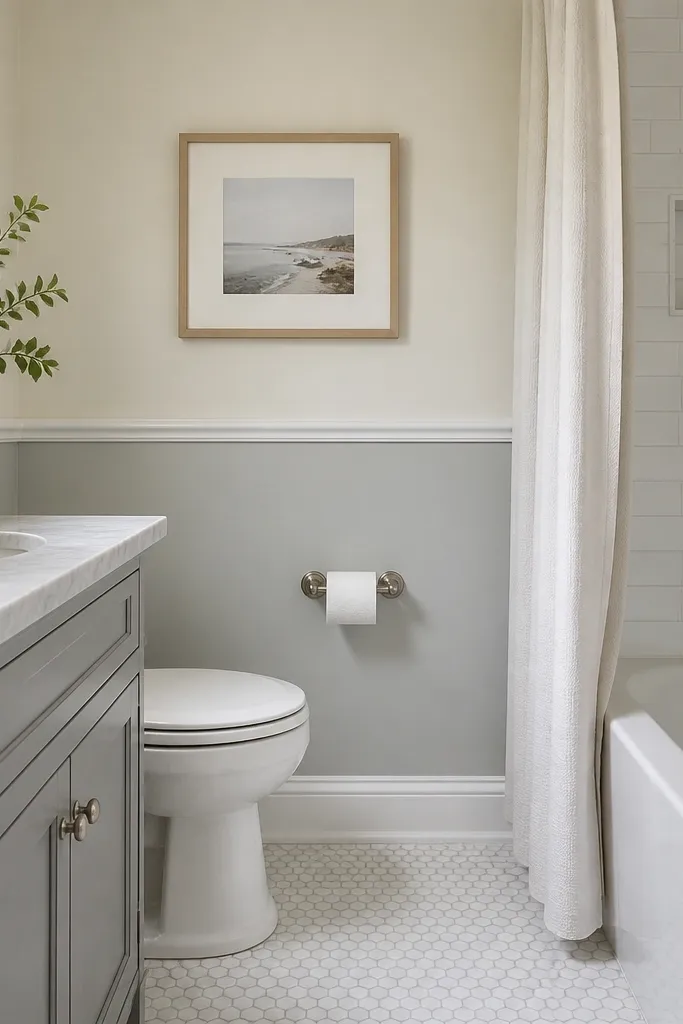
You can fake classic wainscoting in a small full bathroom in a way that looks real, not like a sticker. The trick is keeping the proportions right: chair rail height around 34-38 inches usually works, then you paint the lower half slightly deeper for depth. In a tight room, this gives your eye a horizontal anchor that makes the space feel organized. I like soft light gray on the lower half because it adds contrast without going dark. This flatters most bathrooms because it hides wall imperfections and makes the room feel finished. The styling principle is proportion control: one horizontal line plus clean paint edges.
Good to knowUse painter’s tape with a firm press along the edge; wainscoting looks bad when paint bleeds under the tape.
Start by finding the height where the chair rail lands relative to your mirror and towel placement, then mark level lines with a laser. Install vinyl chair rail trim with construction adhesive and finishing nails if appropriate, keeping the top edge straight. Caulk the seams and sand lightly after it dries so the wall looks smooth. Paint the upper section first, then tape and paint the lower section in your chosen gray. Finish with matching bright white trim and keep accessories simple so the painted structure is the star.
AvoidAvoid placing the rail too high; it turns the room into a tall box instead of adding depth.
13. Recessed medicine cabinet with mirrored doors
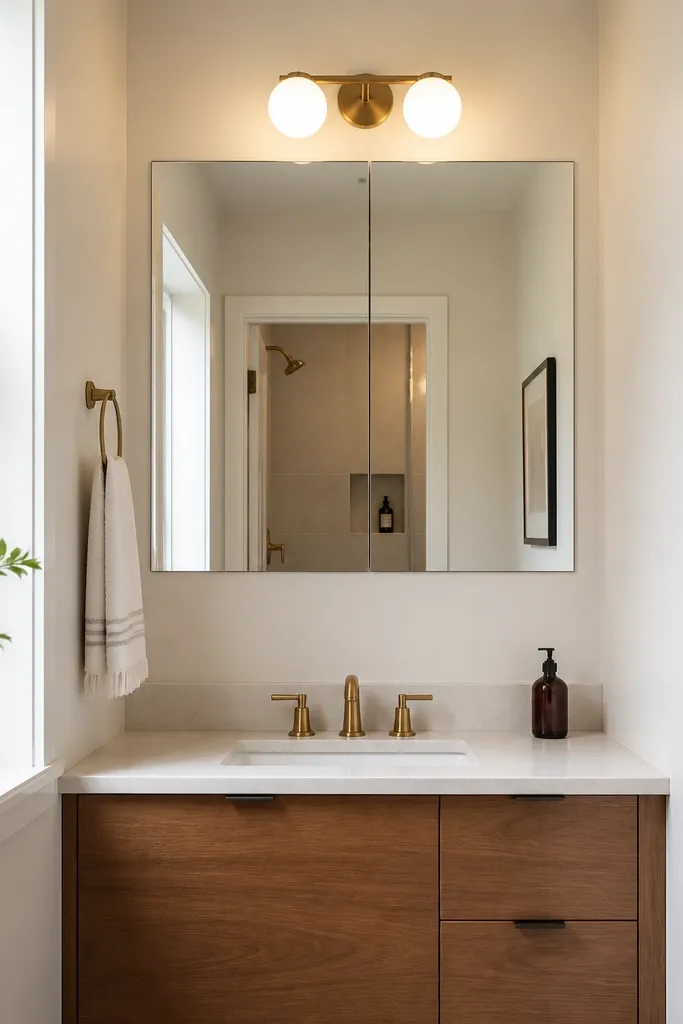
A recessed medicine cabinet makes a small full bathroom look cleaner because it removes the “counter storage clutter” problem. You get a mirror and storage in one spot, and the wall looks smoother because the cabinet doesn’t stick out. I like mirrored doors for tight spaces because they bounce light and make the sink area feel bigger. This works for anyone who hates visible bottles because you can keep daily items inside. The styling principle is negative space: keep the countertop visually empty so the room feels larger.
Good to knowPut heavier items on the lower shelf so the doors don’t sag over time.
Start by checking your wall for studs and confirming if you can cut into the drywall safely without hitting plumbing. If you can’t recess, mount a shallow surface cabinet instead, but measure depth carefully. Choose a cabinet with adjustable shelves so you can fit hair tools, skincare, and first-aid items. Install at the right height so the bottom shelf sits around 5-6 inches above the faucet line for easy reach. Finish by adding a small tray inside for items that leak or spill, then wipe the mirror daily for streak-free clarity.
AvoidAvoid oversized cabinets that cover your light switch area; it looks cramped and blocks access.
14. Matte ceramic floor in soft warm gray with thin grout
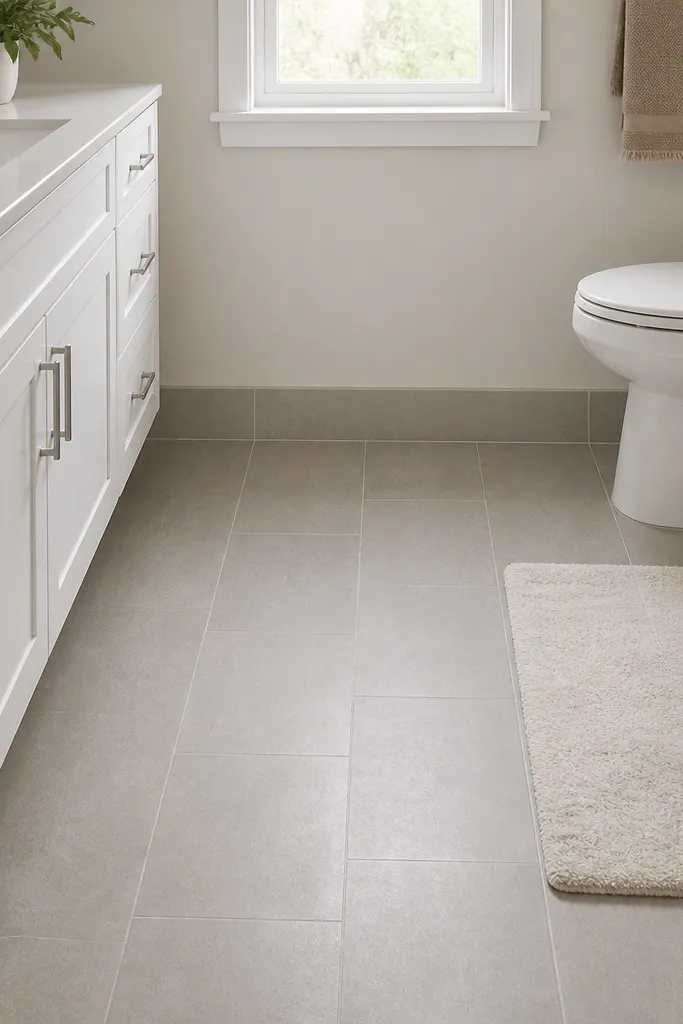
Floor tile is the part of a remodel you feel every day, so I pick floors that hide wear and keep the room feeling calm. Matte warm gray is the sweet spot because it doesn’t show every water spot like glossy tile, and it doesn’t go cold like some blue-gray floors. Elongated tile sizes reduce how busy the floor looks in a small room, especially when grout is a close match to the tile. This flatters small bathrooms because it creates a longer visual line and makes the space look less chopped. The styling principle is texture without chaos: matte finish plus light grout keeps it visually quiet.
Start by measuring your floor and planning a layout that minimizes skinny edge cuts, especially near the toilet. Dry-lay tiles to see how the long side runs relative to the door and vanity so the lines guide your eye. Use a thin-set and spacers appropriate for your tile size, then keep grout consistent and wipe excess as you go. Choose a grout color close to the tile — I usually go 1 shade lighter for light gray floors to keep it bright. After curing, seal grout if the product calls for it, then add a bath mat with a low pile so it doesn’t snag on grout lines.
Use a light bath mat with a flat edge; thick shag mats make small floors look smaller.
Avoid dark grout on light tile; it makes the grout lines look heavy in a small bathroom.
15. Single large towel hook rail instead of multiple rings
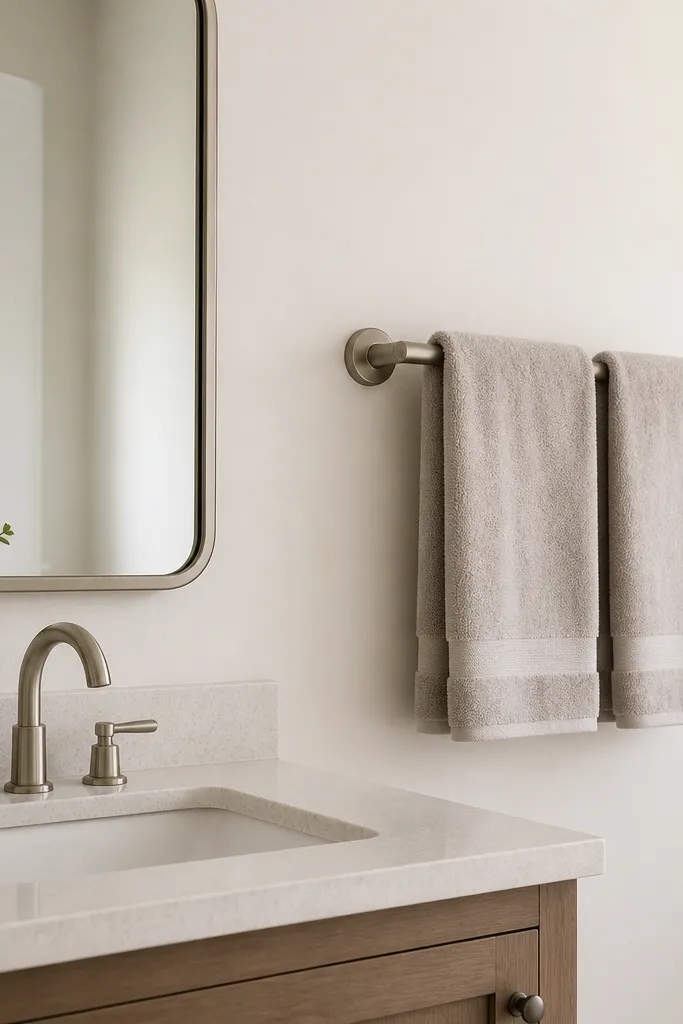
Multiple towel rings look cute online, but in real small bathrooms they turn into a clutter pattern. One towel rail with two towels folded the same way looks intentional and keeps the visual rhythm clean. I like rails that are 18-24 inches long so towels don’t crowd the sink. Fold towels into a consistent rectangle and keep colors limited to two neutrals. This works for anyone who shares a bathroom and wants it to look tidy between washes. The styling principle is repeatable order: same fold, same placement, no random hanging.
Good to knowUse cotton-linen towels with a slightly structured fold; they hold shape and look crisp.
Start by removing old towel hardware and patching holes so the wall stays clean. Measure the wall space beside the sink and mount the rail at a height where towels don’t drag on the vanity edge, usually around 48-52 inches from the floor. Use a stud finder for the rail anchors, or use heavy-duty wall anchors if you’re sure there’s no risk. Fold towels into rectangles, then place them side-by-side with the fold line consistent. Finish by keeping the counter clear and storing extra towels in a cabinet or behind-door storage.
AvoidAvoid mixing towel sizes on the rail; uneven folds make the room feel messy.
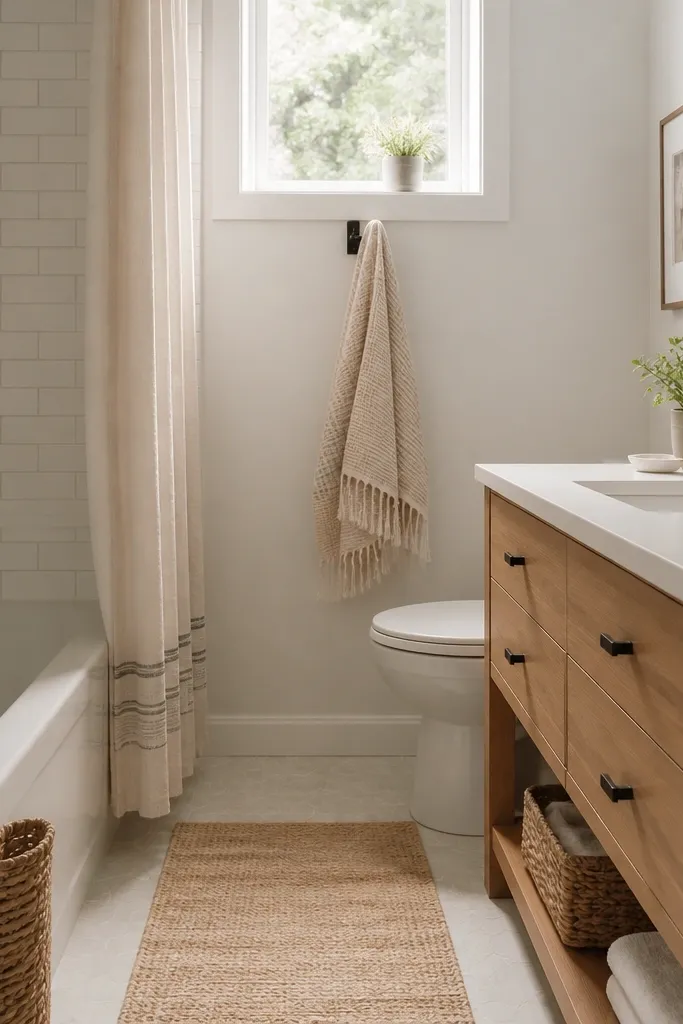
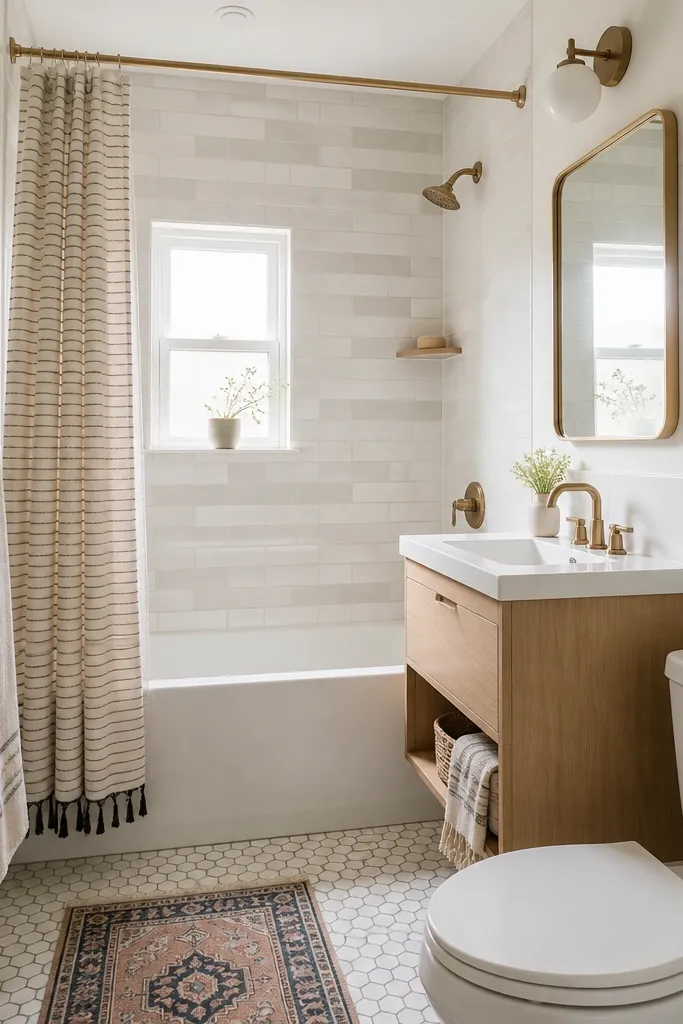
16. Curtain upgrade: floor-length liner + patterned outer curtain
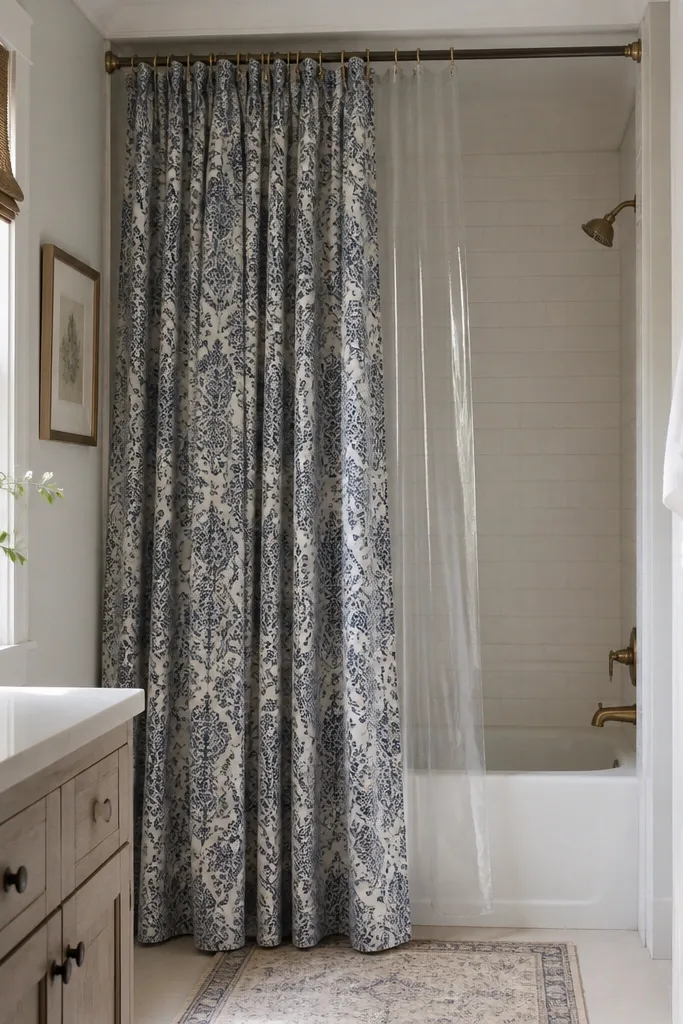
If you can’t install a door, you can still make the shower look bigger with curtain placement and scale. Mount the rod higher and wider than the opening, so the shower curtain doesn’t shrink the space visually. A patterned outer curtain adds style, but keep it muted and with fewer colors so it doesn’t overwhelm the room. The clear liner keeps the water contained without making the shower look heavy. This works for small full bathrooms because it creates height and a clean boundary line. The styling principle is framing: the shower becomes a designed “panel” instead of a curtain hanging in the middle of nowhere.
Start by measuring from where you want the rod to the floor, then set the curtain length so it just touches or lightly kisses the floor. Install the rod 3-6 inches above the top of the tub edge and extend it beyond the shower opening by 4-6 inches on both sides. Hang the clear liner first, then add the outer curtain with rings that glide smoothly. Choose a pattern size that’s medium, not tiny — tiny prints get lost and look cheap. Finish by adding a bath mat with a flat weave and keep the rest of the bathroom in neutrals so the curtain is the focus.
Use a tension rod only for rentals; for a real look, install a proper wall-mounted rod with secure anchors.
Avoid a curtain that’s too short; it makes the bathroom look unfinished instantly.
17. Under-sink pull-out organizer with labeled bins
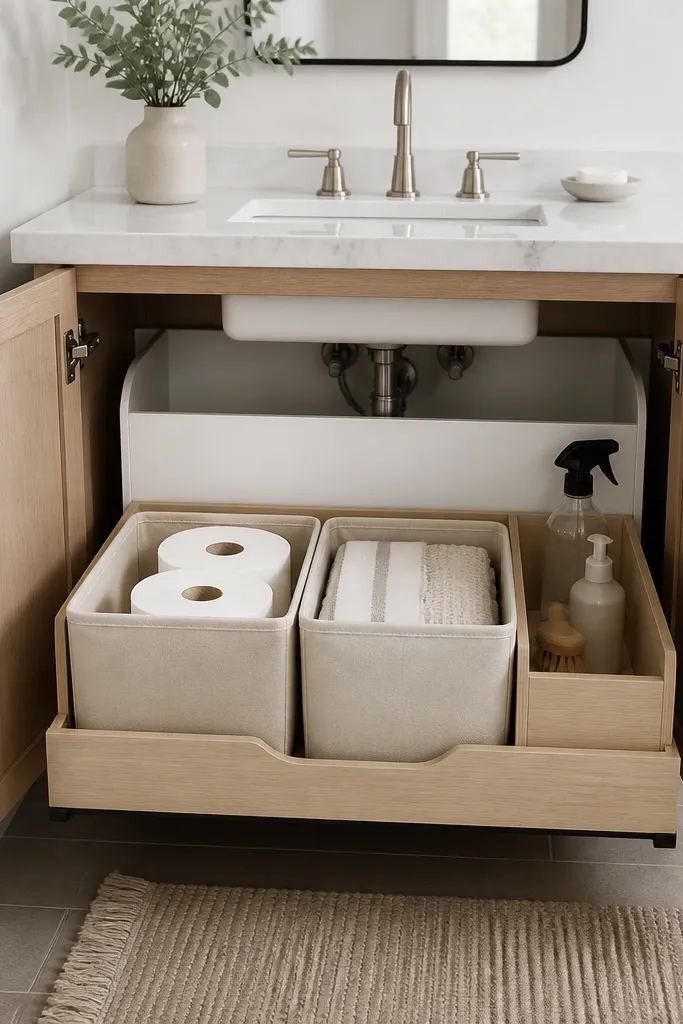
This is the hidden remodel trick: make the mess disappear when the doors are closed. Under-sink areas are where small full bathrooms get visually chaotic fast, especially if you store hair tools, backups, and cleaning products there. A pull-out organizer keeps items from sliding into the plumbing zone and lets you find things without dumping everything out. I like neutral bins because they don’t look like a storage solution; they look like part of the bathroom. This works for anyone who wants the room to look styled, even on busy weeks. The styling principle is concealment with function: clean surfaces plus organized drawers.
Start by measuring the inside width and depth of your cabinet, then choose an organizer that slides without scraping the door. Install a splash guard panel behind the plumbing if you get leaks or condensation, and keep it dry for the best look. Add two bins: one for everyday toiletries and one for backups, then label with simple tape labels inside the cabinet. Use a small tray for things that spill so you can pull the tray out quickly. Keep the cabinet doors closed most of the time and only open when you’re actively using it.
Put a small microfiber cloth in the cabinet so you can wipe fog or water spots the same day.
Avoid clear bins packed too full; they look messy and show every label and bottle.
18. Toilet tank cover with built-in shelf and decor
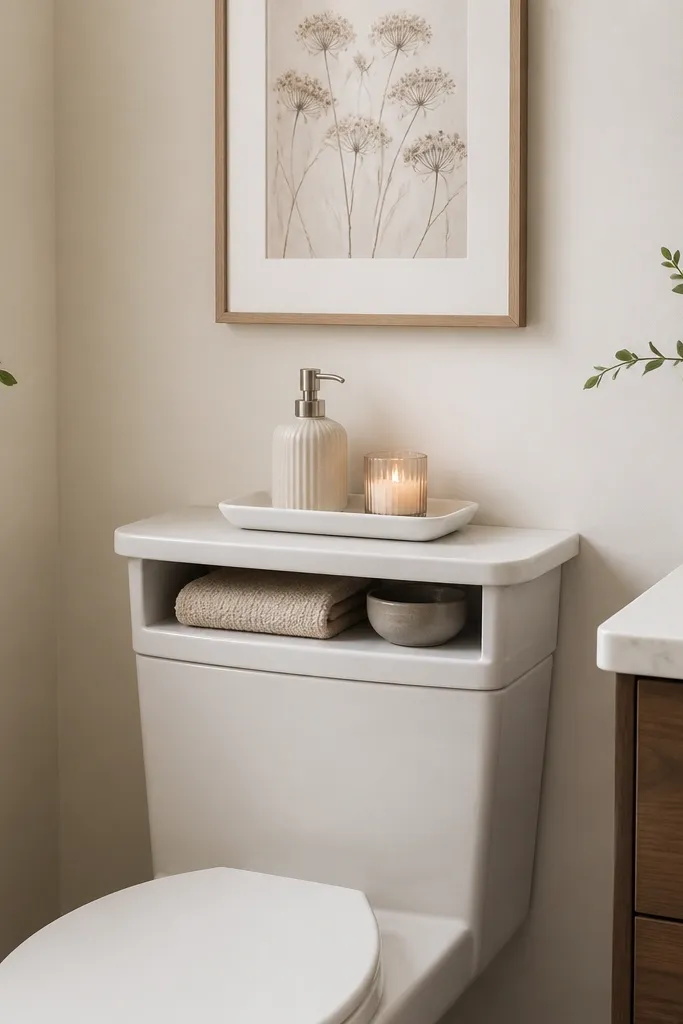
A toilet tank shelf sounds like a gimmick until you use one that’s sized correctly. In a small full bathroom, the tank is a dead zone, and a cover gives you a flat surface that’s at the right height for daily items. Choose a cover with a clean, simple top and a minimal profile so it doesn’t look bulky. The materials matter: smooth wood or molded composite looks better than rough MDF with fake grain. This works for people who want a tidy counter feel without installing a cabinet. The styling principle is using built-in geometry: make the toilet area look like part of the design, not leftover space.
Start by measuring the tank width and height including the lid, then buy a cover that fits those exact dimensions. Dry-fit it before you seal anything, and make sure it clears the flush button or lever. Place a shallow tray on top so the soap and lotion look like a set, not random items. Keep decor to one small item plus one functional item — I like a candle or reed diffuser plus soap. Finish by coordinating the finish with your hardware, like brushed nickel accessories for a silver-toned look.
Use a tray with a lip so bottles don’t slide when the floor gets wet.
Avoid overloading the top with three-plus items; the tank shelf makes clutter feel louder.
19. Sconce lighting on both sides of the mirror with dimmer
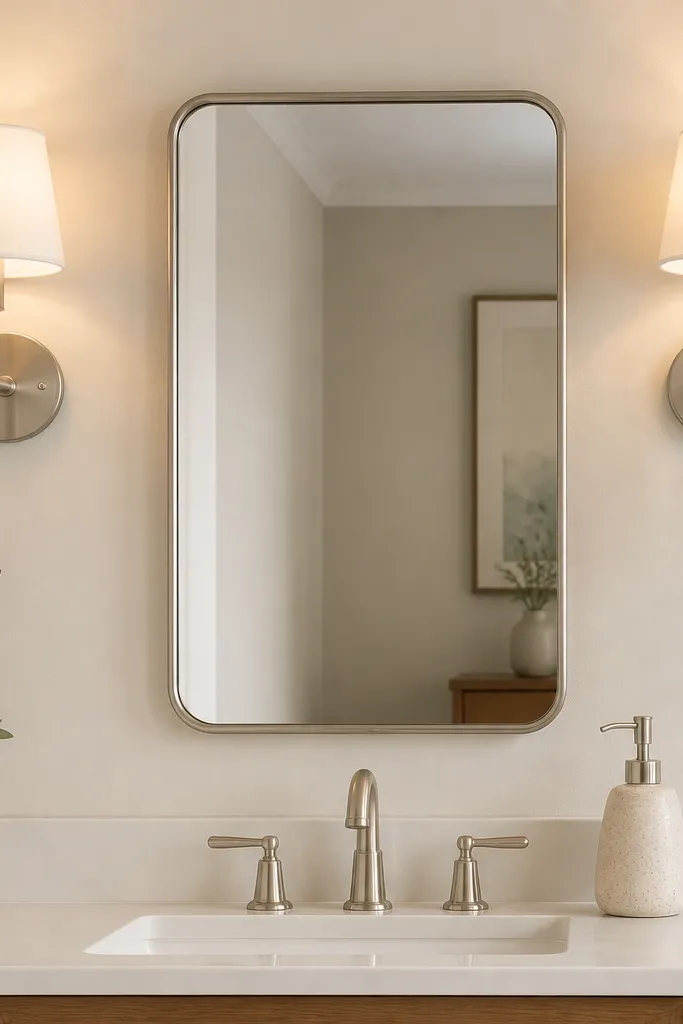
If your bathroom overhead light turns your face into a shadowy mess, sconces fix it fast. Two matching sconces on either side of the mirror give you even lighting across cheeks and under eyes, and that instantly makes the whole bathroom feel more expensive. A dimmer switch is the quiet upgrade that makes nighttime routines comfortable. I like white shades or frosted glass because they reduce glare and look tidy in small spaces. This is flattering for everyone because it reduces harsh highlights that make skin look uneven. The styling principle is balanced light placement: mirror lighting should be symmetrical and soft.
Good to knowIf you only have one working side, mount a single sconce and add a small LED puck under the mirror to fill shadows.
Start by checking your electrical box wiring and whether you can add a dimmer that matches the bulb type. Mark the sconce height so the center of the fixture sits around eye level — usually 65-68 inches from the floor, depending on your mirror. Install mounting plates into studs when possible and use a level to keep both sides aligned. Use warm-white bulbs around 2700K for a cozy bathroom tone, and test brightness before finishing trim. Finish by keeping the mirror frame and hardware finishes matched so the light fixtures look like part of one set.
AvoidAvoid placing sconces too high; it creates a “spotlight forehead” look.
20. Bench-style vanity stool for linen storage and seating
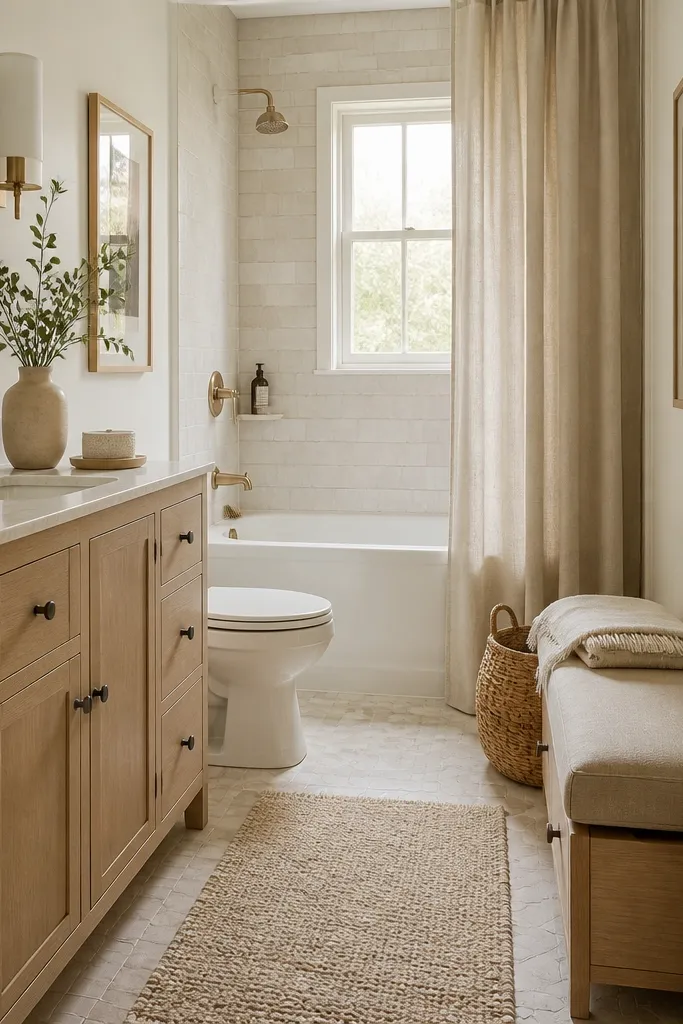
In tight full bathrooms, you don’t always want a bulky cabinet, but you still need a place for linens. A bench-style stool with storage gives you seating for shaving and a spot for rolled towels or a laundry bag. Choose a narrow width around 18-22 inches so it doesn’t block the main path. Linen or woven fabric looks soft against tile and makes the room feel less clinical. This works for anyone who wants function that also looks intentional, not like a random plastic bin. The styling principle is multi-use furniture: one piece that solves two daily problems.
Good to knowUse a removable washable cover on the seat if you’re prone to water splashes.
Start by measuring the distance between the vanity edge and the wall so you can keep a comfortable walking gap, usually 30 inches. Place the bench so the seat faces the vanity or mirror area, not the toilet, so it doesn’t feel awkward. Use a low-pile rug or bath mat that matches the bench fabric tones and keep the floor around it clear. Store rolled towels in the drawer and hide laundry in a lidded basket inside the drawer. Finish by styling one folded linen set on top, then stop there so it stays tidy.
AvoidAvoid tall stools; they make the bathroom feel tighter than it is.