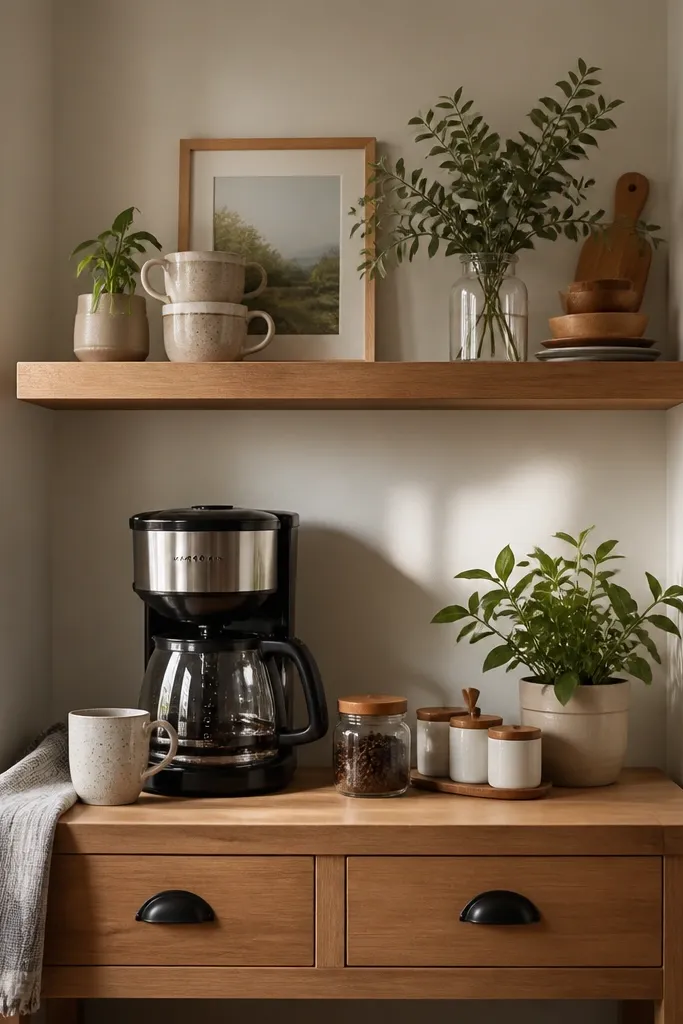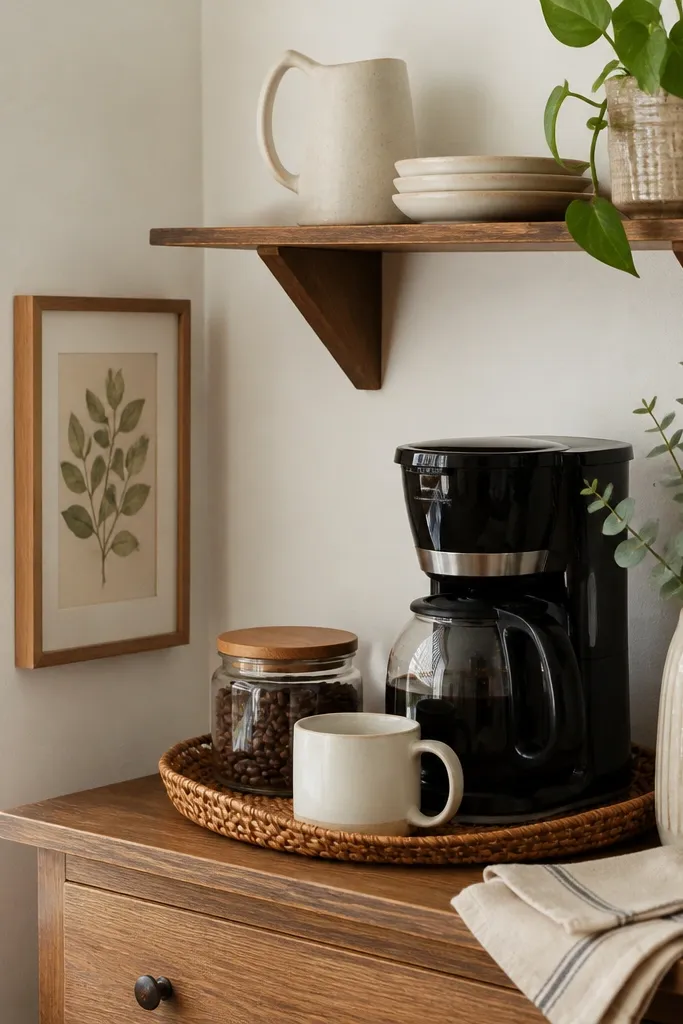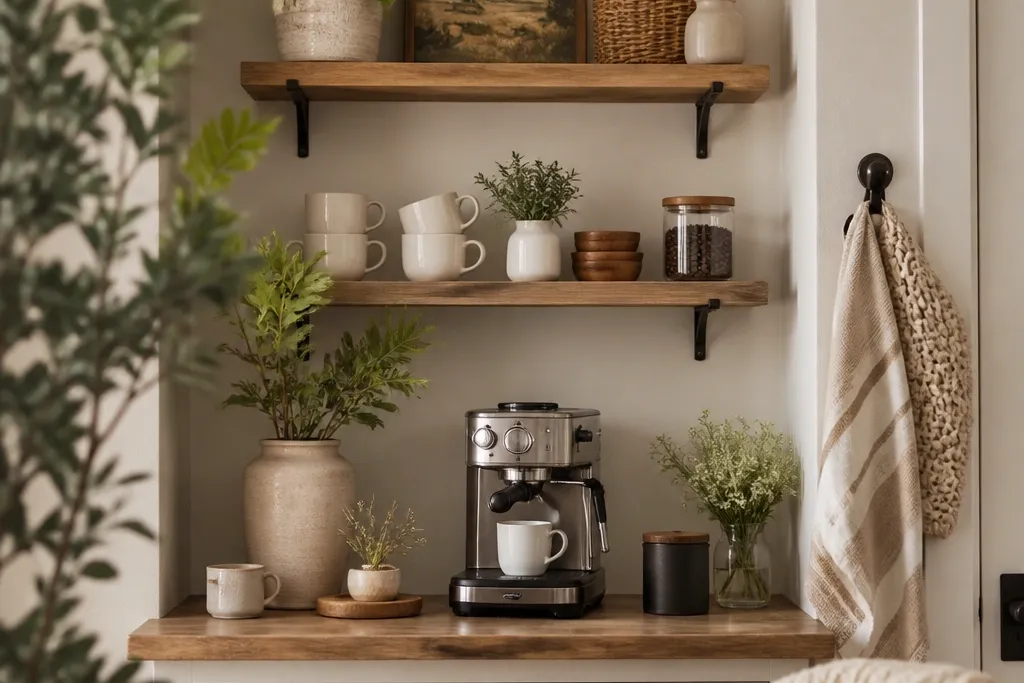
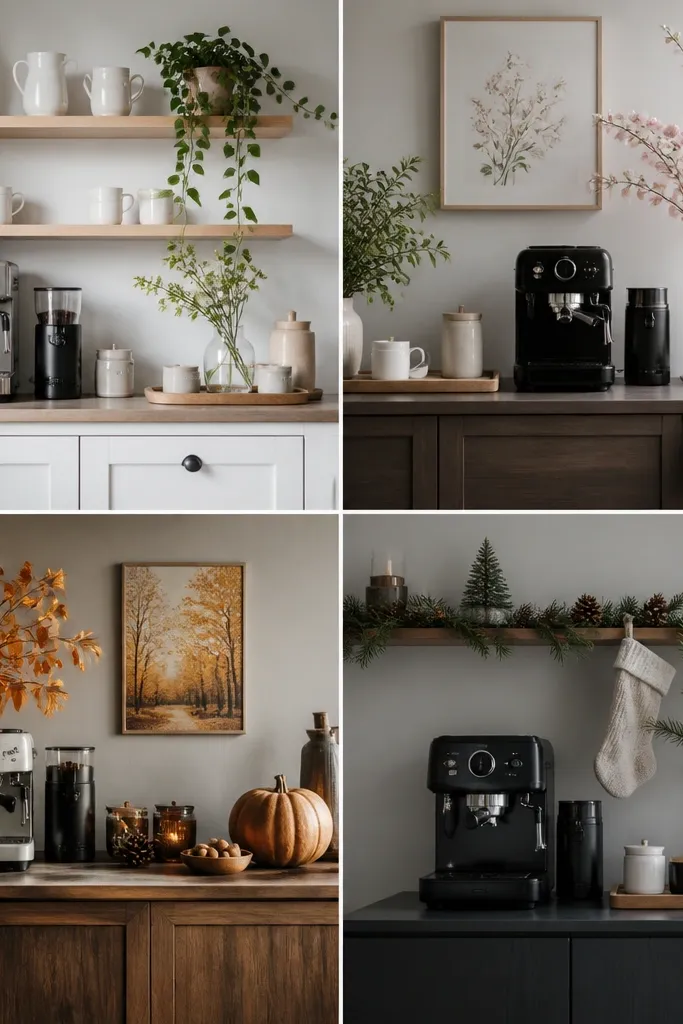
1. Matte Black Tray Bar with Cream Mugs
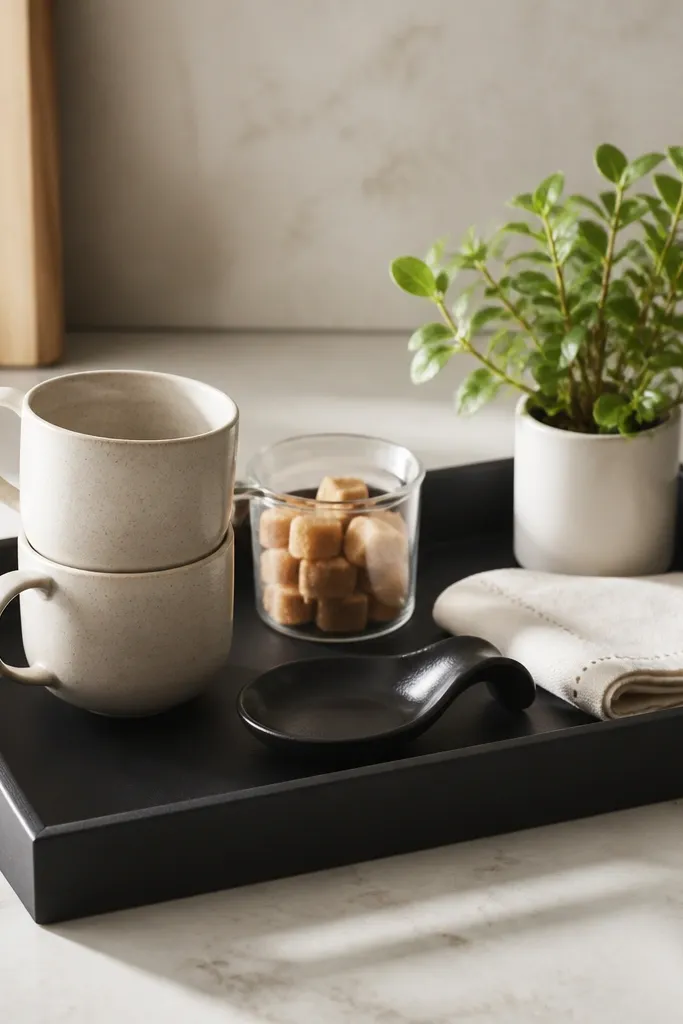
Start by centering the tray on your counter so it clears the main prep area. Place the mugs on the left, stack them so the handles face outward, and set the sugar jar on the right with the label side turned slightly toward you. Put the spoon rest in the gap between the jar and the mugs, then tuck a folded linen napkin under the jar edge so it looks styled instead of dropped. Finally, add the small plant in the back corner of the tray to give height without taking up counter space.
This setup works because the tray has weight and a clean edge, so your eye reads it as one unit. I use cream mugs because they don’t clash with stainless appliances, and the matte black tray ties into most black hardware without looking harsh. The glass jar is key — it shows the cubes and keeps the corner from feeling flat. If you have medium to deep skin tones in your household, cream ceramics look extra warm against skin when you’re serving, and they photograph well for morning light.
AvoidAvoid mixing three mug colors at once; it makes the tray look like a storage dump.
Good to knowUse a tray liner cut from felt or thin cork so the tray doesn’t slide and crumbs wipe up faster.
2. Wall-Mounted Rail with Hanging Ladles and a Mini Canister Set
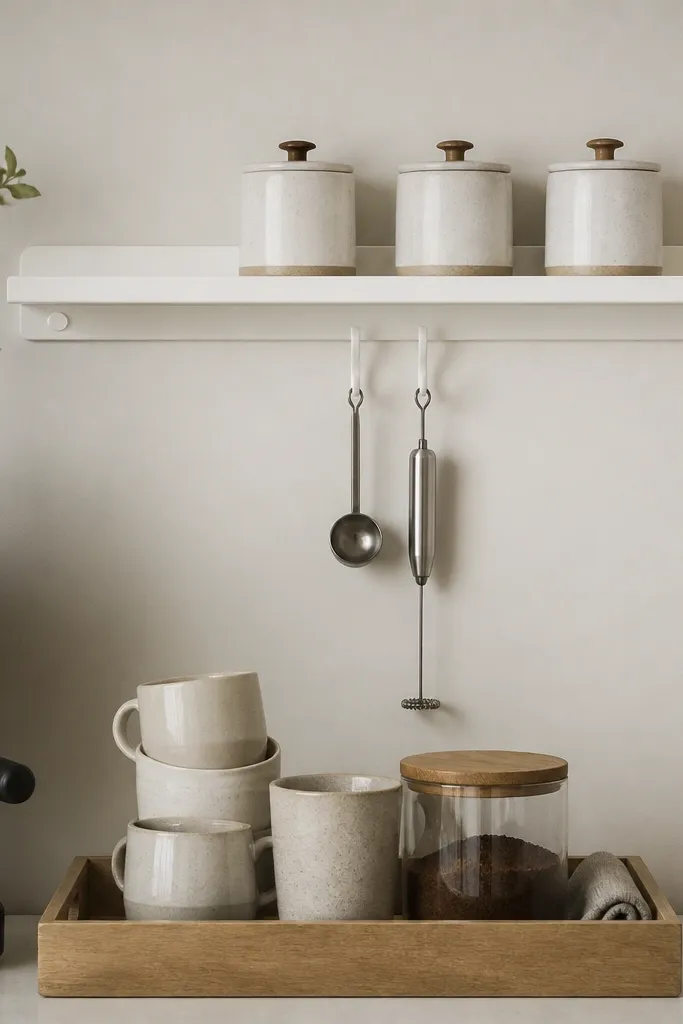
Mount a rail 12-16 inches above the tallest mug so you can grab tools without bumping your knuckles. Hang one ladle and one frother on opposite sides so it doesn’t look lopsided. On the shelf, set three canisters in a row — one for beans, one for cocoa or tea, one for sugar — keeping lids facing forward. Place a slim wooden tray under the shelf for cups and a small jar, then keep the tray’s front edge aligned with the shelf below.
When you move your tools up, your countertop instantly looks calmer. The wall rail gives you vertical organization, and the hanging ladles look intentional instead of messy. I like matching canisters because the shapes repeat, which makes the whole corner look cohesive even when you swap coffee beans or sweeteners. This style flatters small kitchens because it keeps your counter usable and your coffee area still feels “designed.”
AvoidSkip long hanging pieces that swing over the tray; they hit cups and start getting moved around.
Good to knowPick canisters with consistent lid shapes; matching lids make it look styled even when jars are half empty.
3. Clear Acrylic Cup Stack with Iced-Drink Season Swap
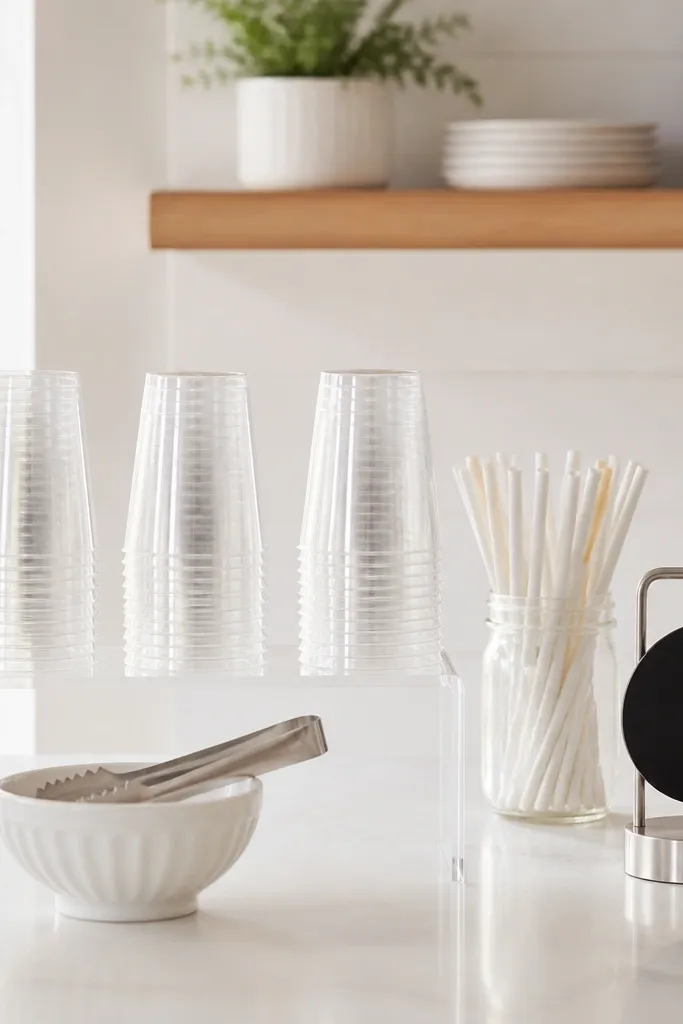
This is a countertop trick I use when the space is tight: clear acrylic creates visual lightness. It makes your cups look like part of the setup instead of clutter, and it’s easy to swap what sits on top. For year-round use, I keep the base cups and then rotate the top accessory: in summer, I add a jar of straws and a scoop; in winter, I swap to a jar of cinnamon sticks and a warmer sign. Clear acrylic also photographs clean in morning light, which matters if you’re styling for guests.
Start with a clear acrylic riser sized so it fits your cup diameter with about 1 inch of breathing room on both sides. Stack two cups on the bottom and one on top, handles facing out. Add a small clear jar near the front corner so it doesn’t crowd the machine. Use a chalkboard tag on a clip at the back of the riser — winter says “cinnamon” and summer says “straws,” but the structure stays the same.
Wipe acrylic with a microfiber cloth and a tiny bit of glass cleaner so it stays streak-free.
Don’t stack cups too high; anything above three in a row looks unstable and turns into a spill risk.
4. Rattan Tray + Linen Runner Coffee Corner
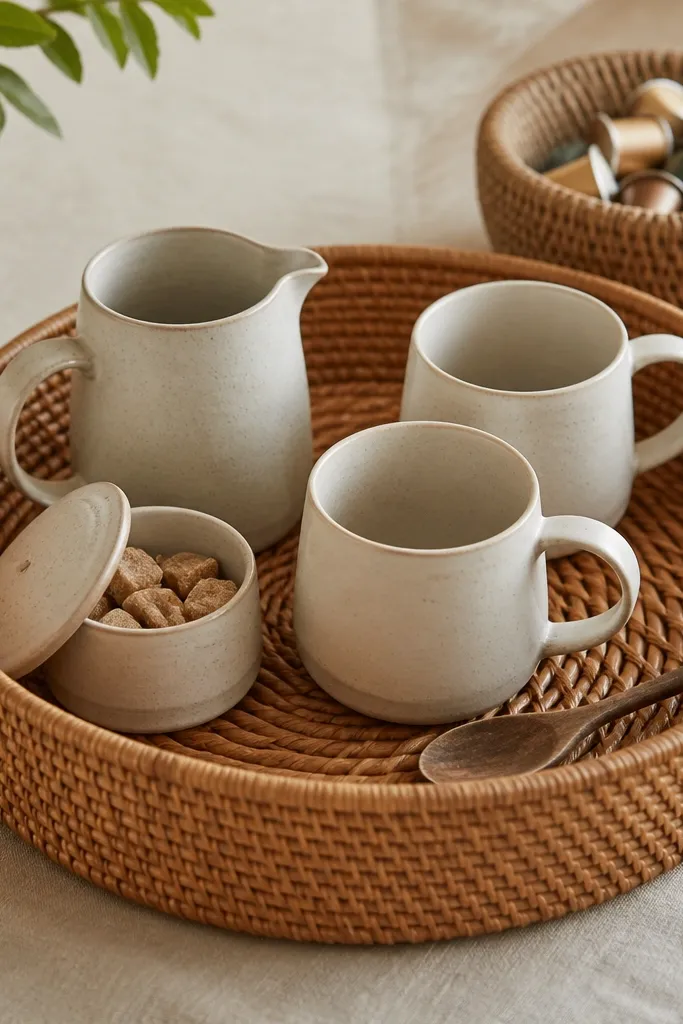
Lay a linen runner across the counter so it’s centered under where you’ll place the tray. Put the rattan tray on top, then set the mugs at the left edge and the creamer pitcher at the right edge to balance the composition. Add the sugar bowl near the front so it’s easy to reach, and tuck a wooden spoon beside it so it looks “set out” rather than scattered. Store pods in a woven basket behind the tray and pull one or two pods forward so it looks stocked, not hidden.
This one looks good in every season because rattan and linen handle contrast without fighting your kitchen. The rattan tray adds texture, while the linen runner hides small stains and makes the whole area feel softer. I use a ceramic creamer pitcher because its curved shape breaks up the straight lines of most counters. If your home has light floors and neutral walls, this combo keeps your coffee corner from feeling cold.
AvoidAvoid glossy white ceramics on top of rattan if your kitchen has strong yellow light; it can look dingy.
Good to knowChoose a runner that is slightly longer than the tray by 2-3 inches on both ends so it frames the area.
5. Sage Tile Coaster Wall Panel for a Tiny Coffee Station
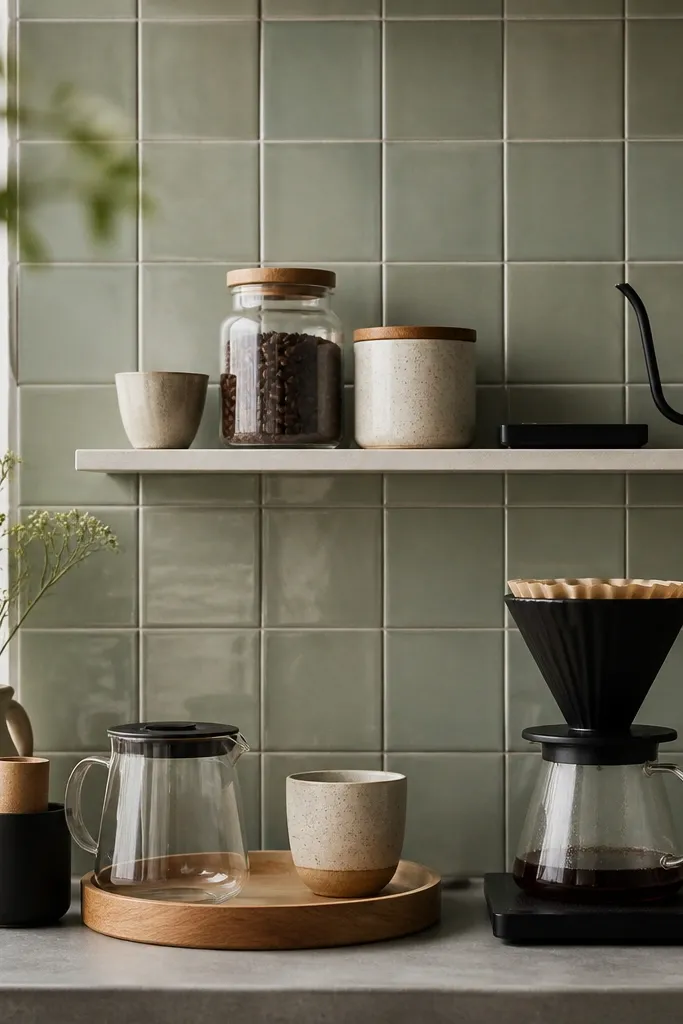
If your counter is small, your wall can do the heavy lifting. A tile panel gives you a color anchor that stays pretty even when you swap items. I’ve used sage tiles behind a coffee station because they calm down both warm wood and cool stainless finishes. It also makes the coffee corner feel curated without needing a tall sign or big decor piece. This works best if your kitchen is mostly white, gray, or light wood — the sage becomes the “seasonal” base you don’t have to change.
Mount the tile panel at the height where the top of your jars will sit about 2-3 inches below the shelf. Place a narrow shelf on the panel and line up three items: a small coffee scale, a jar for beans, and a jar for filters. On the counter, set a simple tray with mugs and a small creamer, keeping everything within the width of the tile panel. Leave one blank space on the shelf so it doesn’t look crowded.
Use tile spacing that matches your shelf width; tight grout lines look cleaner behind glass jars.
Skip busy patterns on the counter if you add a patterned tile panel; choose one visual busyness at a time.
6. Under-Shelf Basket with Pod Sorting + Front Mug Display
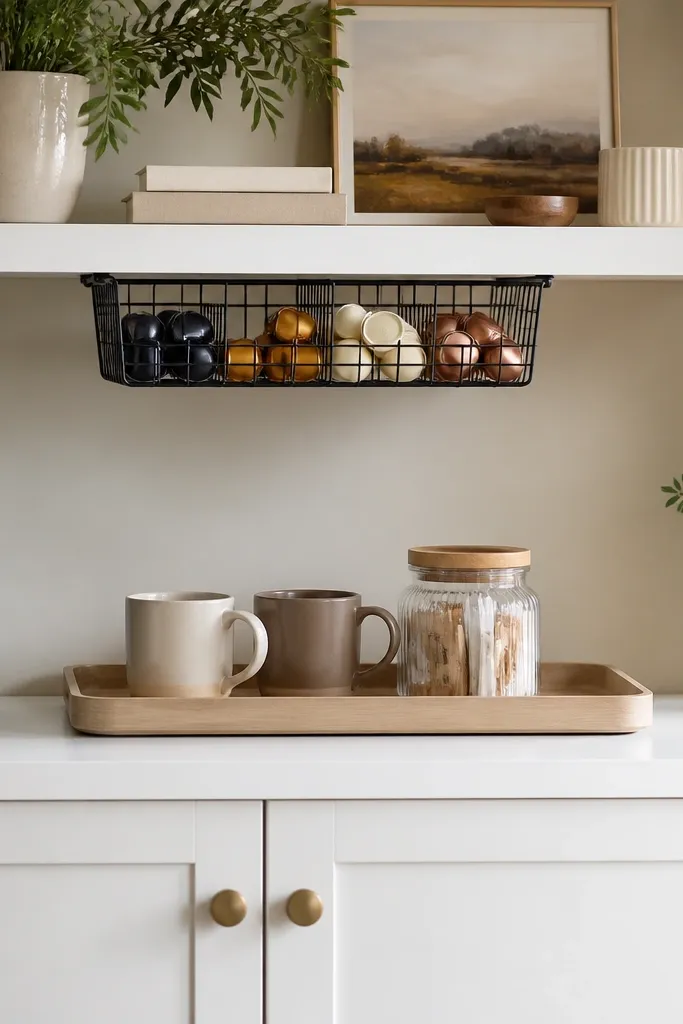
This is the “why does my coffee corner always look messy” fix. Pods hide under the shelf, so your front display stays neat and intentional. I sort pods by type — one row for vanilla or flavored, one row for dark roast — and I keep only a few visible at the front in a small cup holder. The front mug display gives you the aesthetic, and the basket keeps the clutter out of sight. This style looks especially good in rentals because you can install the basket without reworking cabinetry.
Install a small under-shelf basket so it sits 2-3 inches above your counter edge to avoid bumping. Sort pods into two sections using a thin divider or two small bins inside the basket. Put a tray on the counter directly below the basket and align it with the basket opening. Place two mugs on the tray, then add one jar of sweeteners in the corner closest to the sink for easy refill.
Label pods with small masking-tape strips on the bottom so the labels don’t show from every angle.
Don’t let pods spill above the basket lip; that’s what makes the whole setup look like storage.
7. Oak Stand + Mini Chalkboard Menu for Daily Flavors
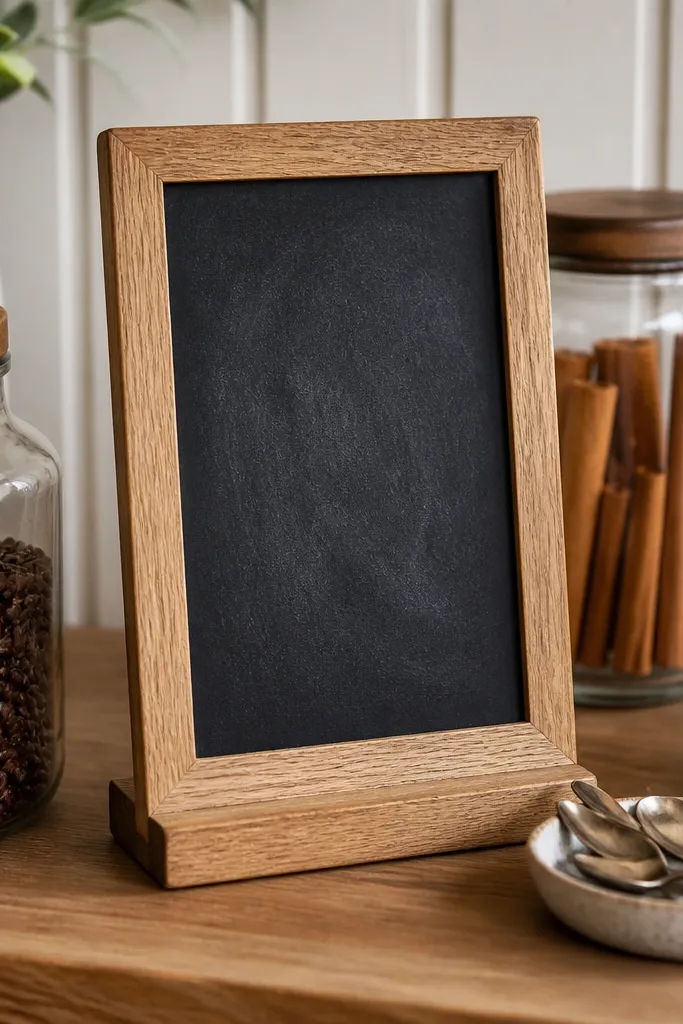
Pick a chalkboard that is no wider than your tray so it doesn’t crowd the counter. Place it on the back side of your oak tray, then set the bean jar on the left and a cinnamon or cocoa jar on the right. Add a small spoon dish at the front edge, and set your mugs behind the spoon dish so the handles don’t block the sign. Write one line of menu text only, like “Today: latte + oat milk,” and keep it short so it doesn’t look like a cafe poster.
This is a practical aesthetic: a small menu sign makes your coffee corner look used and planned. I use an oak stand because it warms up kitchens with lots of white tile or chrome. The chalkboard also lets you change the “seasonal” feel in under a minute — winter gets “spiced latte,” summer gets “iced vanilla.” If you host friends, this helps people feel like the station is part of the kitchen routine, not a random drawer of supplies.
AvoidAvoid long menus with multiple fonts; it reads messy instead of intentional.
Good to knowUse white chalk or a chalk marker that matches your kitchen lighting; dark chalk can look muddy under warm bulbs.
8. Ceramic Canister Trio with a Rotating Seasonal Top Jar
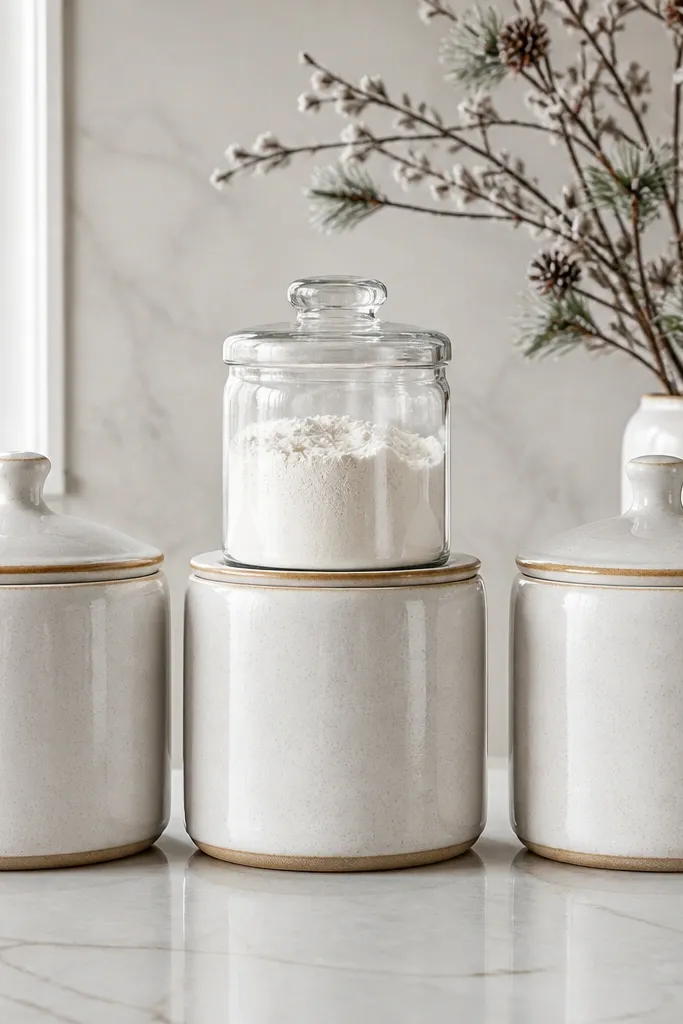
Buy or place three canisters in a straight line, leaving 1 inch between them so lids don’t bump. Put beans in the largest canister, filters in the medium, and sugar/tea in the smallest. Add the rotating jar on top or in front of the center canister so it’s the only thing that changes. For winter, use a small jar with cinnamon sticks and a tiny branch; for summer, use a jar with syrup pumps or decorative stir sticks. Keep your mug stack on the side so the canisters remain the visual anchor.
This setup works because the base stays the same and only one jar changes. Matching canisters create structure, and the “rotating top jar” gives you a seasonal moment without rebuilding. I like ceramic with a soft matte finish because fingerprints don’t show as much as glossy. For year-round coffee, keep beans and filters in the same canisters all the time, then rotate only the top jar content: peppermint sticks in winter, flavored syrup in summer. It flatters almost every kitchen because ceramic neutrals blend with both warm and cool color schemes.
AvoidDon’t rotate three things at once; if everything changes, it stops looking “all year round.”
Good to knowMeasure the jar diameter so it sits stable on the canister lid; I’ve had jars wobble and it drives me crazy.
9. Black Metal Caddy with Glass Sippers and Straw Holder
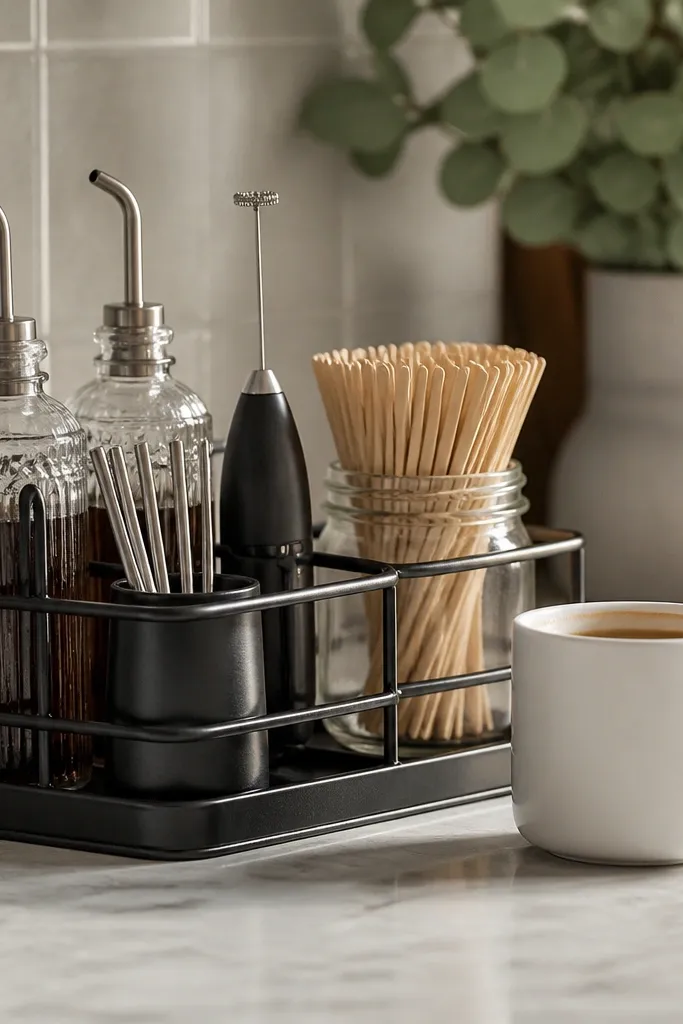
Place the caddy in the most open area of your counter, not behind the machine where you bump it. Add two glass sippers on the top rack and keep them angled so you can see the rims. Put the straw holder in the front pocket area, then tuck the mini milk frother in the side slot. Add a jar of stir sticks behind the straw holder so it doesn’t block the view of the glasses. Keep one white mug on the side for hot drinks so the corner reads “coffee” all day.
This is the modern version of a coffee corner: clean lines, visible glass, and a tool-friendly setup. Black metal ties in with many modern appliances, and glass sippers make iced drinks look intentional instead of random. I use a straw holder because it solves the “where do the straws go” problem, and it keeps the corner looking tidy. This works best for kitchens with gray, black, or stainless accents because the metal finish matches the room.
AvoidAvoid mixing clear and colored glass without a plan; it can look like a craft table.
Good to knowUse stir sticks with a consistent color wrapper so the jar looks neat even when it’s half full.
10. Vintage Spice Drawer Hack for Coffee Packets
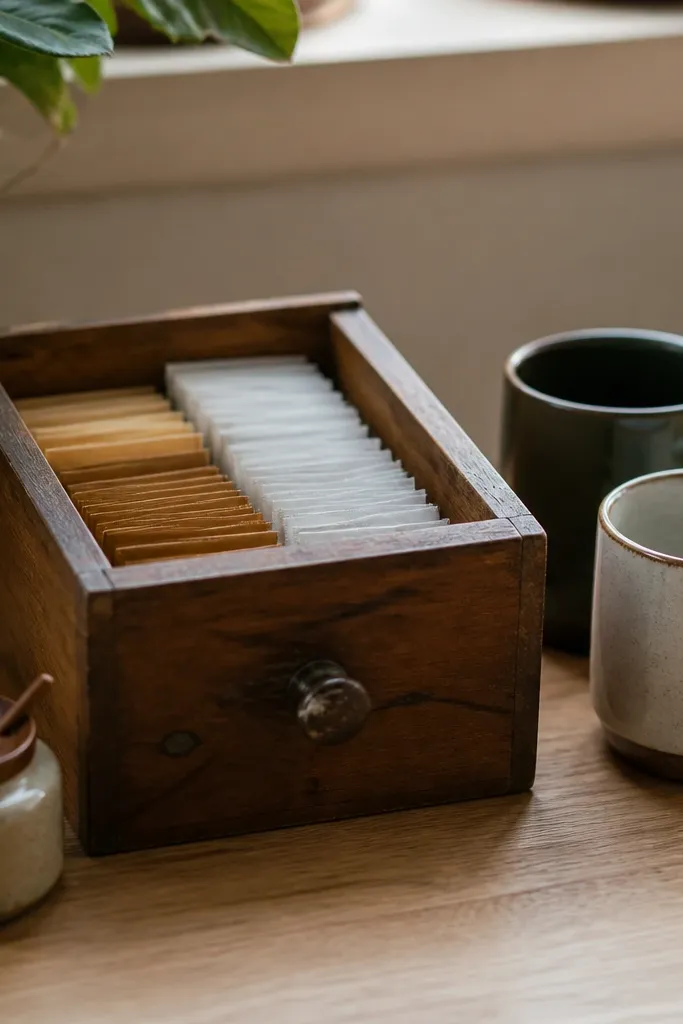
Find a small drawer that sits flat and has a lip so packets don’t slide forward. Place it on the counter near the sink or the machine — wherever you actually restock. Stack packets by type, and line the bottom with a thin piece of craft paper or felt to stop packets from rattling. Put two mugs on a small tray next to the drawer, then add one jar for sugar or creamers in front so the drawer doesn’t hold everything. Keep one spoon in a dish on top of the tray so you’re not hunting.
This is one of my favorite “countertop doesn’t look like storage” hacks. A drawer-front organizer gives you a physical container with a face, so packets stop spilling out into open bins. The wood texture makes the coffee corner feel lived-in, which helps it look good in every season. If you have a farmhouse or warm traditional kitchen, this feels right away. It also works if your coffee options are mostly packets and instant — you need a home for them that looks like decor.
AvoidAvoid leaving the drawer empty-looking; keep at least two packet types visible at all times.
Good to knowMeasure the drawer interior height before you buy; too shallow and packets bow, too deep and they slump.
11. Stacked Books with a Ceramic Tray on Top
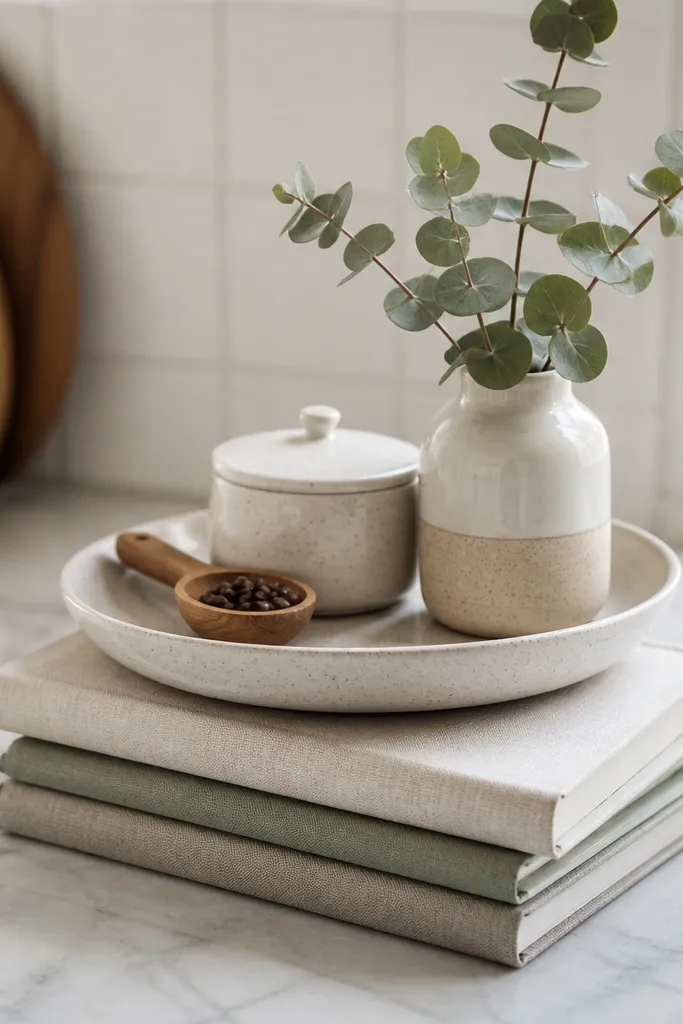
Pick 2-3 hardcover books with similar color tones and place them where you don’t block the kitchen work zone. Put a ceramic tray on top so it covers the width of the books and doesn’t overhang. Add a sugar bowl and coffee scoop in the tray, then set a small vase or jar with eucalyptus in the back corner. Place mugs on a small side plate or directly on the counter in front of the books so the height is controlled. Keep the tray limited to three items so it reads styled, not cluttered.
This is a height trick that doesn’t require shelves. Stacking books creates a riser, and a ceramic tray on top keeps the look polished. I like using muted book covers because they blend into neutral kitchens, and the tray hides the book edges so it still looks intentional. This setup is great for counters that are too low to display anything tall without making it look crowded. It also works well for year-round because the only thing you swap is the plant sprig.
AvoidAvoid glossy high-contrast book spines; they pull focus and make the corner look accidental.
Good to knowUse a small felt pad under the tray so it doesn’t slide on slick book covers.
12. Glass Cloche Over a Cinnamon Jar with a Mug Ring
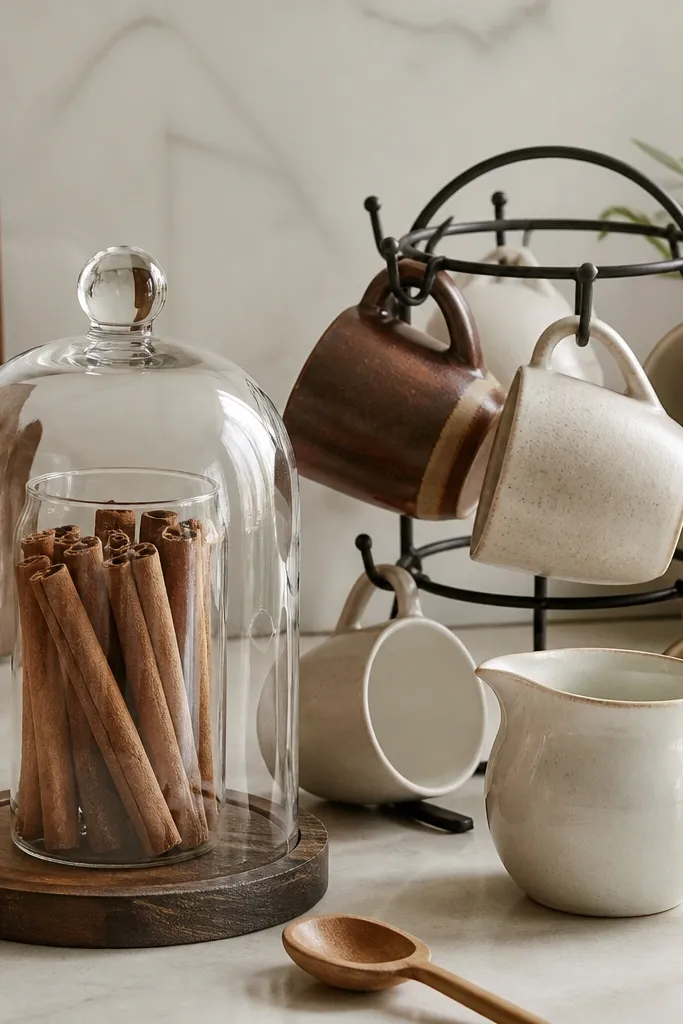
A cloche gives you instant “finished” energy because it frames what’s under it. I use it over a cinnamon jar because the sticks look good through glass and smell like winter without adding extra decor. The mug ring keeps mugs upright and visible, so the corner doesn’t look like a stack of dishes. This style feels fancy without being hard, and it looks great in kitchens with warm light. It’s also a lifesaver for year-round because the cloche stays, and you swap what’s inside.
Place a cloche on the back half of your counter, then position your mug ring in front of it so the cloche doesn’t block handles. Inside the cloche, use a jar filled with cinnamon sticks or coffee beans for a neutral look. Add one small cream pitcher beside the mug ring, not under the cloche. Keep a wooden spoon dish near the front edge so it’s the last thing you touch when making drinks. For summer, swap cinnamon sticks for decorative stir sticks or citrus peels in a small jar so the cloche still looks seasonal.
Wipe the cloche daily for the first week; fingerprints show on day one and it’s easier to fix early.
Avoid putting messy items under a cloche; the sealed look makes spills and sticky lids look worse.
13. Lemon-Print Tray Liners with Neutral Mugs and One Brass Accent
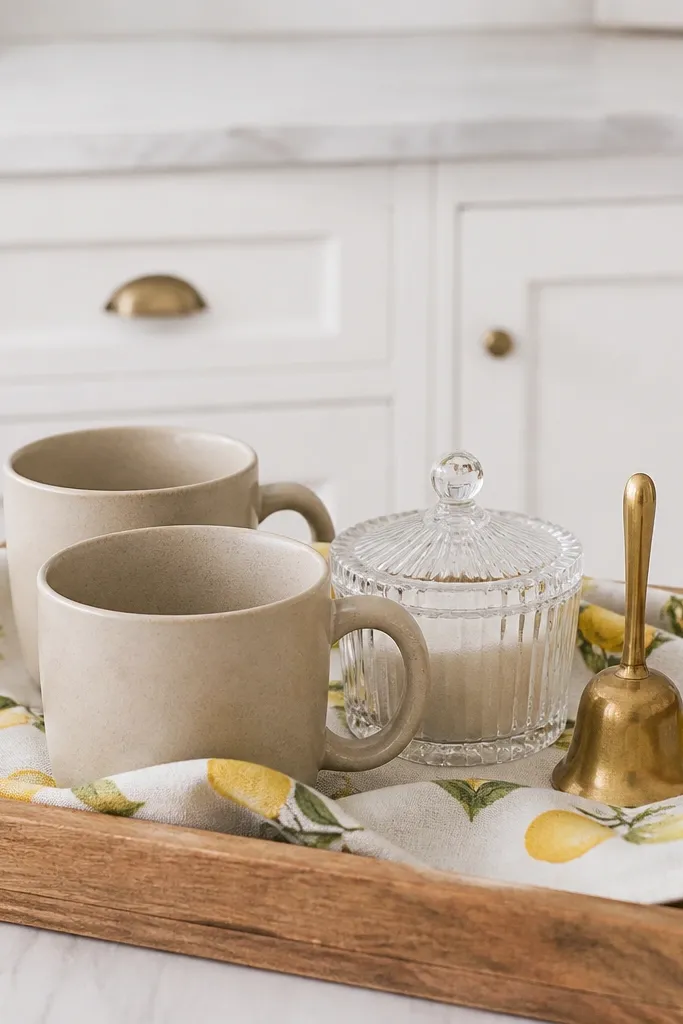
Put a large tray on the counter and line it with a removable cloth liner that covers the tray base and tucks slightly at the corners. Place mugs at one side, sugar jar at the opposite corner, then keep the spoon holder centered near the front edge. Add one brass item — a spoon rest, bell, or small tray — and keep it to one piece only. For summer, use the lemon print; for winter, use a solid liner that matches your ceramic tone. Keep the mug color consistent year-round so the liner does the seasonal work.
This is how you bring seasonal personality without changing your whole coffee corner. The tray liner takes the pattern hit, while neutral mugs and glass keep everything grounded. I use one brass accent because it ties into common faucet and hardware finishes and adds warmth without going overboard. In winter, I swap the liner to a solid cream or dark olive, and the rest still matches. This setup looks especially good in bright kitchens because the print pops in daylight and doesn’t look heavy.
AvoidAvoid pattern everywhere (liner plus mugs plus jars); keep one patterned element.
Good to knowFold the liner edges evenly; uneven folds make even nice trays look sloppy.
14. Folded Tea Towel Behind the Machine with a Front Cup Rail
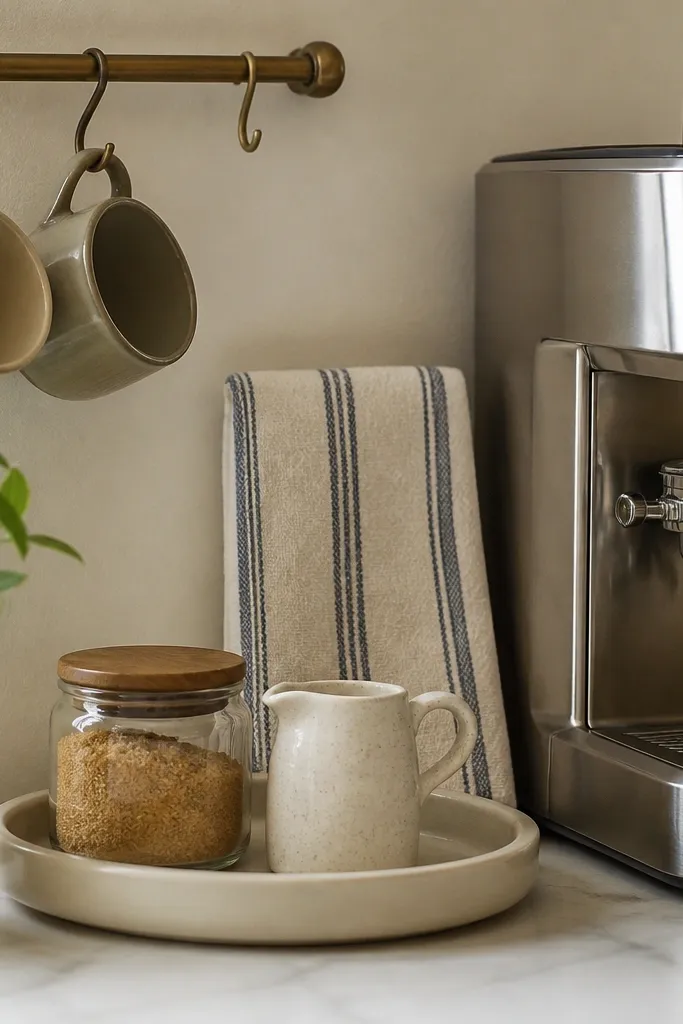
Hang or mount a cup rail so the mugs hang with handles facing out and don’t overlap. Fold a tea towel into a tall rectangle and stand it behind the machine so it covers the back gap. Put a tray on the counter in front with a jar for sugar, a small pitcher for creamer, and a spoon dish. Keep the tray width the same as the machine footprint so the whole bar looks aligned. Add one small seasonal item on the tray — cinnamon in winter or stir sticks in summer — and keep the rest stable.
This is a practical aesthetic for people who make coffee daily and don’t want decor to fight the workflow. The folded tea towel hides the “coffee chaos” behind the machine, like extra filters, a spare scoop, and cords. A small cup rail keeps mugs off the counter, which instantly reduces clutter and makes your corner look cleaner. I like using white or light gray towels because they don’t clash with most ceramic colors. It works for all seasons because the towel is a background layer, and you swap mugs or one jar.
AvoidAvoid bulky towels that flop; they look messy and collect spills.
Good to knowIron the towel crease once; a sharp fold looks intentional and reads “designed,” not thrown there.
15. Mini Bar Cart on Wheels with a Countertop Landing Tray
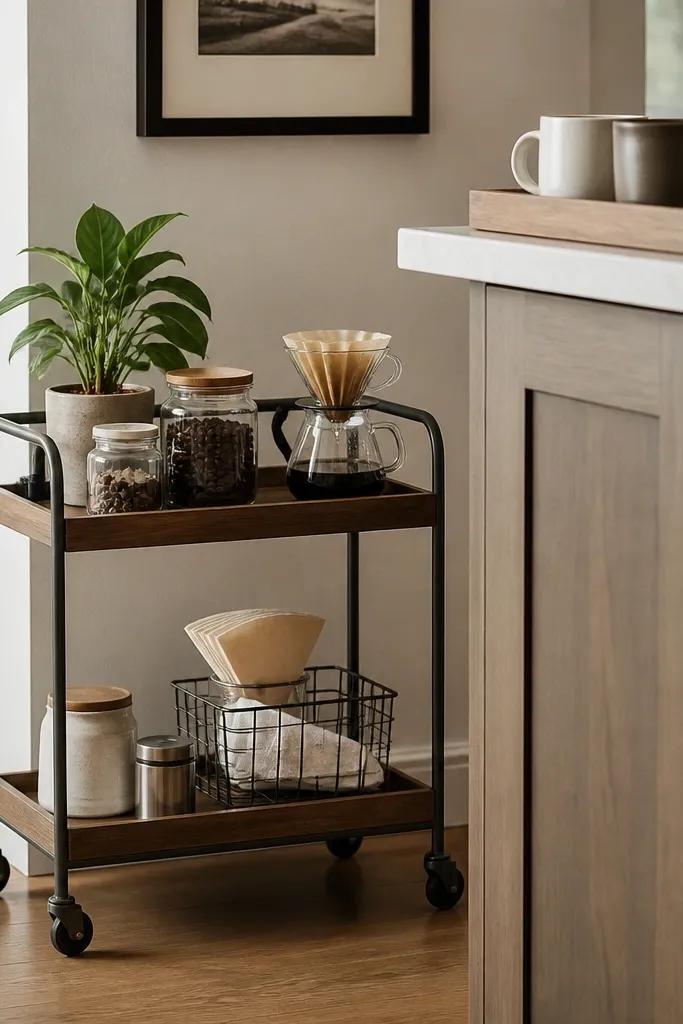
Place the cart next to the counter so the cart shelf height lines up with your everyday coffee tools. Keep a landing tray on the counter with mugs and one jar only. On the cart shelf closest to you, store filters and spare cups in matching bins. On the top shelf, place a plant and a jar of beans so it looks decorative even when you’re not using it. When you swap seasons, replace only the jar content and one mug liner, leaving the cart bins alone.
A bar cart solves the problem of coffee supplies multiplying. You keep the counter looking like a display area, and the cart stores everything that would otherwise clutter the countertop. I like pairing a landing tray on the counter with storage on the cart because it gives you a clean “front stage.” The wheels matter — you can pull the cart out for deep cleaning and push it back when guests arrive. This style works for families because it handles extra mugs, extra sweeteners, and backup filters.
AvoidAvoid putting your machine on the cart if you use it constantly; it makes the setup harder to reach.
Good to knowUse small bins with lids on the shelves; open storage turns into dust and visual noise fast.