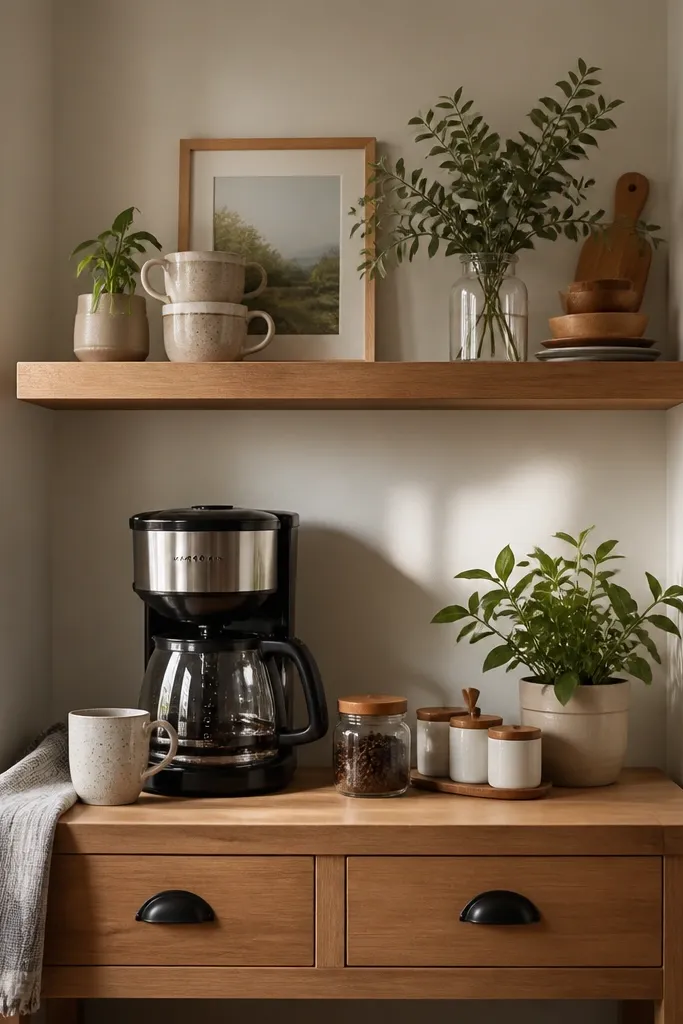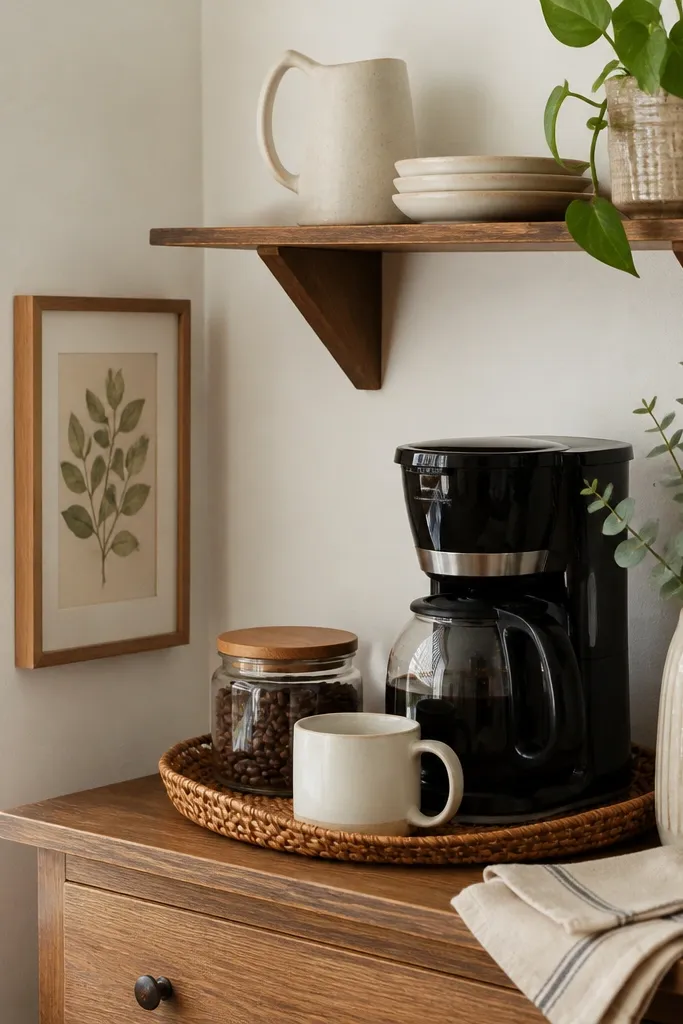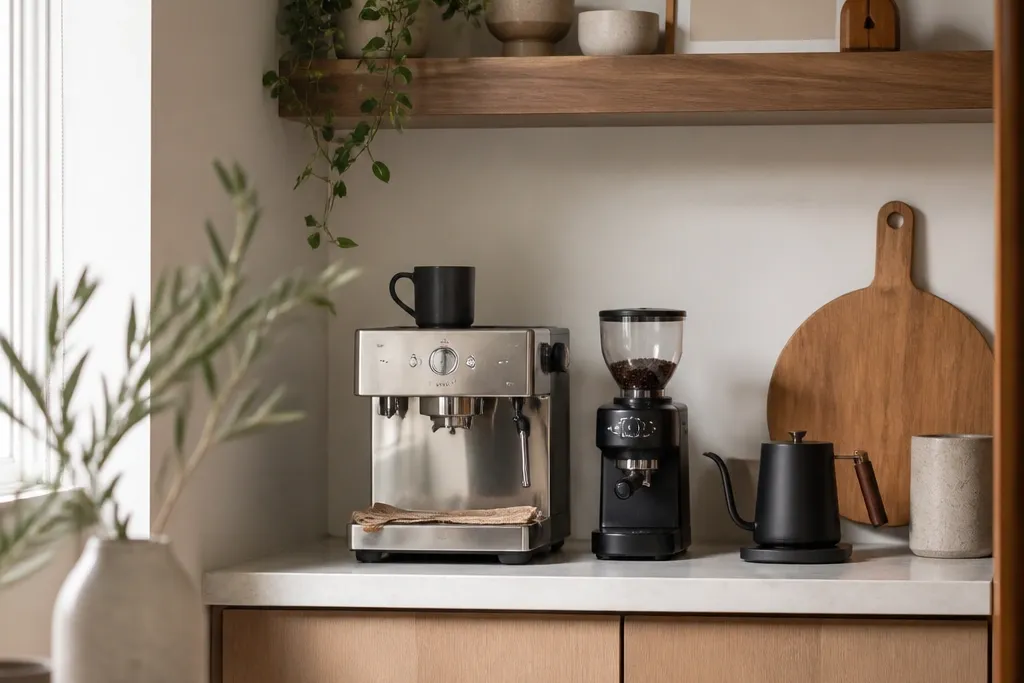
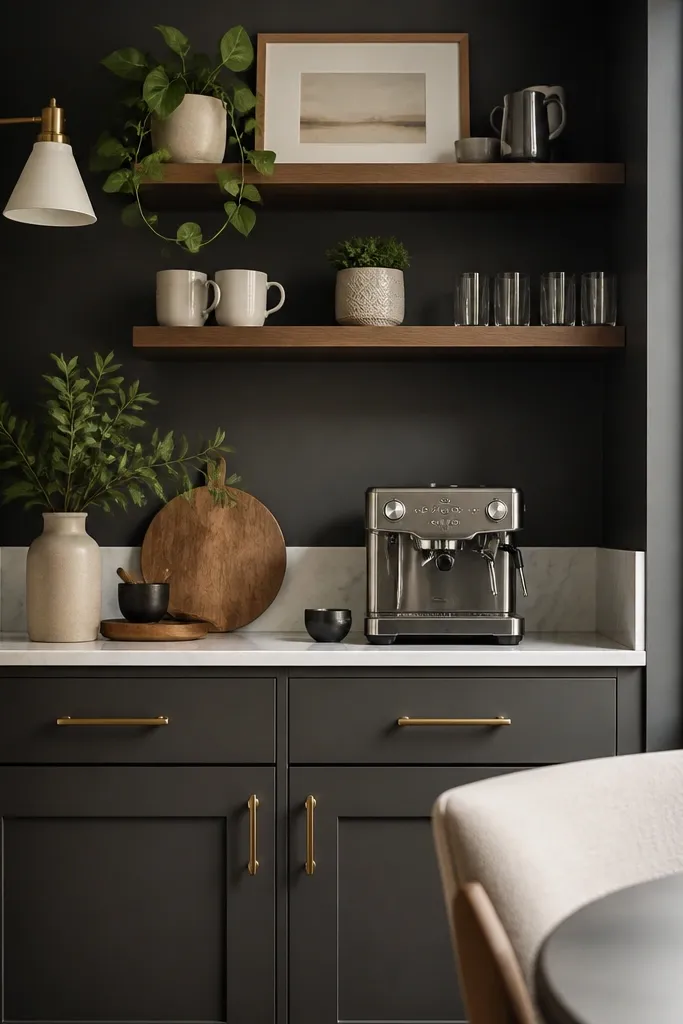
1. Matte Black Rail + Cream Tray Coffee Nook
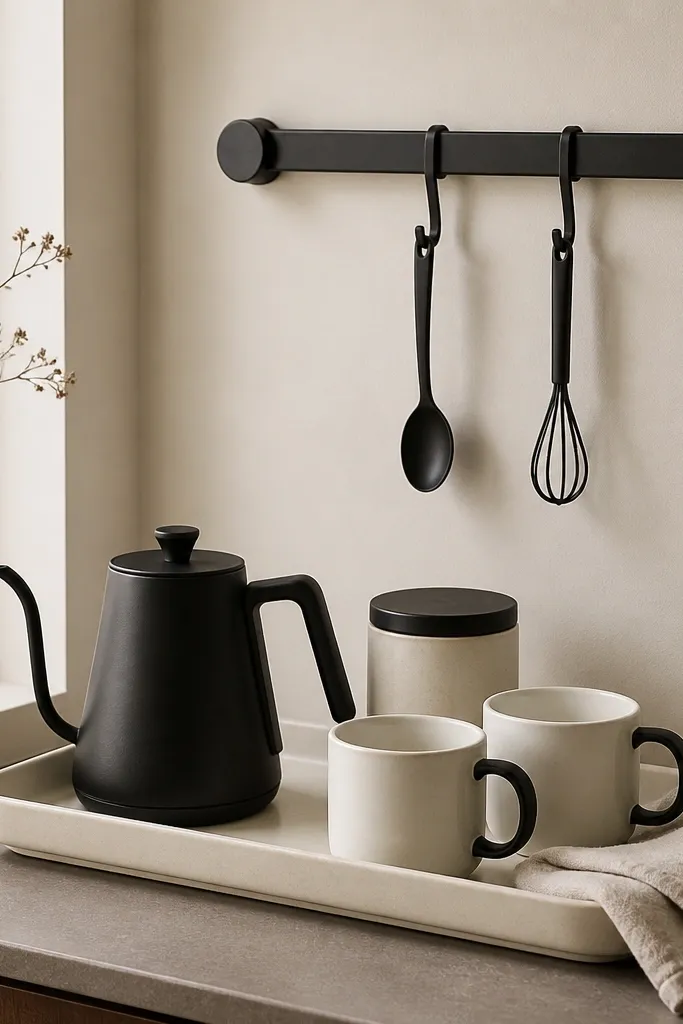
This layout is the cleanest way to get coffee corner function without visual noise. The matte black rail gives you vertical control — mugs and tools hang in a straight line instead of leaning on the counter. I pair it with a cream tray because cream hides minor coffee spills better than bright white and still reads modern. Use matching white mugs with black handles for contrast; it looks sharp on warm skin tones and works well under both cool and warm bedside lighting. The styling principle is repetition: same tones across tray, canister, and metal finish so the corner looks intentional even on busy mornings.
Start by mounting a rail 6 inches above the tray surface, centered over the corner so it doesn’t interfere with the kettle spout. Place a cream ceramic tray on the counter and keep your kettle on the back-left of the tray, so the cord and steam line up toward the wall. Add one lidded canister for beans or grounds on the back-right, then stack mugs in a neat row — two mugs max for a minimalist look. Finish by hanging only the daily tools on the rail and tucking the linen towel under the tray edge.
Good to knowUse magnetic rail hooks if you rent — you’ll move the station without punching holes every time.
AvoidAvoid hanging random items like a second spoon or extra thermos — every extra hook creates visual clutter.
2. Floating Shelf With Three Lidded Canisters and One Mug
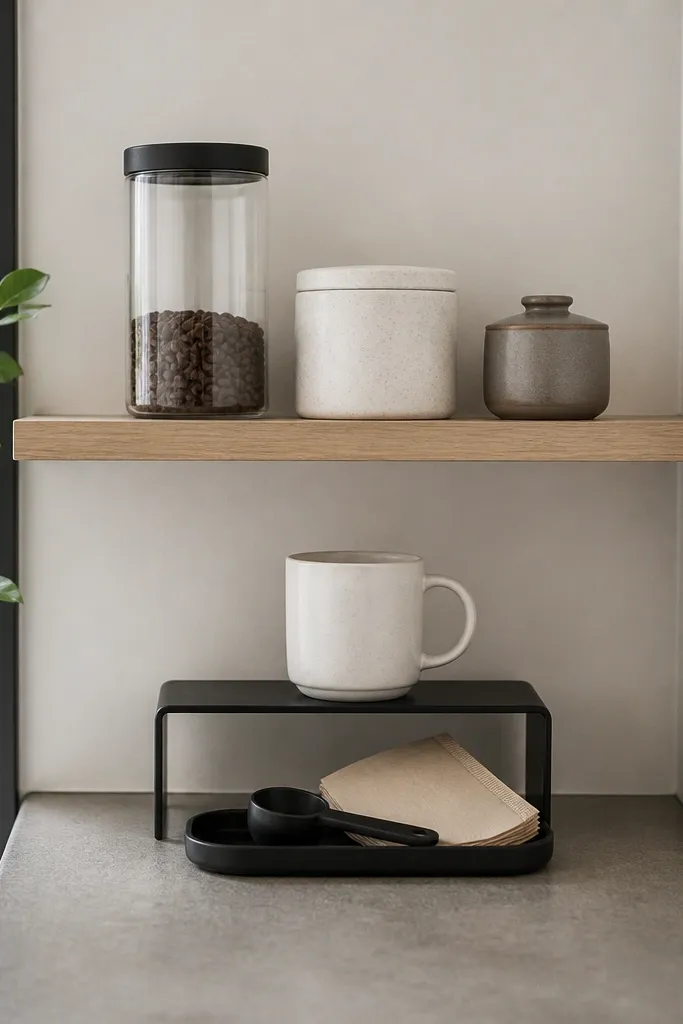
If your counter is tiny, this is the minimalist solution that still looks styled. The floating shelf puts most bulk up high: canisters disappear visually into a clean line. I like mixing one clear glass container with two opaque ones because it adds depth without adding clutter. The single mug on a riser makes the corner feel like a “spot,” not a storage dump. This setup looks great in rooms with warm wood floors and olive, cream, or taupe walls because the oak shelf warms the palette.
Install the floating shelf so the bottom edge is about 14 inches above the counter surface — you want headroom for the kettle. Place the three canisters on the shelf with the tallest in the center, then shorter ones on left and right to keep the line balanced. Put only one mug on a thin riser directly beneath the center canister so everything aligns. On the counter, use a small black tray for scoop and filters — keep that tray width under half the counter width.
Good to knowLabel canisters with small black tape labels and keep the font simple — it reads clean and makes refills faster.
AvoidDon’t put more than three canisters on the shelf or the line stops looking deliberate.
3. Walnut Side Table Coffee Corner With Drawer for Filters
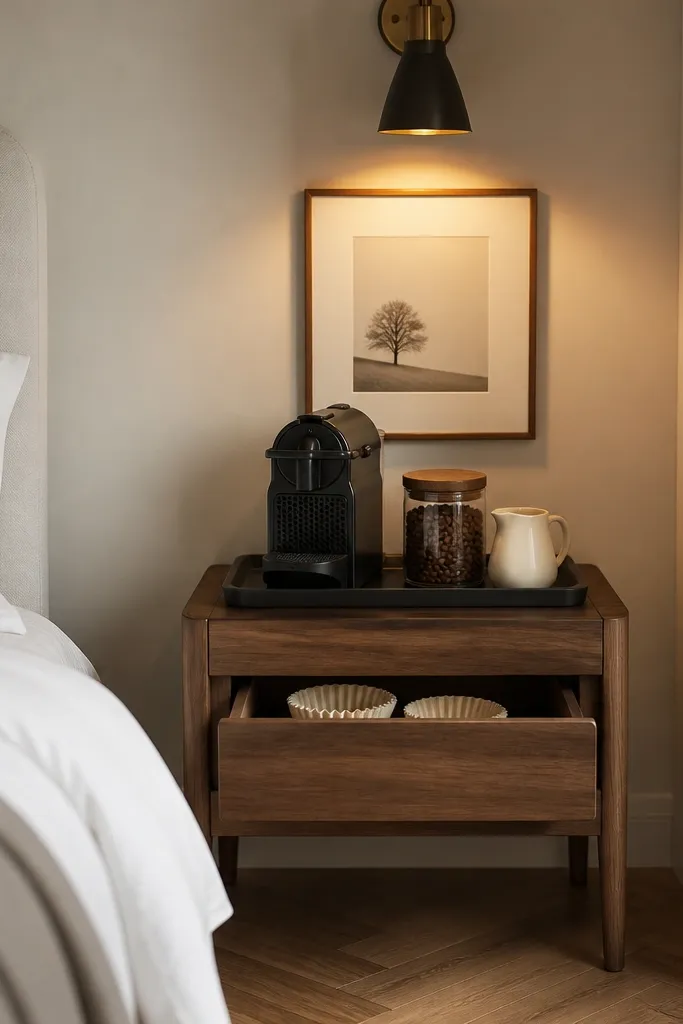
This is my favorite “bedroom coffee corner” setup because it hides the stuff that makes corners look messy. A walnut side table creates a warm modern base, and the drawer is where filters, extra lids, and spare stir sticks live. When you keep the top surface to three items — machine, jar, and creamer — the area looks styled even when you’re mid-routine. It flatters people who like warm neutrals and it looks especially good with golden undertones in wood furniture and skin tones. The trick is designing the drawer as your catch-all so nothing else ever goes loose on top.
Choose a side table with a drawer depth of at least 10 inches so filters don’t get crammed. Put a slim black tray on top and center your espresso machine slightly to the left, leaving space for a glass jar on the right. Fill the jar with beans and use a walnut lid so the wood tone repeats. In the drawer, add a small divider tray so filters and stir sticks have separate sections, then store only one extra box at a time to avoid overstuffing. Keep cords tucked behind the machine and out of sight by running them along the table’s back edge.
Good to knowLine the drawer with a thin neutral shelf liner — it stops the paper from sliding and keeps the drawer quiet-looking.
AvoidSkip a top cluttered with multiple mugs — keep one display mug and put the rest in the drawer or a nearby cabinet.
4. Linen Canister Stack With a Single Rolling Bar Cart
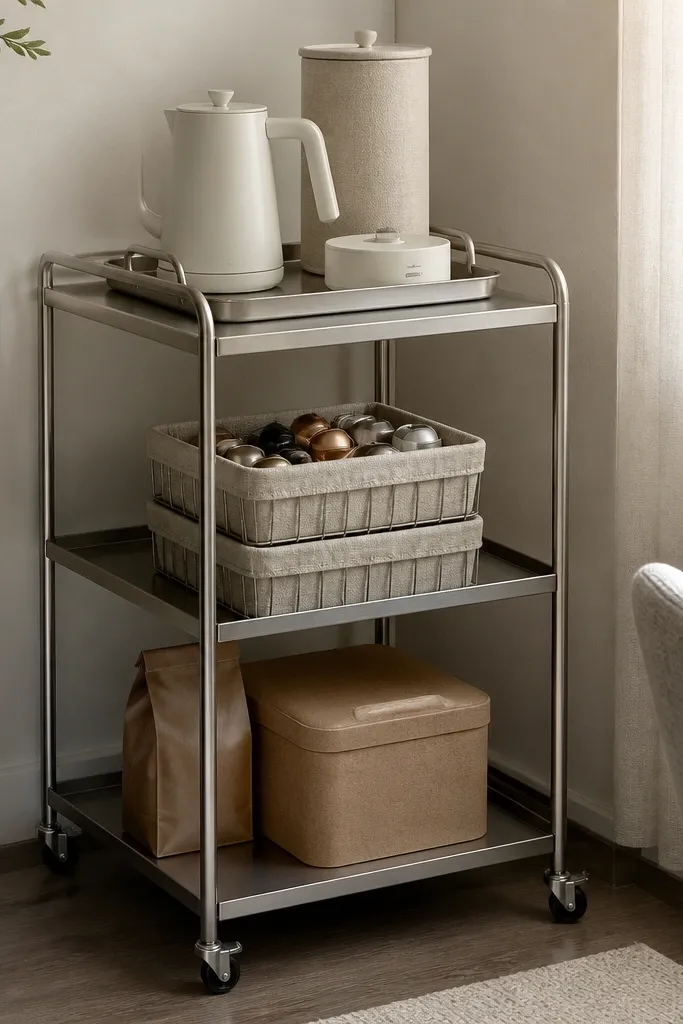
This corner idea works when you want coffee on demand but your counter space is limited. The rolling cart means you can pull everything out for morning use and tuck it away when you need the corner to look clean. Linen-wrapped canisters soften the look and keep the setup from feeling too industrial. I like this for bedrooms with soft fabrics — it matches bedding, curtains, or a woven rug texture. The minimalist principle here is mobility plus containment: one unit contains everything, so the rest of the room stays calm.
Pick a cart with two or three tiers so it’s not too tall for the corner. Place the cart directly in the corner with the top shelf facing the room so you can reach the kettle without stretching. Use a matte white kettle on a small tray, then put one linen-wrapped canister next to it for beans or grounds. Add linen-lined baskets on the middle shelf — one basket for pods, one for stir sticks. Keep the bottom shelf for closed storage only, like a kraft bag container with a clip lid.
Good to knowInstall small felt pads on cart feet — it stops scuffs on wood floors and keeps the cart from wobbling when you pull it out.
AvoidDon’t leave open bags on the bottom shelf — closed containers keep the corner looking finished.
5. Corner Sink Splash Zone Coffee Setup With Splash-Proof Tray
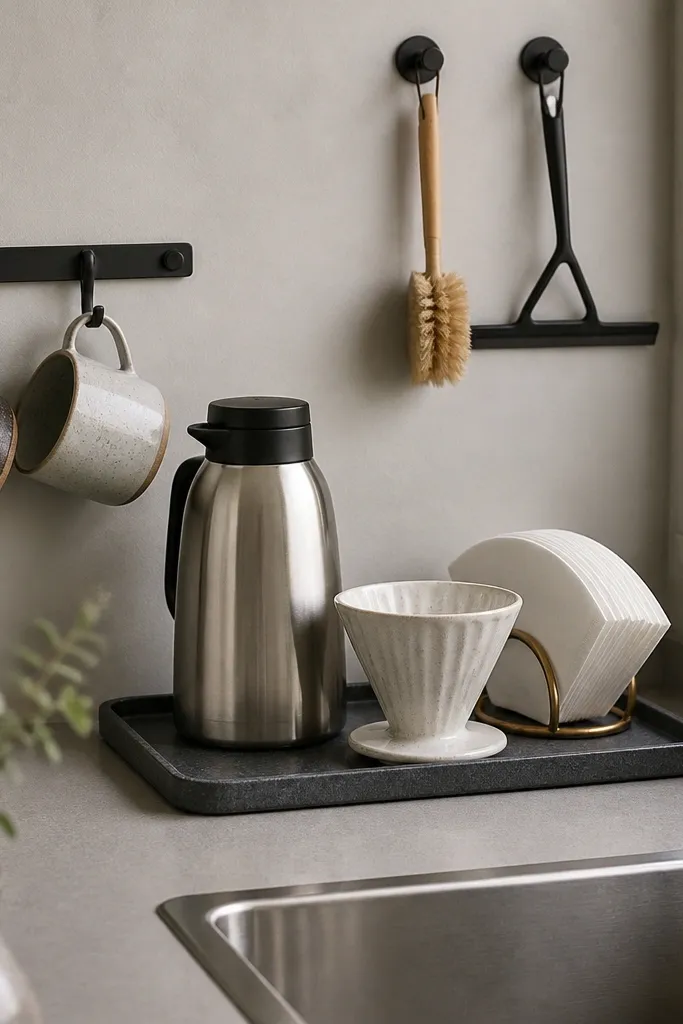
If your bedroom has a built-in kitchenette or your coffee corner is near a splash zone, you need materials that forgive water. A textured dark tray hides droplets and coffee splashes, and it keeps your tools from sliding. Stainless steel thermos and dripper look clean and handle humidity better than powder-coated finishes. This setup flatters people who like a more practical, no-fuss look — it’s minimalist but not delicate. The styling principle is keeping your “wet-adjacent” items on one tray so cleaning is fast.
Place the tray on the driest side of the corner, not directly where water runs off the faucet. Set the pour-over dripper at the back of the tray so the papers sit upright and don’t get wet from spray. Add filters in a ring container so they don’t fan out. Hang or peg your mugs and small tools so they stay off the counter. Wipe-down takes under a minute because everything is contained on the tray.
Choose mugs with thick bases — they feel sturdier when you’re working near water.
Avoid placing paper bags or unsealed grounds near the sink — humidity makes them clump fast.
6. Single Drawer Organizer Coffee Corner With Hidden Scoop
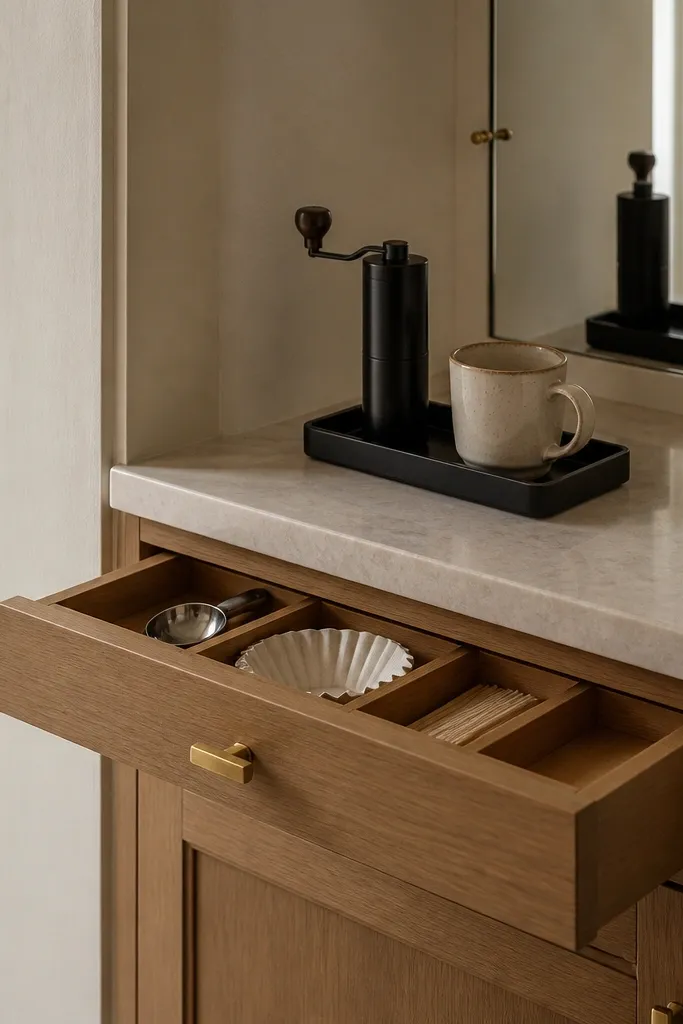
This is minimalist at the level that actually works when you’re busy. If you hate seeing tools, put them where your eye can’t reach. A shallow drawer organizer keeps your scoop and filters hidden, and the counter stays calm with just grinder and mug. Brass hardware adds warmth and makes the corner feel less sterile. I like this for bedrooms with white walls and gray bedding because the brass and ceramic add softness. The styling principle is “display one, store the rest” so the coffee corner never looks like a storage shelf.
Install or use a shallow drawer (at least 3 inches deep) near the coffee spot. Put the grinder on the counter and keep it centered on a small black tray. Choose one mug and place it slightly forward on the tray so it reads as the focal item. In the drawer, use a two-compartment organizer: one side for filters and one side for scoop/sticks. Store extra beans in a lidded container inside the drawer so the counter stays empty between uses.
Wrap the scoop handle with a tiny strip of painter’s tape while you set it down — it prevents scratches on metal trays.
Don’t keep more than one mug out — multiple mugs turn the corner into a dish rack.
7. White Brick-Style Backdrop With Black Accessories
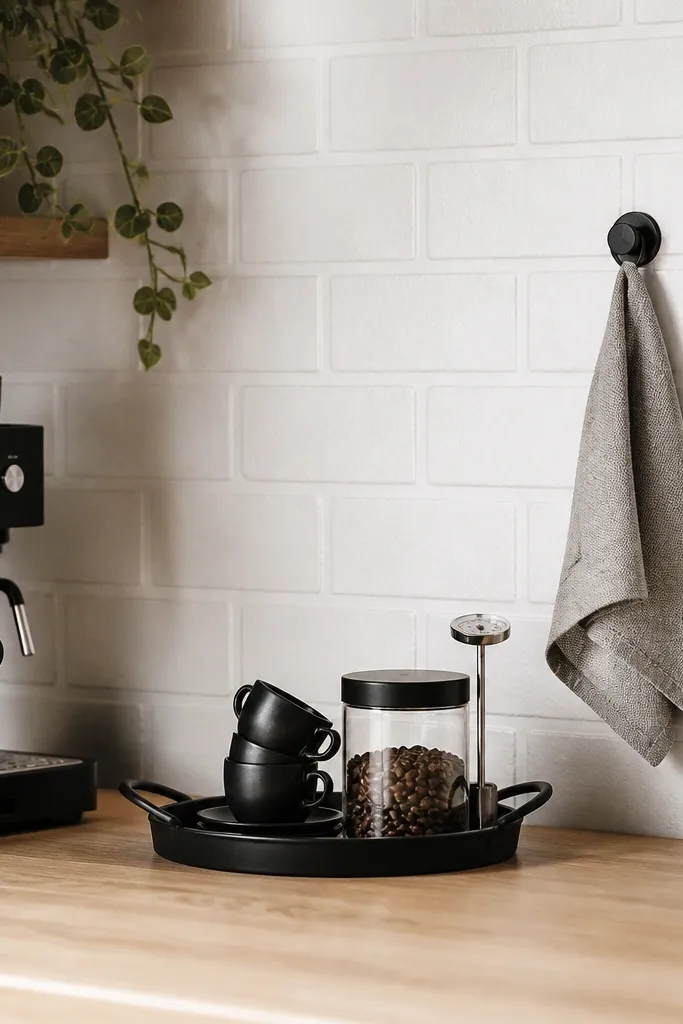
A textured backdrop makes minimal coffee corners look styled even with only a few items. The white brick peel-and-stick panel adds a subtle pattern behind the station, so the black accessories pop without needing extra decor. I’ve used this in corners where the wall is flat and boring — the texture fixes that instantly. Keep everything black and one neutral so the pattern doesn’t compete. This works especially well when your bedroom has black frames or matte black lighting, and it flatters people who like high-contrast, modern looks.
Apply the peel-and-stick brick panel to the wall section behind the corner coffee spot, leaving the corner edges straight. Place a black metal tray on the counter and keep it centered in front of the brick pattern. Put the jar of beans on the back-left of the tray and the espresso cup set on the front-right. Hang one small towel and one spoon on hooks — only two hanging items. Finish with a single thermometer or milk frother tool placed upright to keep visual height consistent.
Cut the panel around the corner with a sharp utility knife and a metal ruler — clean edges matter more than you think.
Avoid adding colorful decor on top of brick texture — it reads busy fast.
8. Clear Acrylic Tray With Ice-White Mugs
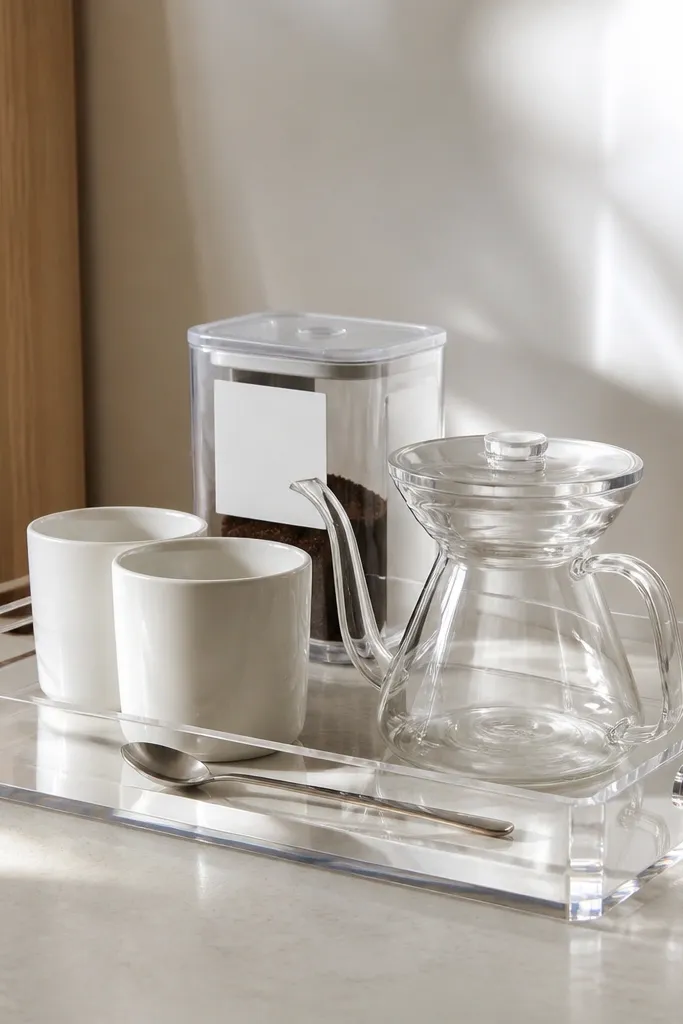
Clear acrylic and glass are the cheat codes for minimalist coffee corners because they visually disappear. I use this when the counter already has other items nearby — acrylic lets the corner feel light instead of blocking the view. Ice-white mugs look crisp against warm walls and also photograph cleanly, which matters if you share room pics. The styling principle is transparency plus spacing: keep items separated by a few inches so the tray doesn’t look crowded.
Place the clear acrylic tray on the counter so it sits square to the wall corner. Set the pour-over kettle toward the back center, then position the two mugs left and right with equal spacing. Add one transparent container for filters or beans at the back edge so it doesn’t crowd the front. Use a stainless spoon and keep it inside the tray footprint so it doesn’t drift off. Clean the tray with a microfiber cloth before styling — acrylic shows smudges instantly.
Good to knowUse white labels on the clear container and keep the label width small so it looks intentional.
AvoidDon’t overfill the tray — acrylic shows every item and every mess.
9. Rattan Tray With Sage Glass Canisters
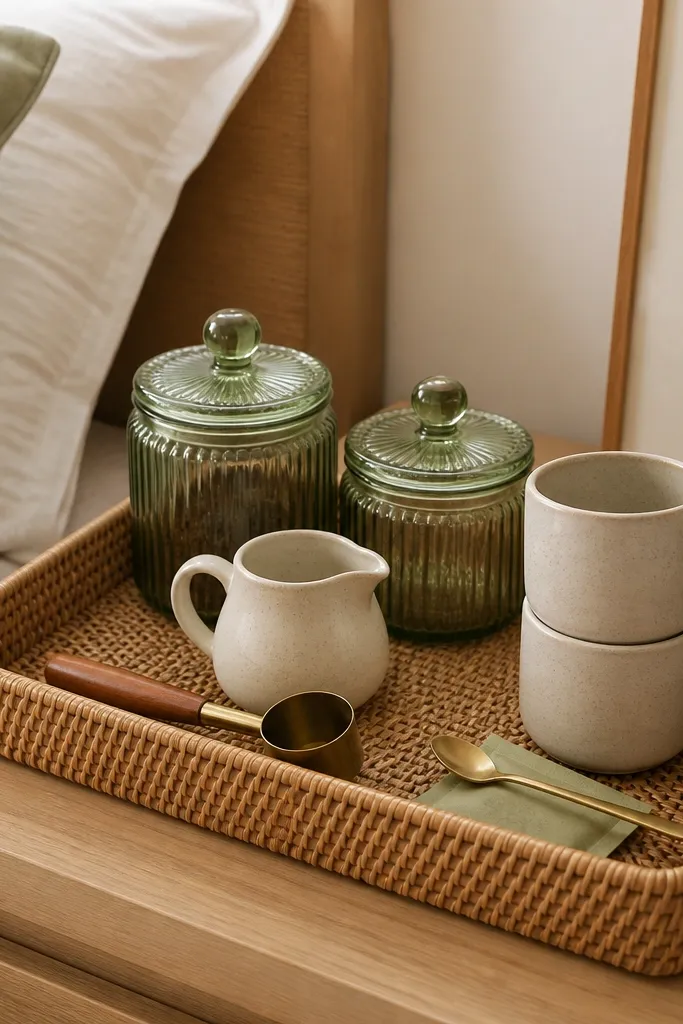
This is minimalist that still feels soft, not cold. Rattan tray texture warms up modern lines, and sage glass canisters keep the palette calm. I like sage because it reads clean against beige, cream, and light gray walls. The wooden scoop adds a natural touch without turning the station into farmhouse clutter. This corner flatters people who want a cozy bedroom vibe but still want the coffee area to look composed. The styling principle is texture control: one woven texture plus smooth glass plus simple ceramics.
Choose a rattan tray that fits the corner counter width with at least 2 inches of breathing space on each side. Place the sage canisters at the back, one left and one right, and keep the creamer in the front center. Stack mugs on the right side of the tray instead of placing them flat — it saves space and looks tidy. Put only one sweetener packet type out at a time, and keep it in a small dish. Finish by placing the wooden scoop in a small jar or directly on the tray edge so it doesn’t roll.
Use matching lids and wipe them dry — condensation smears show on glass fast.
Avoid mixing rattan with too many other textures like macrame and heavy ceramics — it gets visually loud.
10. Monochrome Stoneware Set With Raised Mug Stand
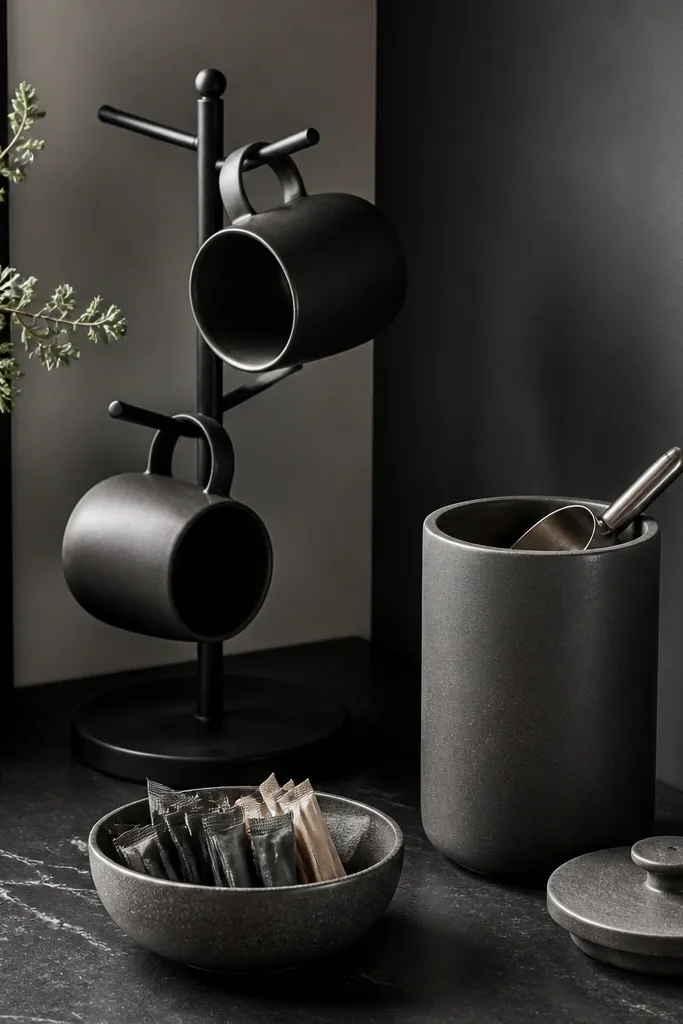
When you go monochrome, the corner looks intentional even if you only have a few pieces. Charcoal stoneware has weight and a soft matte finish that hides tiny scratches and fingerprints better than shiny ceramics. A raised mug stand gives you height without adding another decorative object. This setup looks great for people with cooler color palettes — navy, gray, black, and white — because charcoal doesn’t fight the rest of the room. The styling principle is hierarchy: mugs sit higher, storage stays lower, and the only “shine” comes from one stainless scoop.
Place the canister on the counter slightly left of center, then set the charcoal bowl on the right. Put the mug stand in the center back so mugs align with the wall corner and don’t crowd the front. Keep sugar packets in a bowl with a small lip so they don’t spill. Use one stainless scoop and keep it inside the canister opening or resting against the canister rim. Wipe the matte surfaces before styling so they don’t look dusty.
If your room is warm-toned, choose slightly cooler charcoal instead of warm brown stoneware — it keeps the look modern.
Don’t add a second metal finish like a gold tray — monochrome corners fall apart when metals multiply.
11. White Counter Corner With Low Profile Pour-Over Station
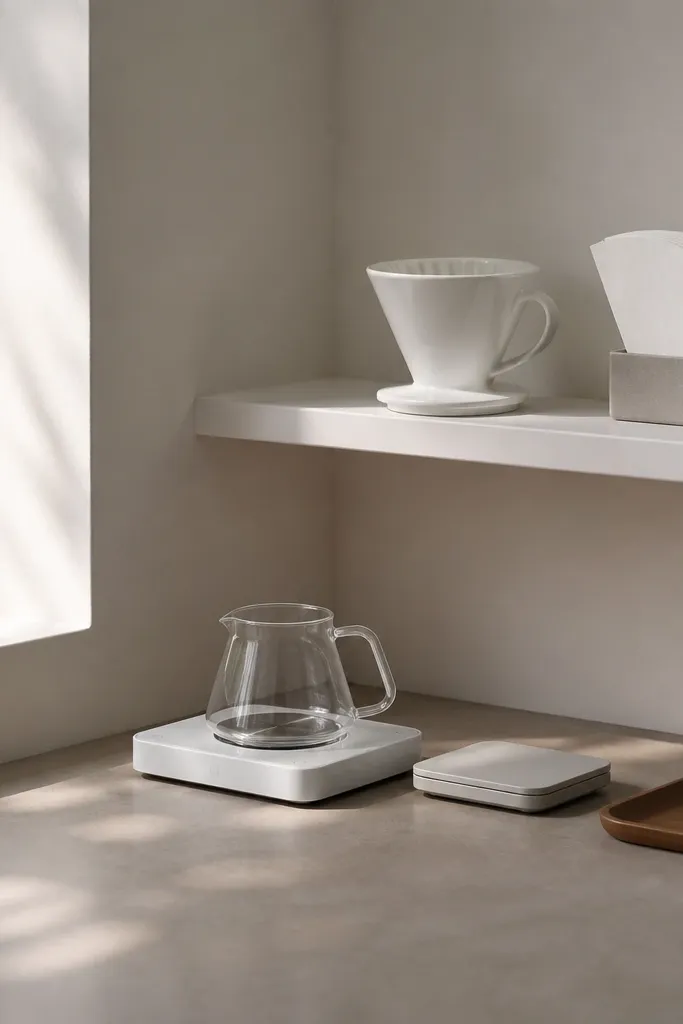
This is minimalist for people who actually make pour-over daily. The low profile matters because it keeps the station from taking over the corner visually. A white shelf and white base make the dripper and glass carafe look crisp and clean, and glass carafes show the water level which makes the process feel precise. I prefer this in bedrooms where the coffee corner is close to a bed or chair — tall items feel intrusive. The styling principle is keeping vertical height controlled while still displaying the one tool you use the most.
Mount a shelf high enough that the dripper stack sits above the counter by about 8-10 inches. Place a slim base on the counter and put the glass carafe on the back edge so it doesn’t take up front space. Add a small digital scale next to the base, then keep the paper filters stacked neatly under the shelf. Use a small wooden tray only for the daily items like scoop and sweetener so they don’t spread. Keep the entire station within a rectangle roughly 12 by 18 inches.
Good to knowUse one carafe size and one filter size — mismatches create clutter fast.
AvoidDon’t leave the paper filter stack leaning — it looks sloppy even when everything else is tidy.
12. Narrow Corner Cabinet With Glass Door and One Display Shelf
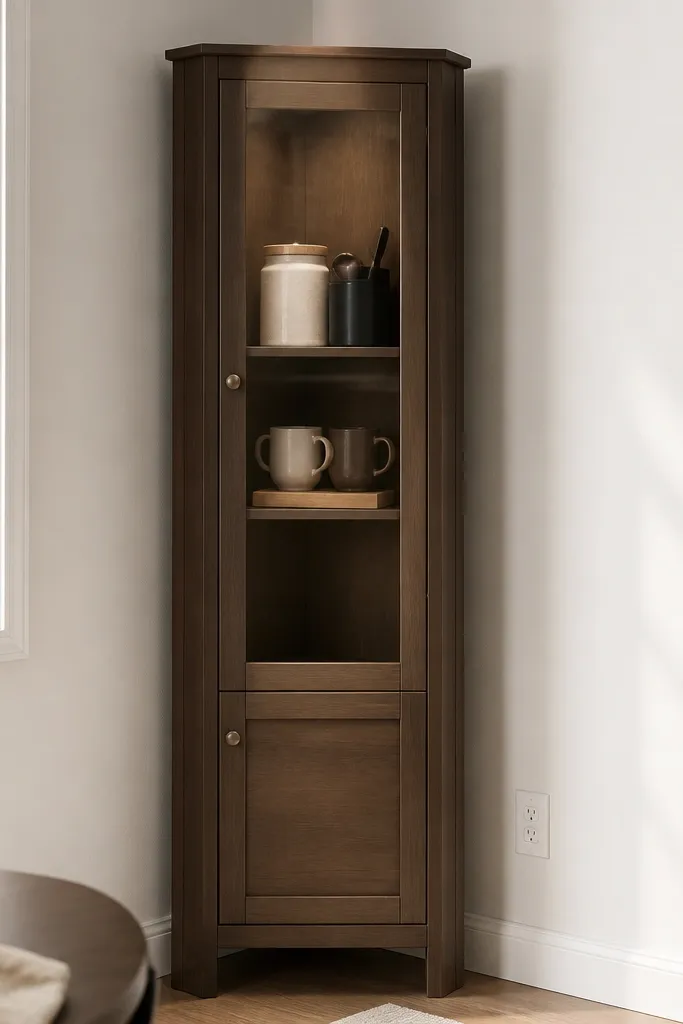
A glass-door cabinet is the minimalist move when you want the coffee corner to look curated without constant counter maintenance. You get a built-in frame, so you can keep the counter clear and still show the station. I like using only one display shelf so the items look like a set rather than a storage closet. The cabinet looks especially good against light walls, and the glass reflects morning light so the corner feels brighter. The styling principle is limiting what the eye sees: two mugs max, one canister line, and everything else hidden.
Measure the cabinet interior shelf depth so your canisters fit with at least 1 inch of space on each side. Put the canister on the back-left, scoop container on the back-right, and place two mugs centered on a riser. Keep one small tray inside the cabinet for filters — that keeps loose items from spreading. Leave the lower shelf for closed bins or keep it mostly empty. On the counter outside the cabinet, keep only your daily tool like a kettle or a small machine, and tuck the rest away after use.
Use shelf liner in a matte neutral color — it makes the cabinet interior look cleaner in photos.
Avoid stacking mugs randomly inside the glass door — it reads like “overflow.”
13. Matte White Kettle + Chrome Tray With One Tall Canister
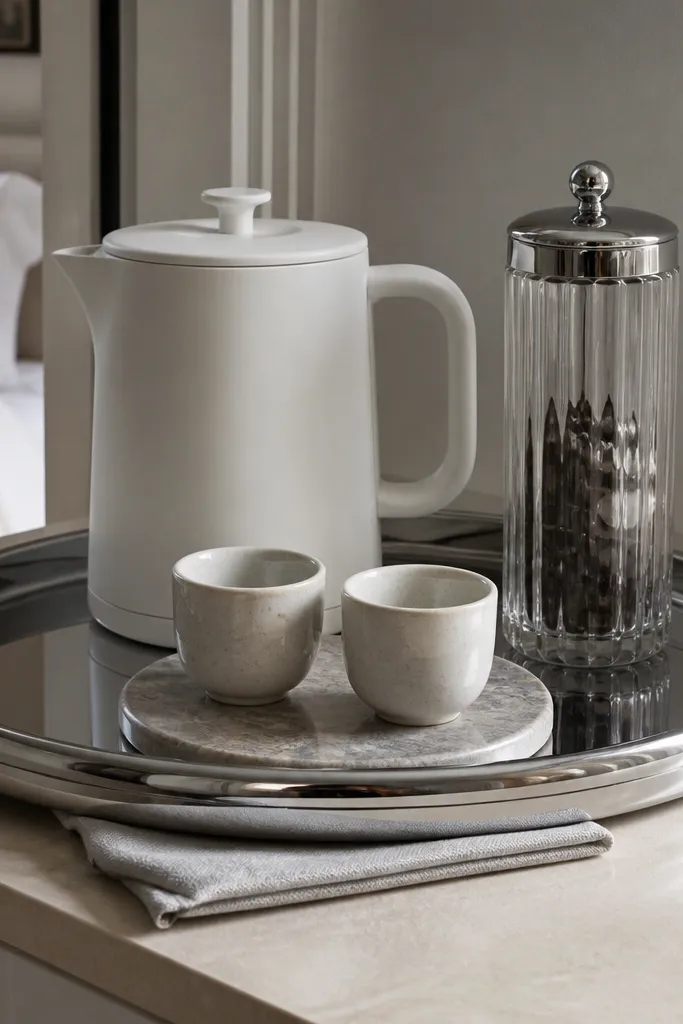
This setup looks modern because it has one tall element and everything else stays low. The matte white kettle softens the shine of chrome, so the corner doesn’t look like a commercial break room. The tall canister gives vertical structure, while the cups on a coaster keep the front clean. I like it for people who prefer sleek appliances and a brighter palette. The styling principle is contrast control: one smooth matte piece, one reflective metal, and one tall storage container.
Use a chrome tray that fits the corner area with about 1-2 inches of clearance from the walls. Place the kettle on the back-left so the spout points inward toward the center of the tray. Put the tall canister on the back-right and keep it filled only to about 3/4 so it looks tidy. Add two espresso cups on a round coaster at the front center and keep them aligned. Tuck a folded microfiber cloth under the tray lip so it’s hidden but ready when you wipe drips.
Good to knowChoose a canister lid that matches the tray finish — chrome-to-chrome looks sharper than chrome-to-brass.
AvoidSkip extra mini bottles on the tray — one tall canister already does the heavy visual lifting.
14. Black Floating Corner Shelf With Micro-Grid Organizer
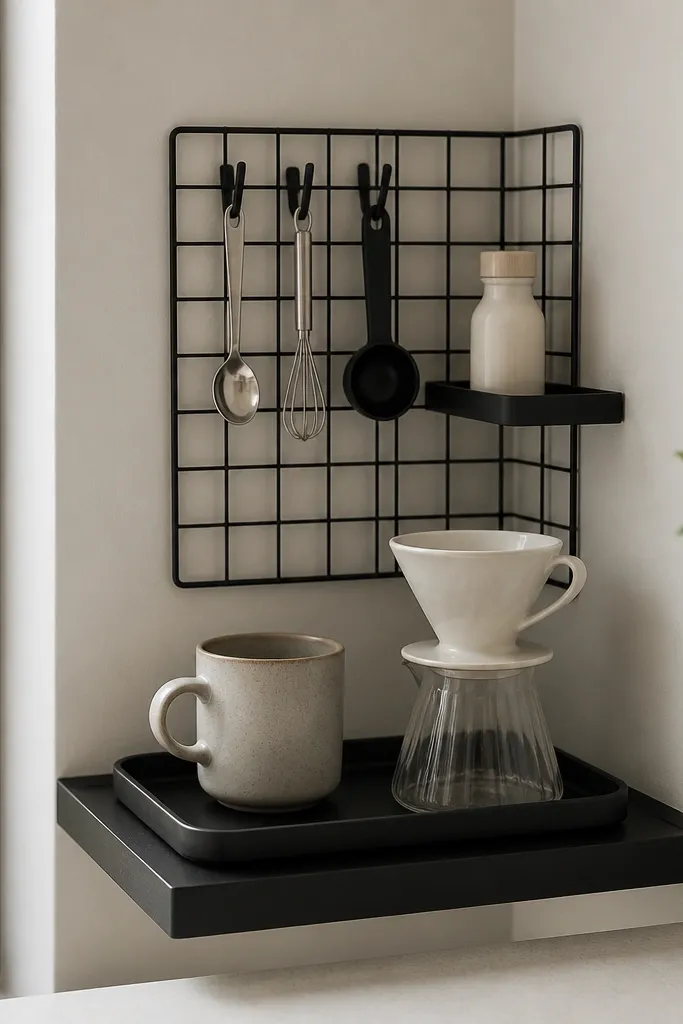
This is for the person who likes everything in its spot and hates searching for tools. A micro-grid organizer on a floating shelf gives you tight, minimalist structure and keeps small items from becoming a pile. Black hardware and shelf make the grid look graphic instead of busy. It also works well in bedrooms because it doesn’t take counter space — the shelf does the organizing. The styling principle is grid logic: every tool hangs in a consistent orientation, so the corner looks calm even when you use it daily.
Mount a black floating shelf so it sits about 16 inches above the counter and centered over the corner. Attach or build a micro-grid organizer on the shelf face, then hang only your daily tools — scoop, spoon, and whisk. Place one pour-over cone on the counter tray and keep the mug centered under the shelf. Add a single small creamer bottle on the tiny shelf space, not on the tray, to keep the tray minimal. Keep the tray width narrow and leave empty space around the pour-over for a clean look.
Good to knowHang tools with the same hook direction so everything reads aligned from across the room.
AvoidDon’t hang decorative items on the grid — it turns the organizer into clutter.
15. Oak Slat Back Panel With Cream Ceramic and Brass Accents
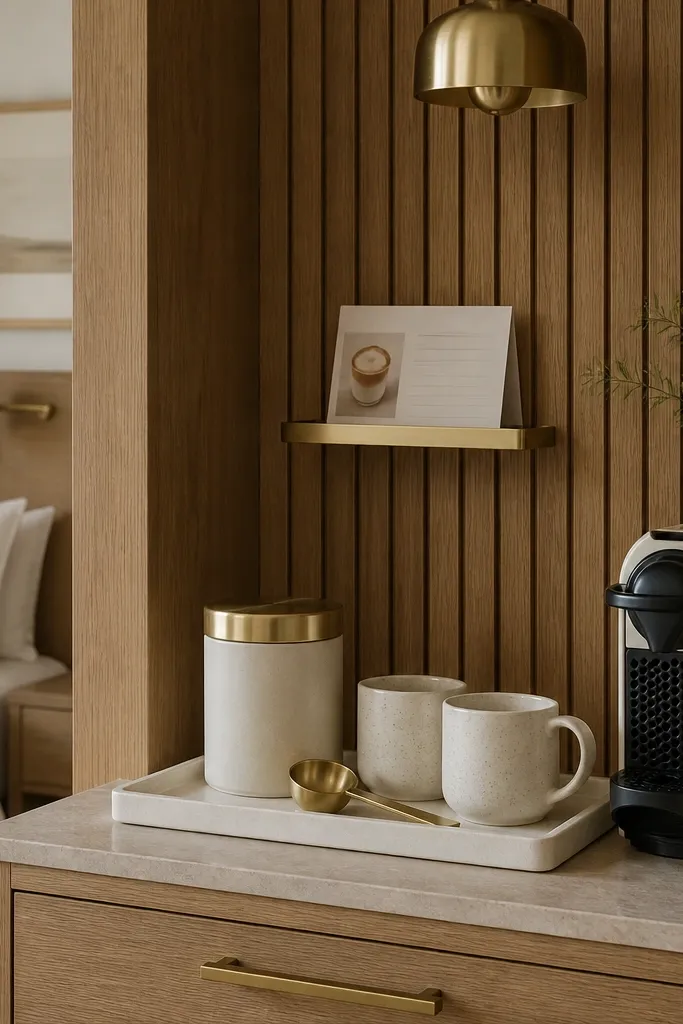
If you want “minimal” but not plain, an oak slat back panel does the work. It adds texture behind the station, so you don’t need extra decor to make the corner feel finished. Cream ceramics keep the palette soft, and brass accents add warmth without introducing a second bold metal. This looks especially good with neutral bedding, light wood furniture, and people who like warm undertones in their home. The styling principle is warm repetition: oak slats repeat in wood tones, ceramics repeat in cream, and brass repeats in the small hardware details.
Attach an oak slat panel to the wall behind the coffee corner at the width of your tray plus 2-3 inches. Place a cream ceramic tray on the counter and set the canister at the back center with a brass lid. Put the brass-handled scoop inside or resting on the canister rim. Add two cream mugs on the tray edges, keeping a small gap between them for a clean line. Use a tiny brass card ledge for one recipe card only — keep it flat so it doesn’t look like a bulletin board.
Good to knowUse ceramic with a speckle glaze if you hate showing fingerprints — it hides smudges better than glossy cream.
AvoidAvoid adding multiple framed prints near the panel — the slats already provide visual texture.