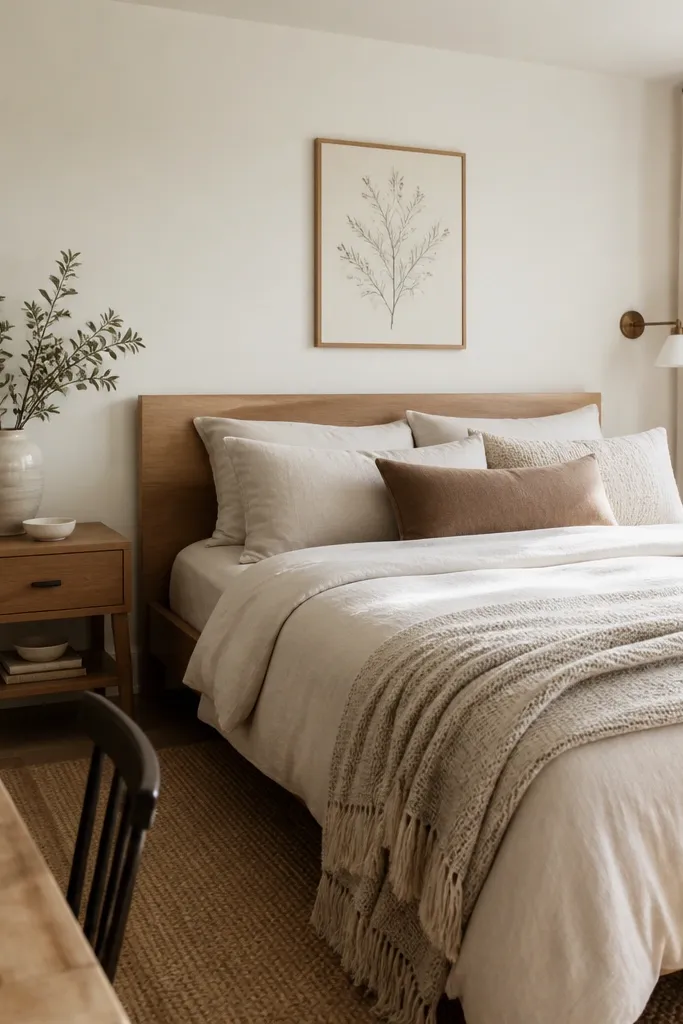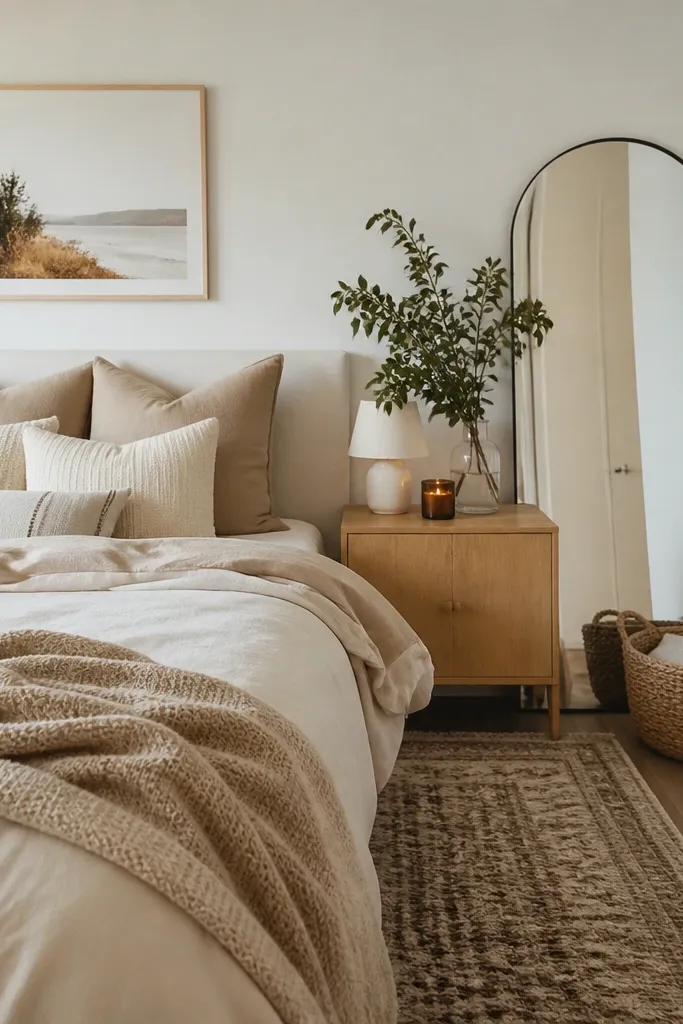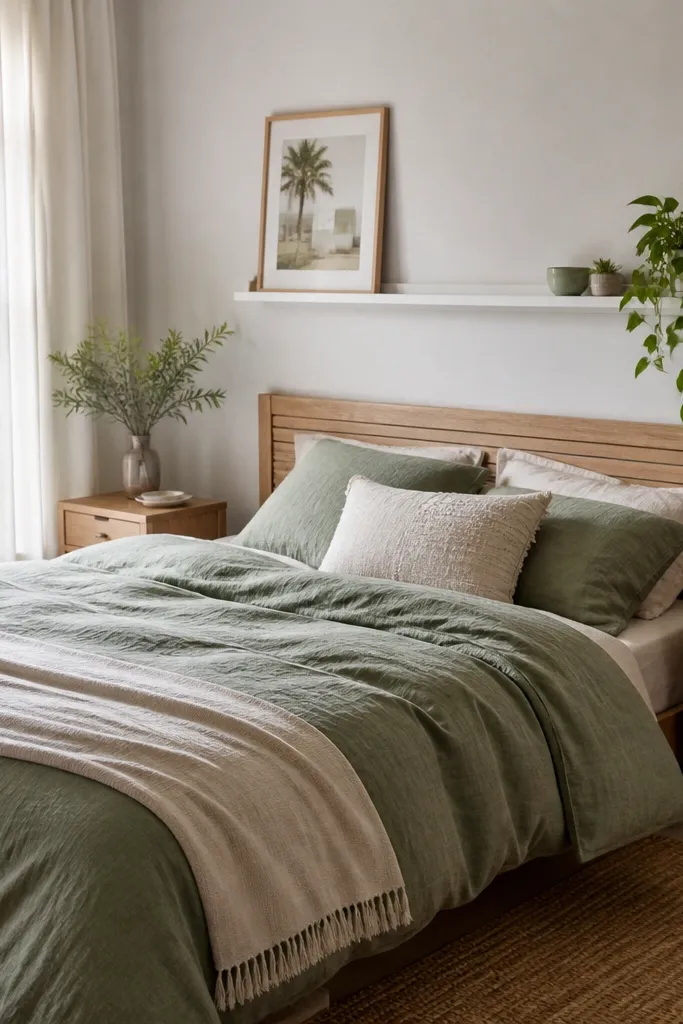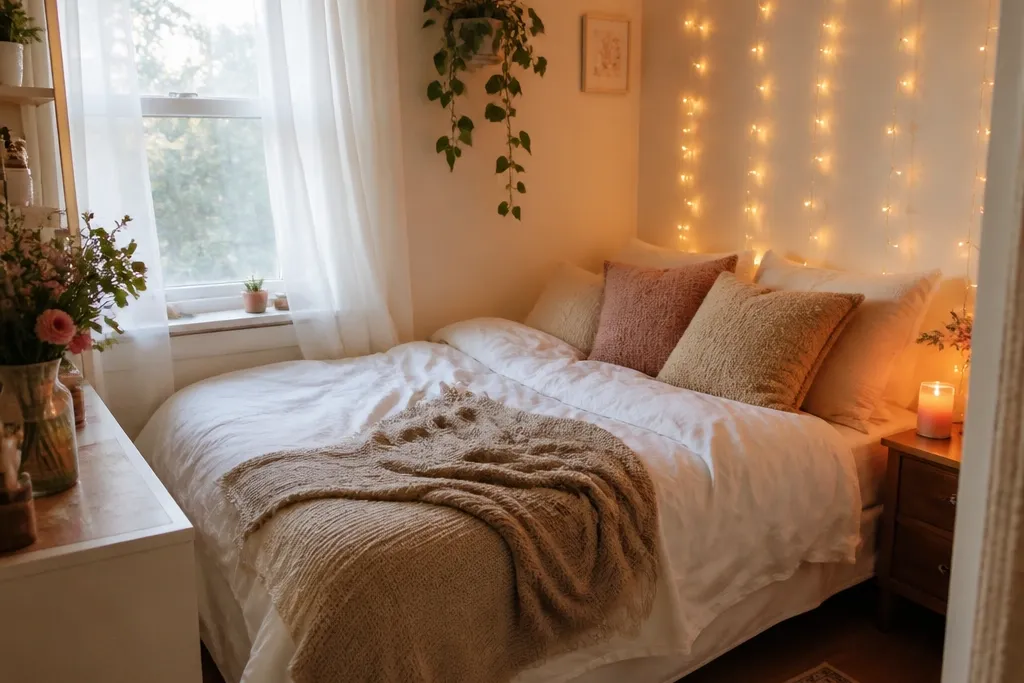
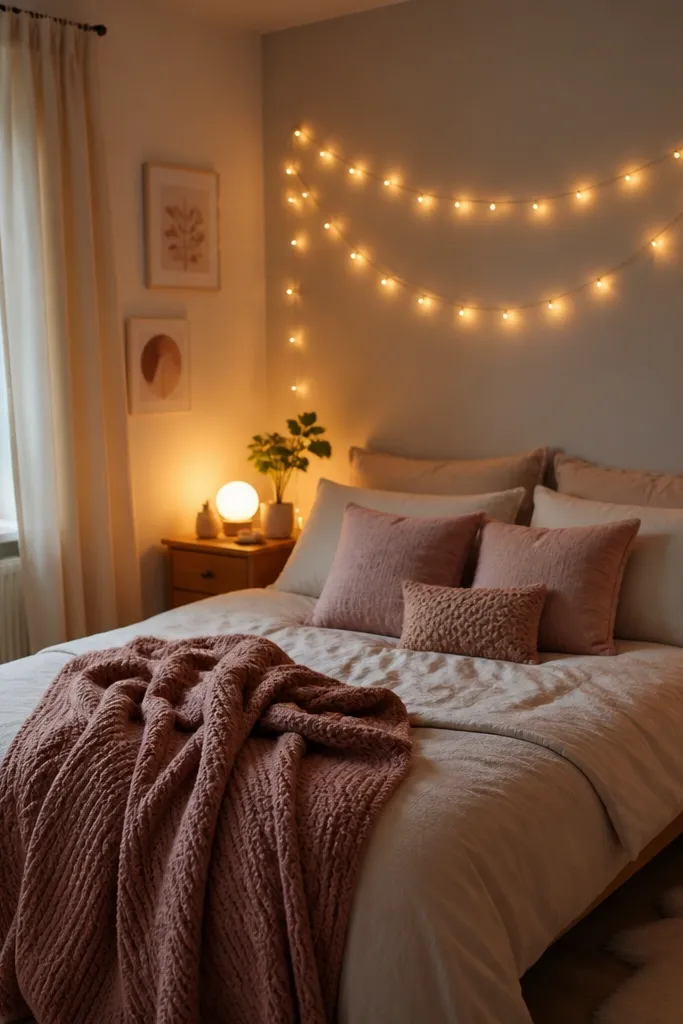
1. Headboard Halo on a Bedframe Rail
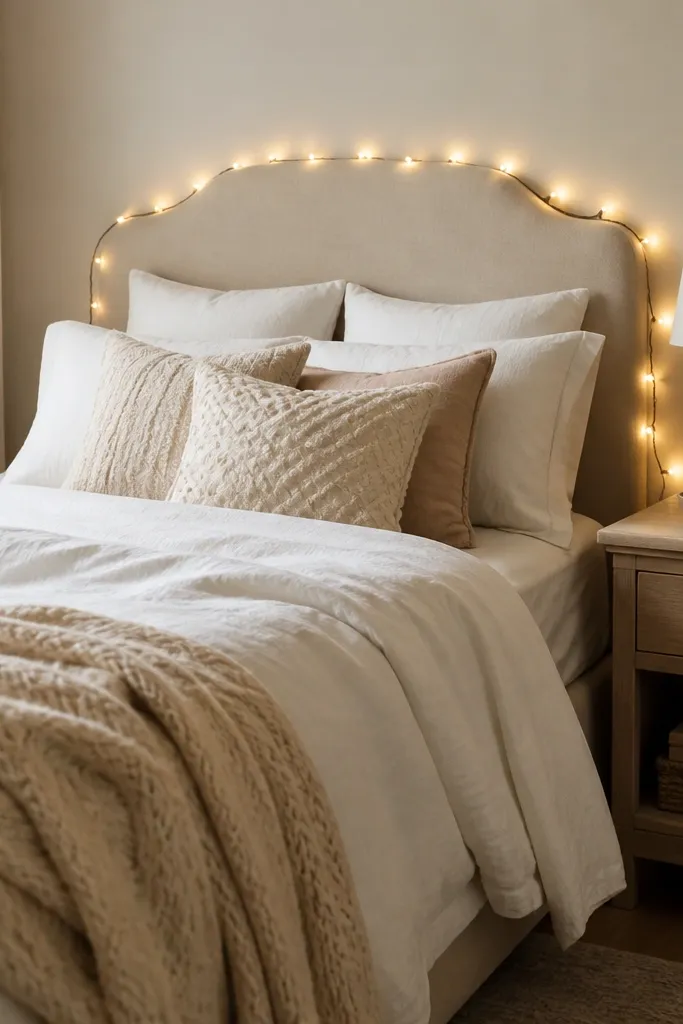
This setup works because the lights sit at eye level when you’re in bed, so the glow feels like part of the headboard instead of hanging decor. I like it best on low, wide headboards or simple bedframes because the wire can follow a straight line and stay tidy. Warm white bulbs make the beige fabric look creamy, not yellow. If your skin tone runs cool or neutral, the gentle glow flatters it without that harsh blue cast you get from cool-white strings. The styling principle is framing: you’re outlining the bed, then letting bedding textures do the rest.
Start by turning off overhead lights and standing at your bedroom doorway to check where your eye lands on the bed. Wrap the fairy lights along the top rail of the headboard — not the mattress — using small pieces of painter’s tape to keep spacing even. Leave a 6-8 inch gap where your pillow area sits so the bulbs don’t glare in your face when you lie down. Then drape a knit throw over the foot of the bed and add one pillow with a matte cover (cotton or linen) so the light bounces softly. Finally, hide the battery pack behind the nightstand or tuck it into a gap between the bed skirt and the wall if you have one.
Use a dimmable warm lamp in the room and keep the fairy lights on at “half” for the first hour — your eyes will adjust and the glow will look richer.
Don’t let the lights sag in random loops; sag makes it look like holiday decor instead of room decor.
2. Curtain Rod Micro-Gleam
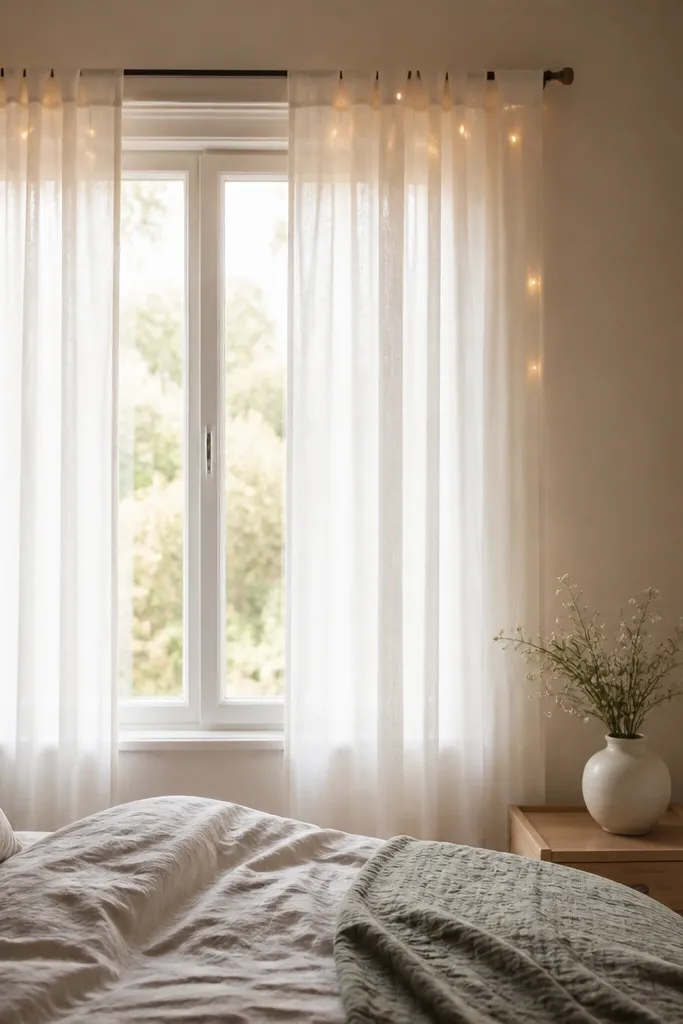
Micro-gleam over the window looks expensive because you’re lighting fabric, not the wall. When the curtains sway, the bulbs move slightly and your brain reads it as soft ambient light. This is flattering for rooms with pale walls (cream, soft gray, pale greige) because the glow stays gentle and doesn’t fight the paint. If your bedroom is narrow, this also helps visually because the lights sit high and continue the vertical line of the curtains. The styling principle is motion: the light changes as the fabric moves, which makes a small space feel alive.
Start by putting your curtains up first and making sure they fall to the floor or at least touch the windowsill. Clip warm white fairy lights around the curtain rod using small clothespins or cable ties at three points: left third, center, and right third. Keep the bulbs 2-3 inches inside the curtain edge so they don’t show as a bright line on the outside. Then pull the curtains closed and turn on the lights to check for glare — if the bulbs are visible through sheer fabric, move them up slightly. Hide the battery pack behind a small tension rod shelf or inside a curtain tie-back pocket.
Good to knowIf you have blackout curtains, use the fairy lights on the sheer layer only and keep the blackout closed during the day.
AvoidSkip placing the lights on the curtain hem; it makes the room look shorter and can look messy in photos.
3. Mirror Corner Glow Doubling
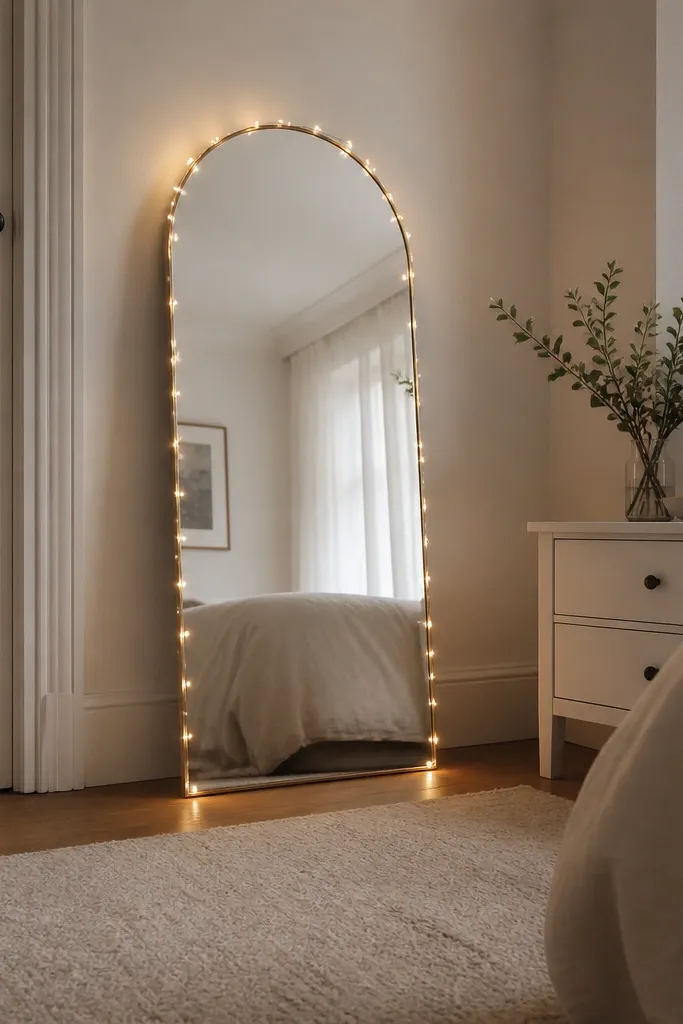
I use this when the room feels dark even with lamps. The mirror doubles the glow, so the fairy lights look brighter without adding another light source. It flatters small rooms because it adds depth — you see light and distance at the same time. For people with warm undertones, the warm white glow looks flattering on skin and on beige or ivory textiles. The principle here is controlled reflection: one mirror is enough, and the lights stay thin so you don’t get a harsh “light box” effect.
Start by cleaning the mirror frame so adhesive clips or hooks stick properly. Wrap the fairy lights around just the outer edge of the mirror frame, keeping the wire line consistent — aim for a 1-2 inch band. Add a single anchor point at the top and one at the bottom so it doesn’t shift. Place the mirror so it reflects the bed area, not the closet door or clutter. Then add one matte surface near it — a woven basket or linen hamper — so the glow softens instead of bouncing off shiny surfaces. Hide the battery pack behind the mirror by using a small command hook on the wall and slipping the pack into the gap.
Good to knowTest your mirror angle at night with the lights on; if the glow hits the bed directly, soften it with a sheer scarf draped near the mirror corner.
AvoidDon’t wrap lights around two reflective items in the same line; the glow stacks and turns into glare.
4. Floating Shelf Book Stack + Light Strip
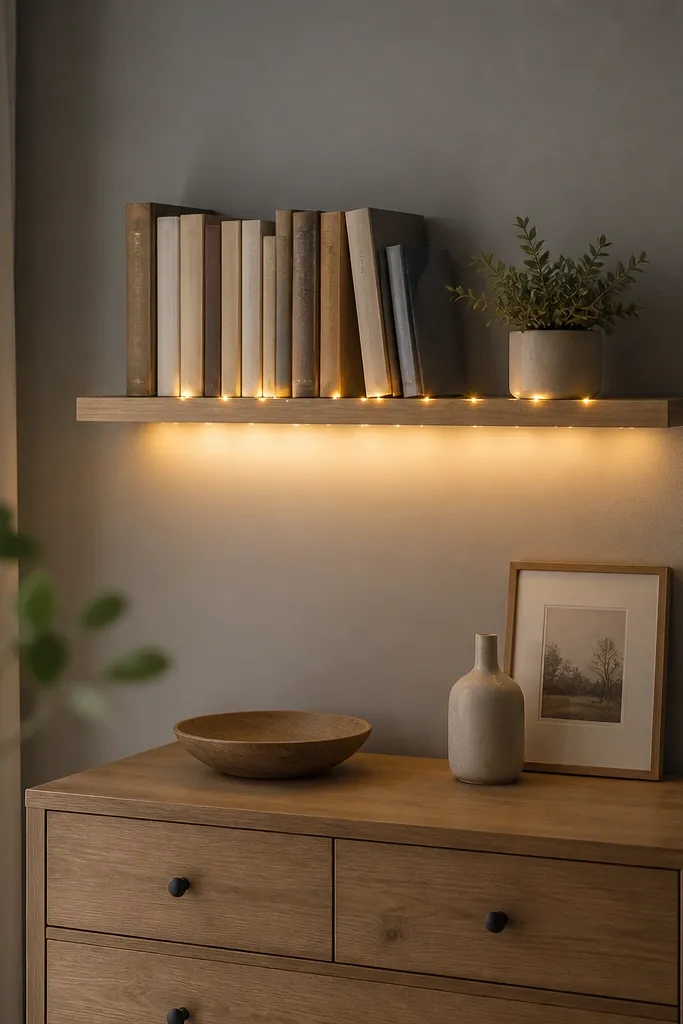
Under-shelf lighting looks clean because it hides the bulbs and makes the books look like they’re lit from within. In small bedrooms, shelves are already a space saver; adding lights makes them feel intentional instead of random storage. Warm white keeps the wall from looking gray and makes wood tones look warmer. If your room has dark wood furniture, this setup prevents the space from feeling heavy because the glow lifts the shelf area. The principle is concealment: bulbs face upward or inward, so the viewer sees light, not the source.
Start by selecting one floating shelf that sits above a surface you use daily — dresser, desk, or nightstand. Tuck warm white fairy lights under the shelf lip and secure the wire every 6-8 inches with small clear adhesive hooks. Leave the first 4 inches of shelf empty so the wire doesn’t show at the far left edge. Stack books with spine variety (one tall, two medium, one small) so the light hits different heights. Place a matte ceramic or woven item at the center to break up the glow and keep it from looking flat. Hide the battery pack inside a hollow book or behind the dresser back if there’s a gap.
Good to knowChoose books with mostly matte covers for the best glow; glossy covers reflect bulbs and look bright in a cheap way.
AvoidDon’t overload the shelf; too many items make the light look like clutter.
5. Bedside Woven Basket Light Tunnel
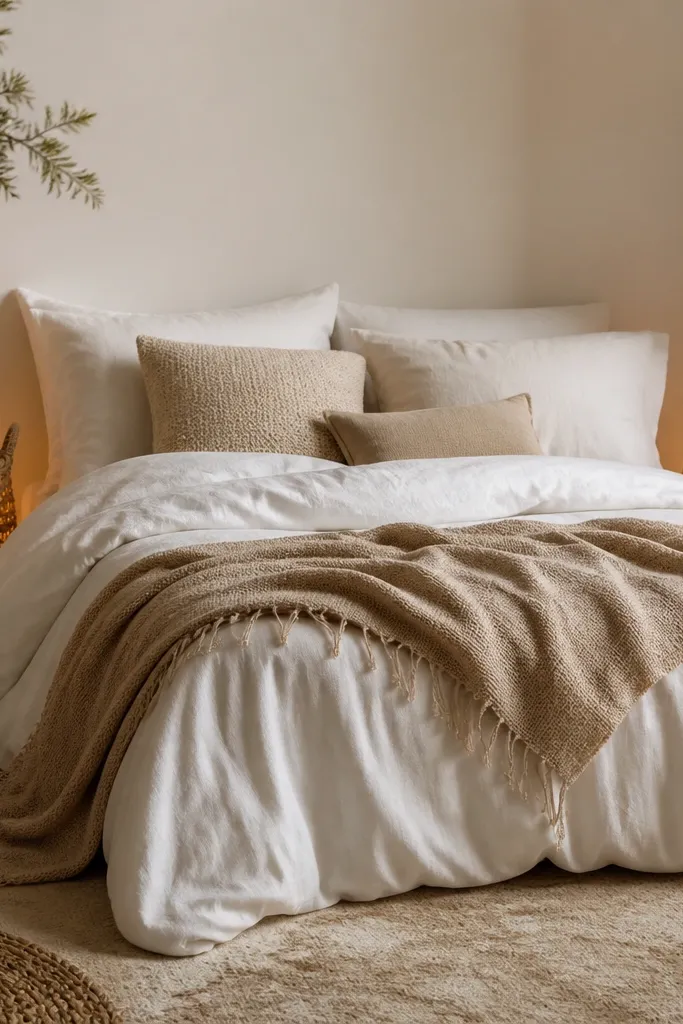
This is one of my favorite “cozy corner” tricks because woven texture turns point light into a soft wash. The glow looks diffused, so it feels calm instead of bright. It flatters light neutral bedrooms (white, oat, sand) and also looks great against warm wood floors. If your bedroom is small and your lighting feels harsh, this setup makes shadows gentler. The principle is diffusion: the basket weave spreads the light and hides the bulb shape.
Start by placing one woven basket near each bedside or choose a single larger basket if you only have room for one. Tuck warm white fairy lights inside the basket so the bulbs face upward and slightly toward the bed. Use a few small zip ties or painter’s tape to keep the wire from sliding down the basket. Turn it on and check that you don’t see bright bulb clusters from where you sit; if you do, spread the lights out more evenly. Add a thin knit runner or throw nearby to match the cozy texture. Position the battery pack at the back of the basket so it doesn’t show when you glance from the door.
If you want extra softness, wrap the basket interior with a thin layer of white cotton fabric before tucking the lights in.
Don’t use metal baskets; they scatter light in sharp highlights that look harsh.
6. Wardrobe Door Fairy Light Edge
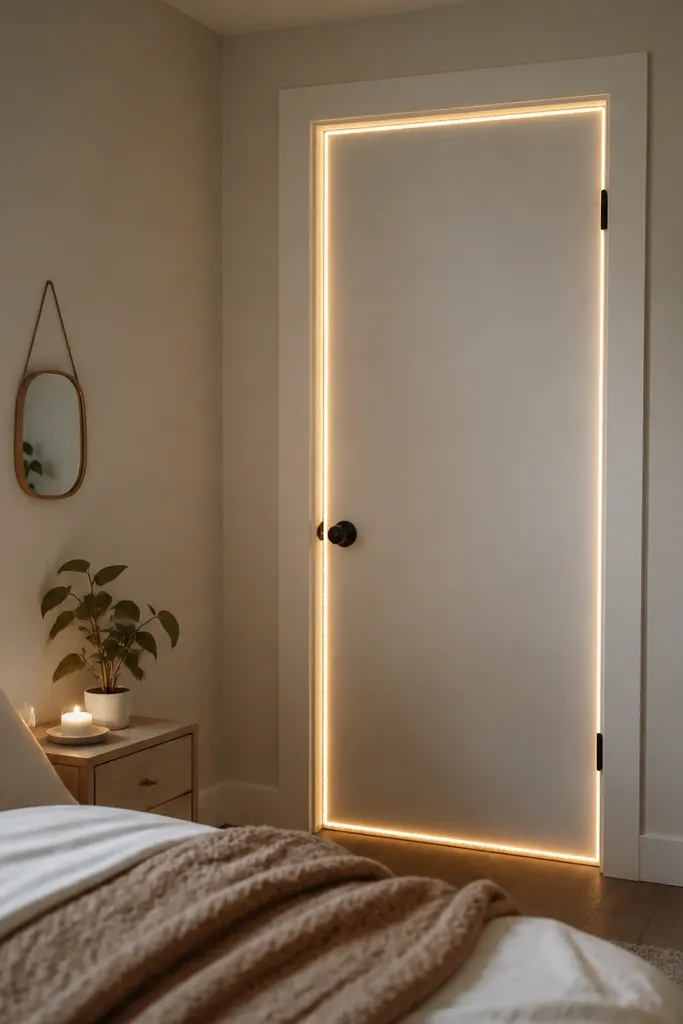
This is a low-effort way to add mood without eating floor space. The light edge makes the room feel designed because it follows architectural lines — the door frame. Warm white keeps it cozy and helps white walls look soft rather than stark. If your bedroom has little wall art space, this gives you a focal point that doesn’t take up storage. The principle is using existing structure: you’re lighting a line the room already has.
Start by closing the closet door and cleaning the frame edge where you’ll attach clips. Use clear adhesive cable clips or thin picture hooks along the inside door edge, spacing them about 5-7 inches apart. Run the fairy lights along the top and one side first, then stop before you reach the hinge area so the wire doesn’t get pinched. Test the door opening and closing with the lights on, and adjust so the wire has slack. Hide the battery pack behind the door panel or in a small pocket you sew into the inside seam if you want it neat. Finish by adding one small framed print on the wall opposite so the glow has something to “sit with.”
If the door is glossy, stick the clips to the matte trim only — glossy surfaces release adhesives overnight.
Don’t place lights across the middle of the door; it looks like you pasted a craft project on top.
7. Canopy Look with Lace + Fairy Lights
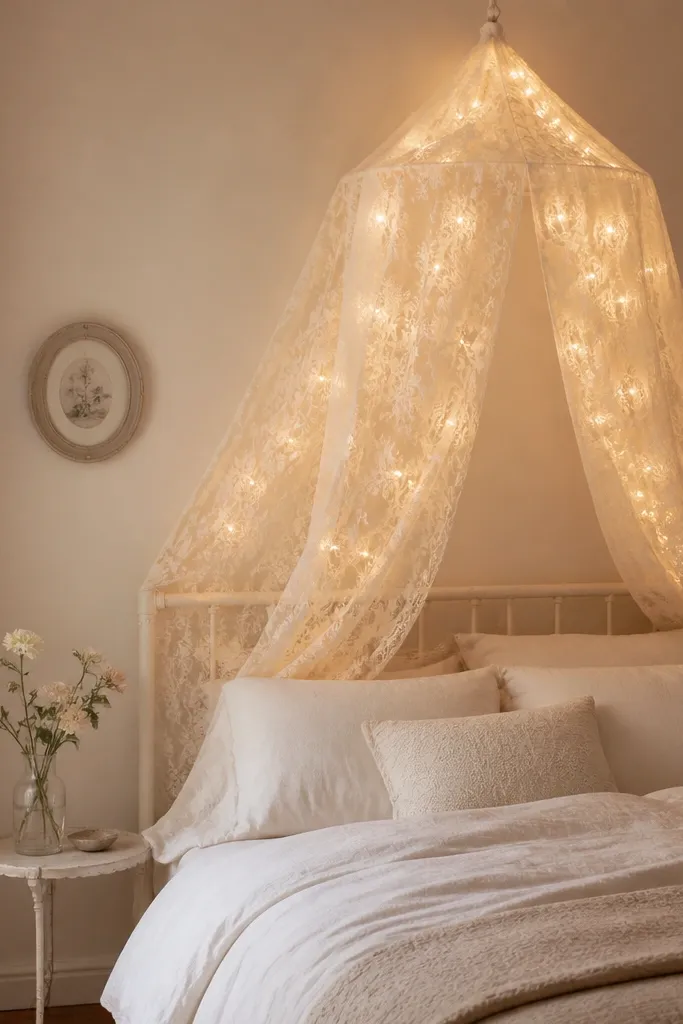
This gives you a “soft ceiling” effect, and in a small room it makes the bed feel like a private nook. Lace diffuses the bulbs, so you get warm sparkles instead of a line of light. It flatters bedrooms with feminine styling, but it also works in modern rooms if you keep colors neutral. Warm white looks good on almost every skin tone because it doesn’t cast blue shadowing. The principle is diffusion plus height: you create glow above the bed without needing a real canopy frame.
Start by choosing a lace panel or sheer fabric that hangs in soft folds, ideally white, ivory, or very light blush. Drape it above the bed so it covers the headboard area and falls a little past the pillows. Pin or clip fairy lights behind the lace — not on top — so the bulbs are mostly hidden by the fabric. Use small safety pins every 6-8 inches to keep the lace from shifting. When you turn the lights on, adjust the lace so the glow centers above the pillows, not over the foot. Hide the battery pack on the side closest to your nightstand and route the wire behind a pillow edge.
Use a timer plug or remote string so you don’t have to reach into the bed canopy every night.
Avoid thick, heavy curtains for this look; they block the sparkle and make it feel dim.
8. Wall Art Frame with Lighted Gallery Strip
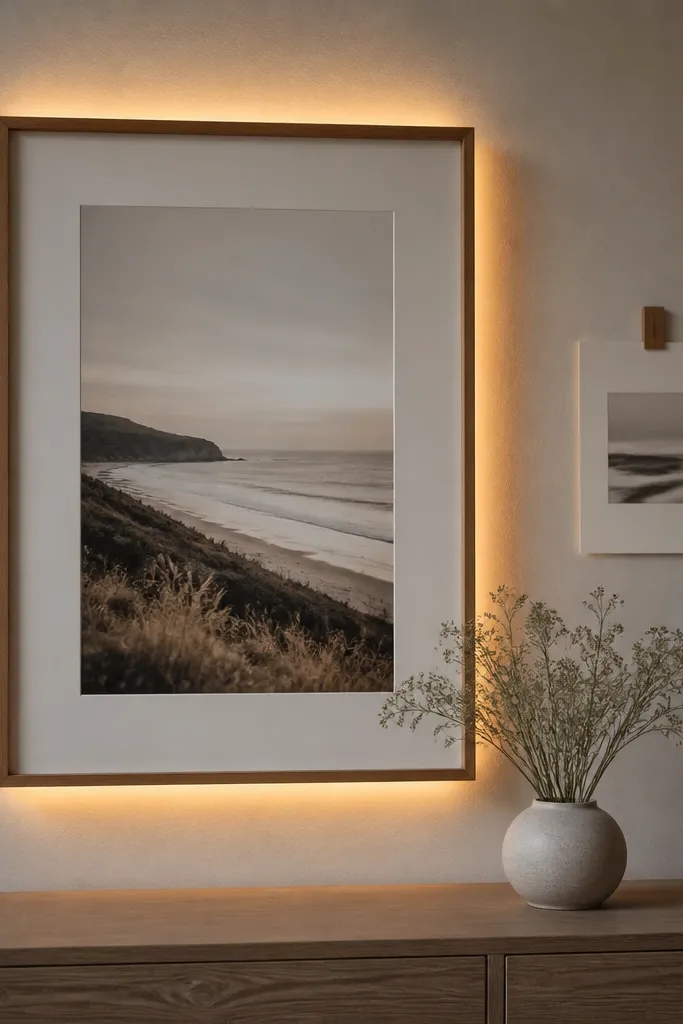
When fairy lights sit behind art, they create a gentle backlight that makes the piece look more expensive. In small bedrooms, one glowing artwork spot gives you a focal point without crowding surfaces. Warm white keeps paper prints from looking yellow or washed out. This works especially well if your art has white margins or soft colors, because the glow spreads evenly around the edges. The principle is backlighting: you highlight the edges of a frame, not the center of the wall.
Start by picking one frame with a clean border and a backing you can access easily. Place fairy lights behind the frame along the inner perimeter so bulbs face inward toward the paper. Use small adhesive clips on the frame backing rather than taping directly to the art. Turn it on and check that the bulbs don’t show through the paper — if they do, move them slightly outward or add a thin piece of white tracing paper behind the print. Mount the frame at eye height for seated viewing. Hide the battery pack behind the dresser or in a small wall hook basket to keep cords out of the picture area.
Good to knowUse frames with light-colored backing; dark backing absorbs the glow and makes the lights look dim.
AvoidDon’t use bright blue bulbs; they make prints look like they’re under an aquarium light.
9. Floating Nightstand Shelf Light Along the Back
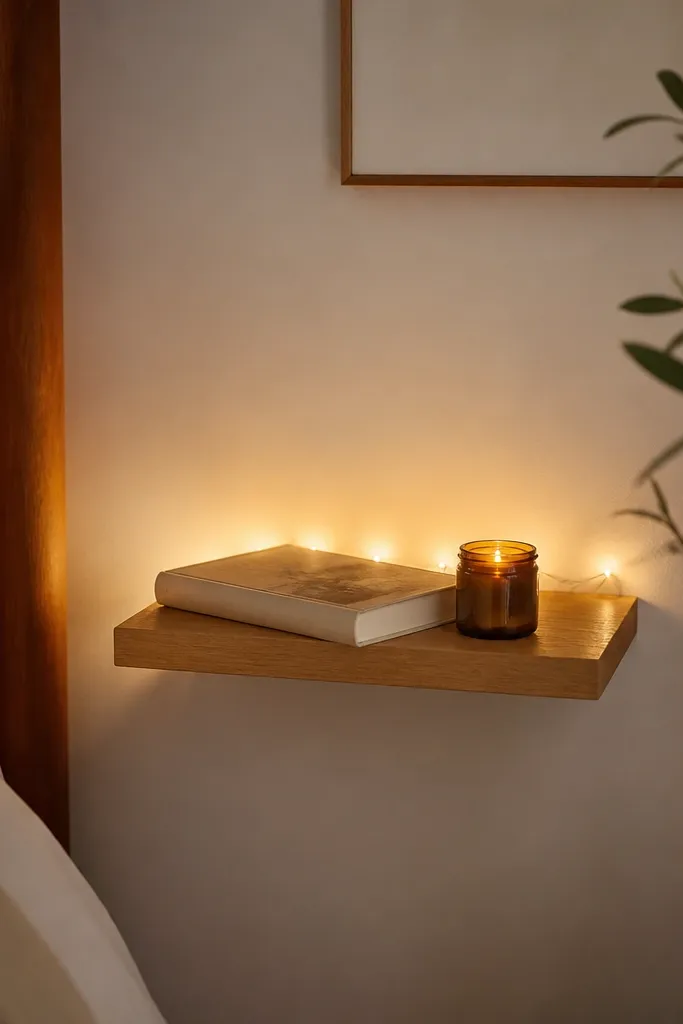
The glow along the back edge makes the nightstand feel like it’s floating. In small rooms, that visual lightness matters — it reduces the “block” feeling of furniture. Warm white keeps the shelf area cozy and makes glass candle jars look gentle instead of harsh. This is great for renters because you can mount with screws into studs or use strong adhesive strips on smooth walls. The principle is creating a light gradient behind objects so the front stays calm.
Start by installing or placing the nightstand shelf where you want it — usually about the same height as your mattress when you sit. Run warm white fairy lights along the back lip of the shelf, securing every 4-5 inches with small adhesive cable tabs. Keep the wire low enough to light the back wall, but high enough so bulbs aren’t visible from bed. Put a book with a matte cover and a small candle jar so the glow reflects softly through glass. Route the cord down behind a wall trim or into a corner where it’s hidden. Put the battery pack in a small fabric pouch and tuck it under the shelf lip if there’s clearance.
Good to knowIf your wall is textured, use a slightly thicker wire or wider spacing so the texture doesn’t create random bright speckles.
AvoidDon’t place lights under the shelf like a flashlight; that’s the quickest way to get a cheap look.
10. Mirrorless Vanity Glow with Reading Light Effect
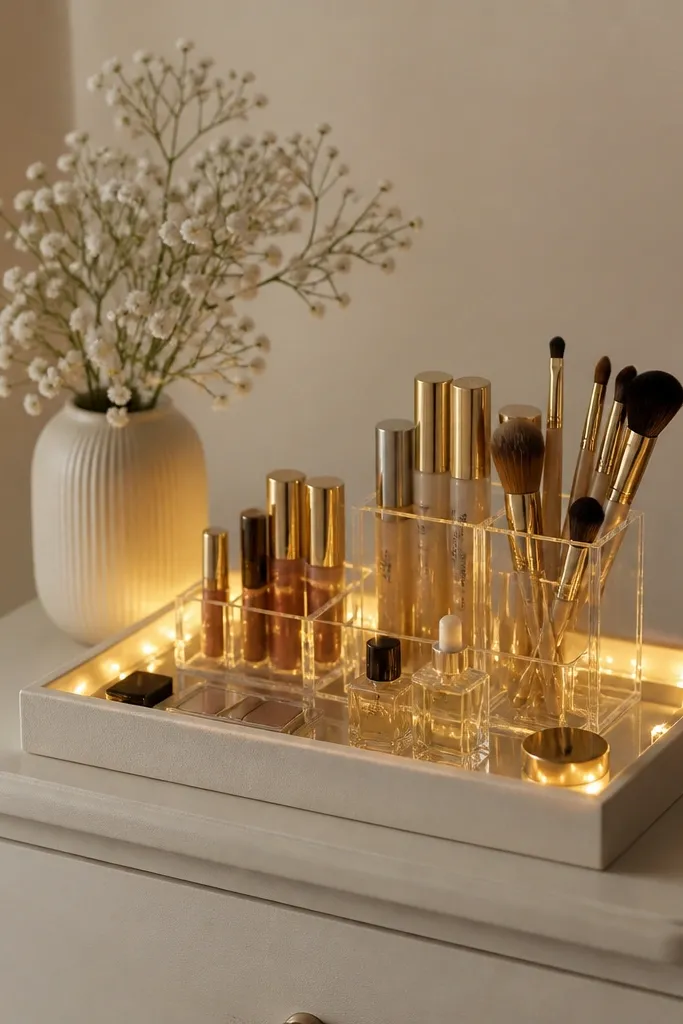
I love tray lighting because it gives you a controlled pool of light where your hands are. In a small bedroom, you often end up doing makeup or skincare at the dresser, so lighting that area makes the whole routine feel calmer. Warm white keeps your skincare bottles looking natural, not bluish. If your room has no vanity mirror, this still works because the glow is localized. The principle is directional light: keep bulbs inside a container so they aim toward the surface you use.
Start with a shallow tray or wooden box that fits on your dresser without crowding. Place warm white fairy lights around the inside rim so bulbs face down and inward. Secure the wire with a few dabs of low-tack glue or tape on the underside, then test the tray stability. Add your organizer (ceramic cups or a small fabric pouch) so it sits under the brightest area. Turn off the overhead light and check if the glow is strong enough to see your products; if not, add one more mini string or move the tray closer to the center of your dresser. Hide the battery pack under the tray by using a small felt pad so it doesn’t slide.
Pick a tray in light wood or matte white — dark trays swallow light and make the setup dim.
Avoid using a deep metal container; reflections make skin look uneven under the glow.
11. Corner Curtain Tie-Back String Lights
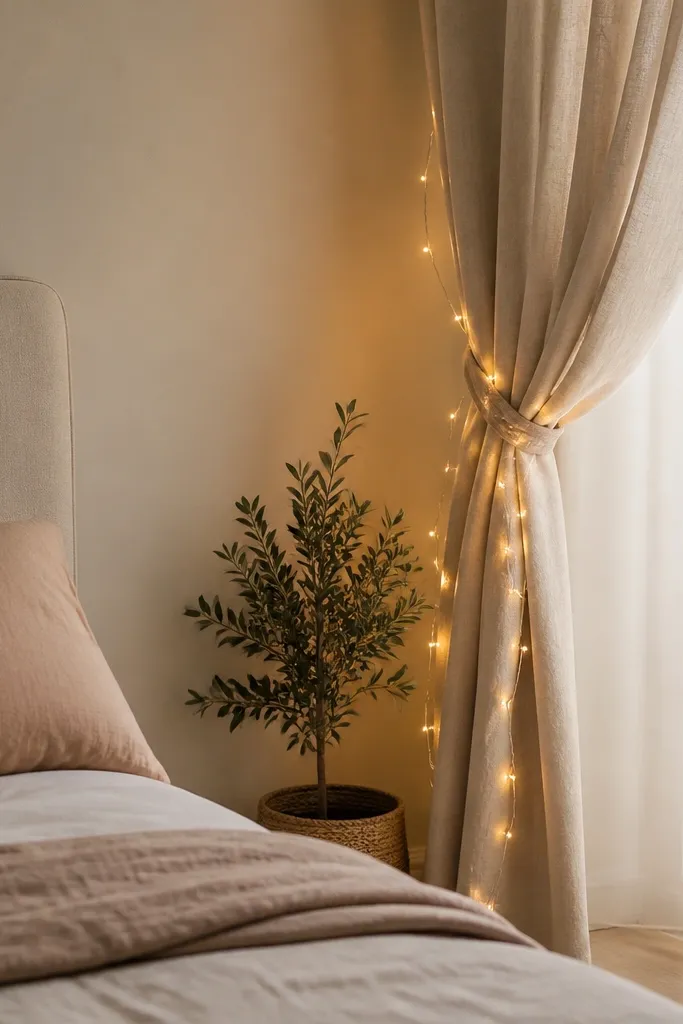
This one is subtle but it changes the whole mood because it lights the corner, not the ceiling. Corners often look bare in small rooms, and bare corners make the room feel unfinished. Warm white blends with most wall colors and adds a soft “shadow glow” effect. It flatters tiny rooms with plants because the glow makes leaves look layered instead of flat. The principle is corner lighting: you fill the empty space where your eyes naturally rest.
Start by tying your curtain back with a ribbon or fabric tie so you have a defined loop shape. Wrap warm white fairy lights around the tie-back loop and let the wire drape 6-10 inches down the wall. Secure the wire with a couple of small fabric clips so it doesn’t slip when you open and close the curtain. Turn on the lights and adjust the drape so it creates a gentle diagonal line. Place a floor plant or tall vase near the corner to give the glow something to wrap around. Hide the battery pack behind the curtain fold or in a small basket at the corner.
Good to knowIf your curtains are patterned, keep the lights warm white and match the tie ribbon to one color in the pattern for a calmer look.
AvoidDon’t wrap too tightly; tight loops create bright knots that look messy.
12. Bedding Border Lights Under the Duvet Edge
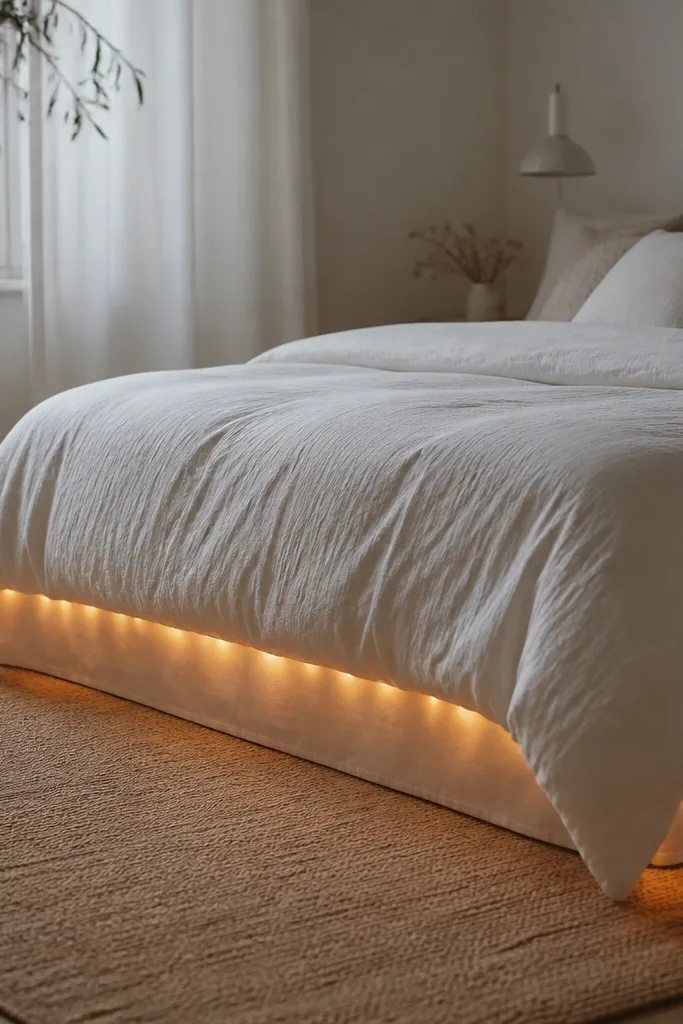
This look is pure cozy because it makes the bed look like it’s gently lit from within. The lights are hidden, so you don’t get bulb visibility, just a warm edge glow that reads more like ambiance than decoration. It flatters rooms with light bedding and makes darker bedding feel calmer without turning it gloomy. If you’re sensitive to bright lights at night, this is the safest option because bulbs don’t face you directly. The principle is hiding the source: you’re creating a glow line, not a visible string.
Start by lifting the duvet edge and tucking fairy lights along the inside seam area where the duvet meets the bed skirt. Use clips or small safety pins to keep the wire from shifting when you move in bed. Keep the wire close to the seam so the glow appears as a soft border, not a cluttered strip. Turn on the lights and check from bed — you should see glow, not bulbs. Add a bed skirt or a fitted sheet edge that blends with the duvet so the wire never peeks out. Hide the battery pack under the bed near the headboard side where you won’t notice it.
Good to knowUse a string with a thin wire and small bulbs so the hidden line stays delicate.
AvoidDon’t tuck lights into thick comforter folds; the glow gets blocked and the setup looks uneven.
13. Photo Clip Line with Warm Light at Eye Level
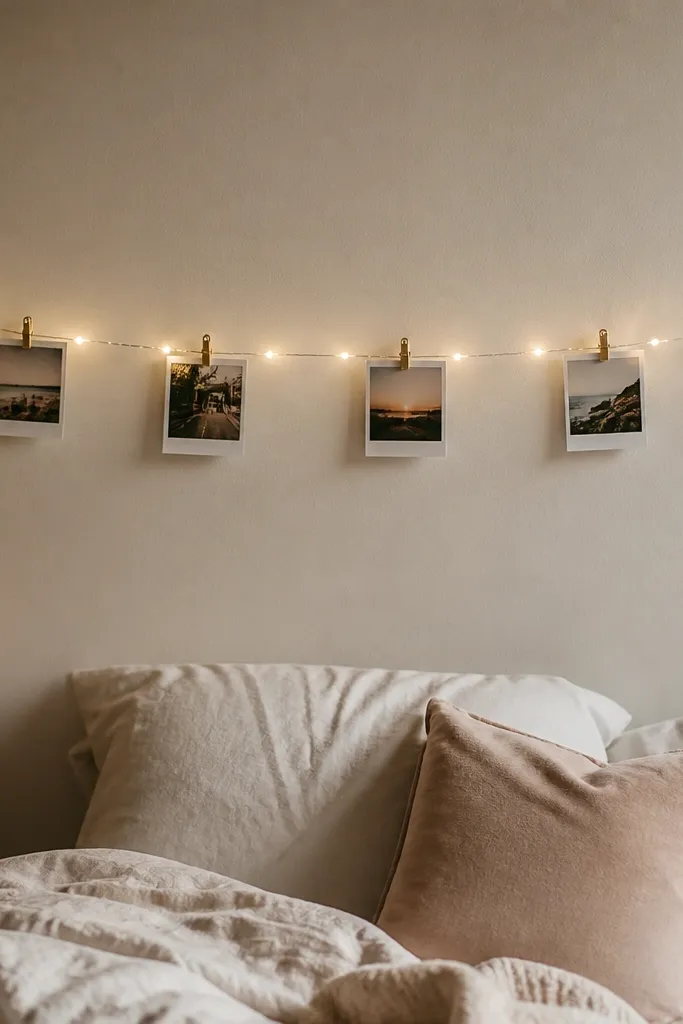
This is how you make fairy lights look like part of your gallery wall. In a small bedroom, a photo line gives you personality without taking floor space, and the lights add warmth to the wall. Warm white keeps skin tones in photos looking natural, not washed out. This works great for people who already have prints but feel they’re too plain. The principle is repetition: the clip line repeats the light line so the whole wall looks coordinated.
Start by choosing a section of wall about the width of your bed plus 6-12 inches. Install a thin wire or use a picture-hanging rail, then attach mini photo clips evenly. Place fairy lights behind the photo line so bulbs face the wall and softly light the photos from the front. Secure the wire with small hooks so it stays straight — uneven lines look cheap fast. Space photos with gaps so the glow shows through. Hide the battery pack behind a small framed print or in a fabric pocket attached to the underside of the hanging rail.
Good to knowUse matte photo prints or frames with non-gloss finish; glossy surfaces reflect bulbs and look harsh.
AvoidAvoid crowding photos right next to each other; the glow needs breathing room to look intentional.
14. Ceiling Skimming Fairy Lights with White Fabric Shade
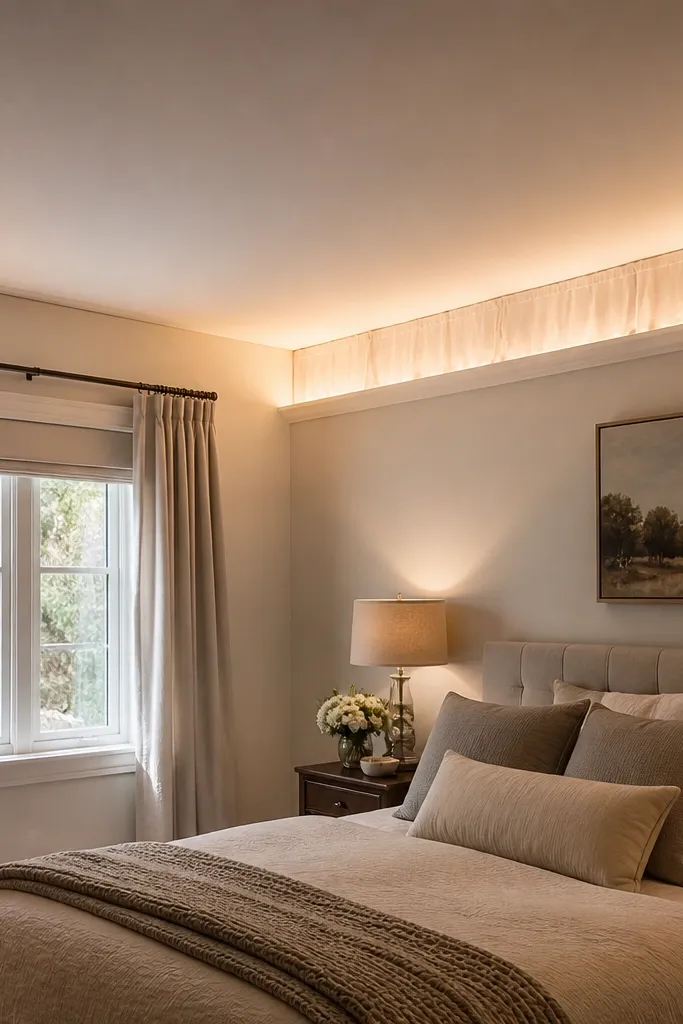
If your ceiling is low, the ceiling-skimming method is the one I trust. You don’t see bulbs, and you get an even wash that makes the room feel bigger. Warm white keeps the color consistent with lamps and avoids that blue shadow effect. This is especially good for bedrooms with textured ceilings or popcorn — the wash hides unevenness. The principle is indirect lighting: aim the lights upward and soften the beam with fabric so you don’t get hot spots.
Start by placing the fairy lights along the top perimeter of the wall, 1-2 inches below the ceiling line. Use adhesive clips so the wire stays straight and tight. Aim the bulbs toward the ceiling, then add a simple white fabric strip or light valance under the wire line to diffuse the glare. Test by turning lights on and checking for bright spots; if you see a few, adjust the wire angle or add a second thin fabric layer. Keep the battery pack tucked behind a wall corner or inside a small wall-mounted basket. Pair with matte bedding and a textured rug so the wash looks cozy, not flat.
If the adhesive clips fall off, press them in after wiping with rubbing alcohol and letting it dry.
Don’t point bulbs directly at the bed; that gives you harsh contrast and kills the cozy effect.
15. Rattan Headboard Accent with Lighted Weave
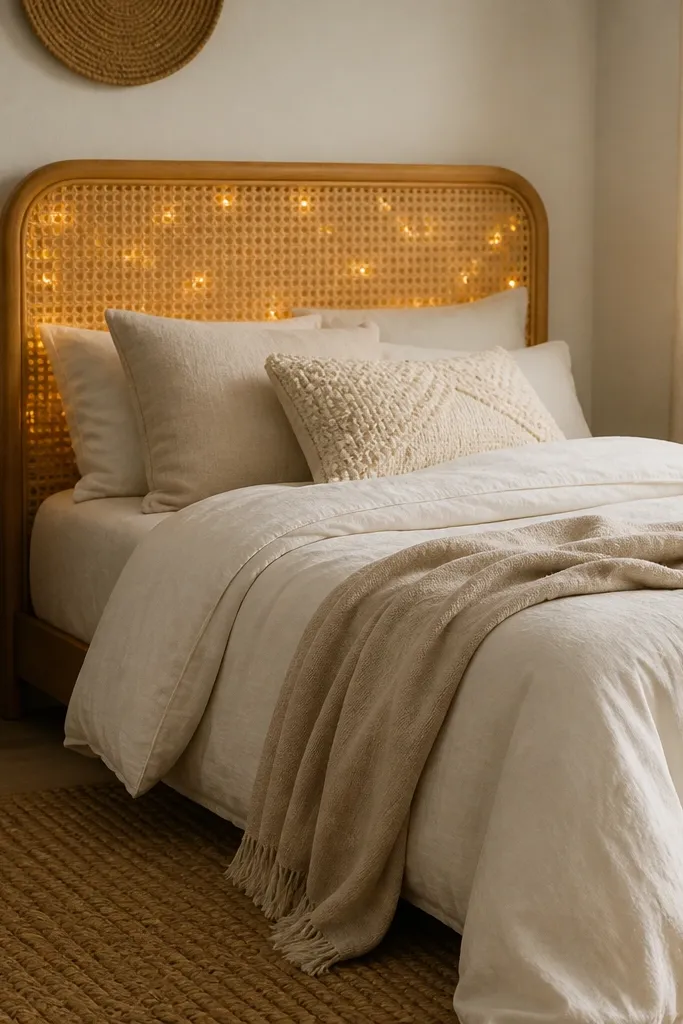
Rattan and cane do the work for you because their weave naturally diffuses light. When the bulbs sit inside the pattern, the glow looks like sunlight through blinds. This is great for small cozy bedrooms because the texture adds depth without adding bulky decor. Warm white makes natural materials look warm and forgiving. If your room has a mix of neutrals, this setup ties them together because the light reflects through the fibers. The principle is letting the material diffuse: you place lights where the pattern can spread them.
Start by checking the headboard depth so you can tuck the wire without pulling it out when you make the bed. Weave warm white fairy lights into the rattan sections, spacing bulbs about 2-3 inches apart across the headboard width. Use tiny fabric clips on the back side where you can’t see them. Turn on the lights and step back to see if any bulb clusters show as bright dots — if they do, spread the wire out more evenly. Add a cream duvet and one natural texture like a jute or cotton throw on the bed. Hide the battery pack behind the headboard or in a fabric pouch tied to the bed frame.
Good to knowUse a string with a slightly longer spacing between bulbs; tight spacing looks like a grid through the weave.
AvoidAvoid placing lights on the outside of the headboard; outside placement makes the glow look like taped-on decor.
16. Dresser Drawer Glow Line with Fabric Liner
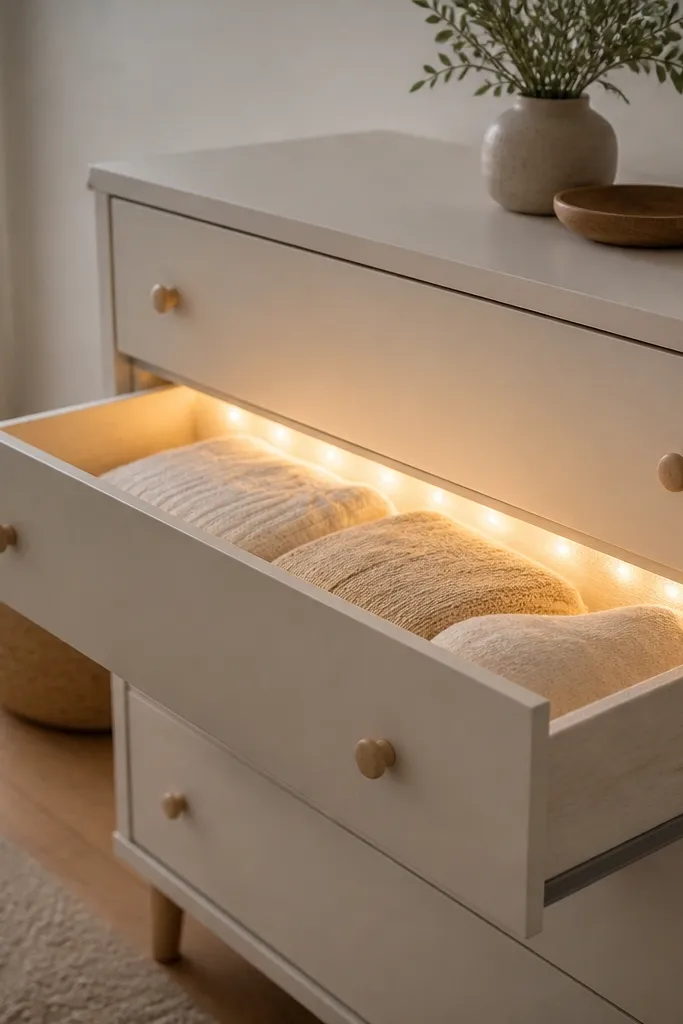
Drawer glow is a secret weapon when you hate visible cords and you want cozy light without more open shelving. The light only shows when the drawer opens, so it feels like a treat rather than constant decoration. Warm white keeps your clothes and folded linens looking soft and clean. This works best when you have a dresser with at least one drawer you use daily. The principle is controlled reveal: you show the glow in one functional moment, not all night.
Start by removing the drawer and placing a piece of white cotton or linen fabric liner on the inside bottom or back edge. Attach warm white fairy lights along the back inside edge of the drawer so the bulbs face downward toward the fabric. Secure the wire with small tape tabs on the underside so it doesn’t shift. Put the drawer back and turn on the lights — you should see a gentle glow on the fabric, not bright bulbs. Fold neatly so the light hits smooth stacks; messy folds make the glow look cluttered. Hide the battery pack under the drawer lip or behind the dresser when possible.
Use cotton fabric liner because it diffuses better than polyester and doesn’t reflect as much light.
Don’t line lights along the sides of the drawer; side glow makes the room feel smaller and more chaotic.
17. Bedside Ladder Shelf with Hanging Lighted Orbs
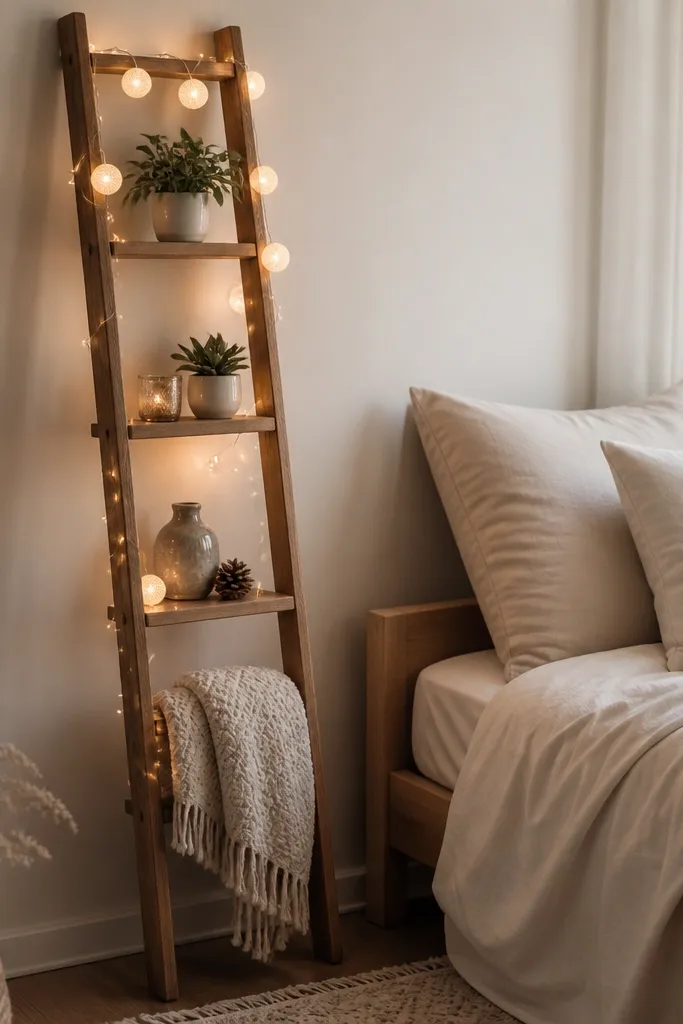
A ladder shelf creates vertical lines, and fairy lights make those lines feel soft instead of harsh. I like this when you have a tiny corner next to the bed and you want storage plus mood. Warm white makes the wood look richer and keeps the bulbs from looking harsh. If you have a low ceiling, the ladder’s vertical shape helps without adding bulk because the lights are thin wire. The principle is vertical structure plus soft light: you’re giving the eye an upward path.
Start by placing the ladder shelf so one rung sits roughly at nightstand height. Thread warm white fairy lights along the ladder rungs, then let a few sections hang down slightly to create a gentle curve. Keep the highest bulbs 6-10 inches below the ceiling so they don’t create a bright top spot. Drape a knit blanket on a lower rung so the glow lands on fabric. Add a small framed photo or ceramic on one rung so the ladder doesn’t look like empty storage. Hide the battery pack behind a rung or inside a small fabric basket on the lowest rung.
If your ladder is dark wood, wipe the surface with a dry cloth — dust makes bulbs look dim and uneven.
Avoid using thick, chunky light cords on ladders; thick cords ruin the airy look.
18. Corner Reading Nook with Fairy Lights Behind a Chair Back
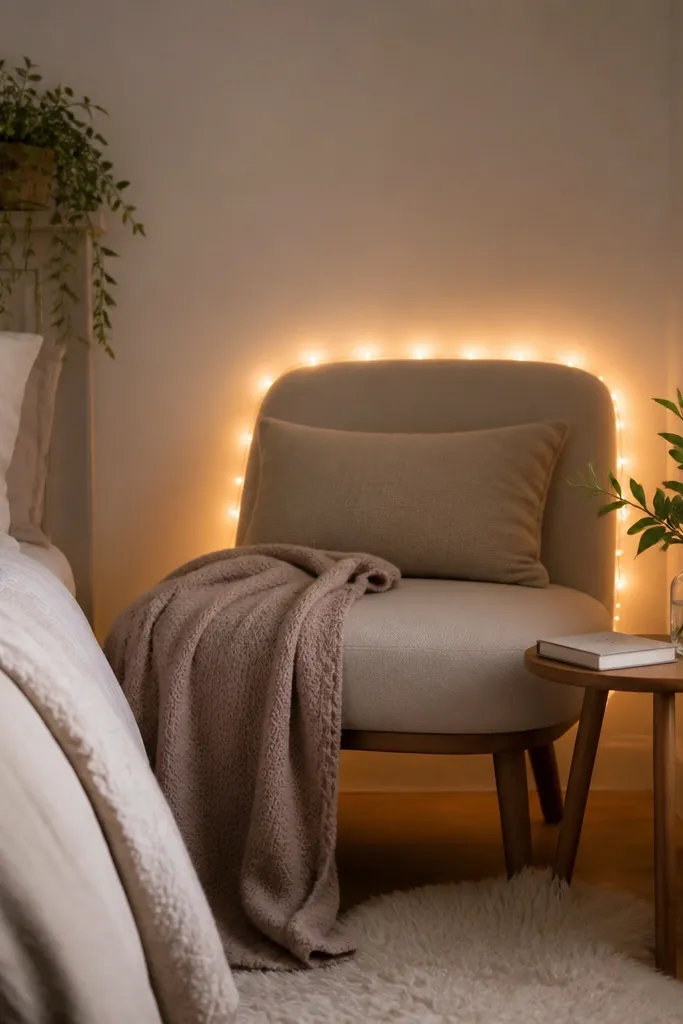
When you sit to read, your eyes want comfort light, not task glare. Putting fairy lights behind the chair creates a halo behind you and makes the whole corner feel like a private spot. Warm white flatters skin tones and makes blankets look more inviting. This works in small rooms because the chair already takes the “corner” role — the lights just dress it up. The principle is backlight for the sitting area: the glow wraps the corner and makes it feel intentional.
Start by placing your chair or stool where you actually sit — don’t position it for looks and then sit elsewhere. Mount warm white fairy lights on the wall behind the chair back using small adhesive hooks, keeping the wire level across the top third of the chair height. Leave space around the chair arms so the glow doesn’t block your view. Add a thick knit throw over the chair and a small lamp-free side table so the fairy lights become your main ambiance. Turn on the lights and sit down — if bulbs are visible directly from your eye line, move them slightly higher or cover them with a thin sheer curtain panel behind the chair. Hide the battery pack in a small fabric pouch attached to the underside of the side table.
Good to knowPick a chair with a light fabric or light wood back so the glow reflects softly instead of absorbing.
AvoidDon’t mount lights too low behind the chair; low placement creates bright glare on your shoulders.
19. Under-Bed Glow with White Valance Strip
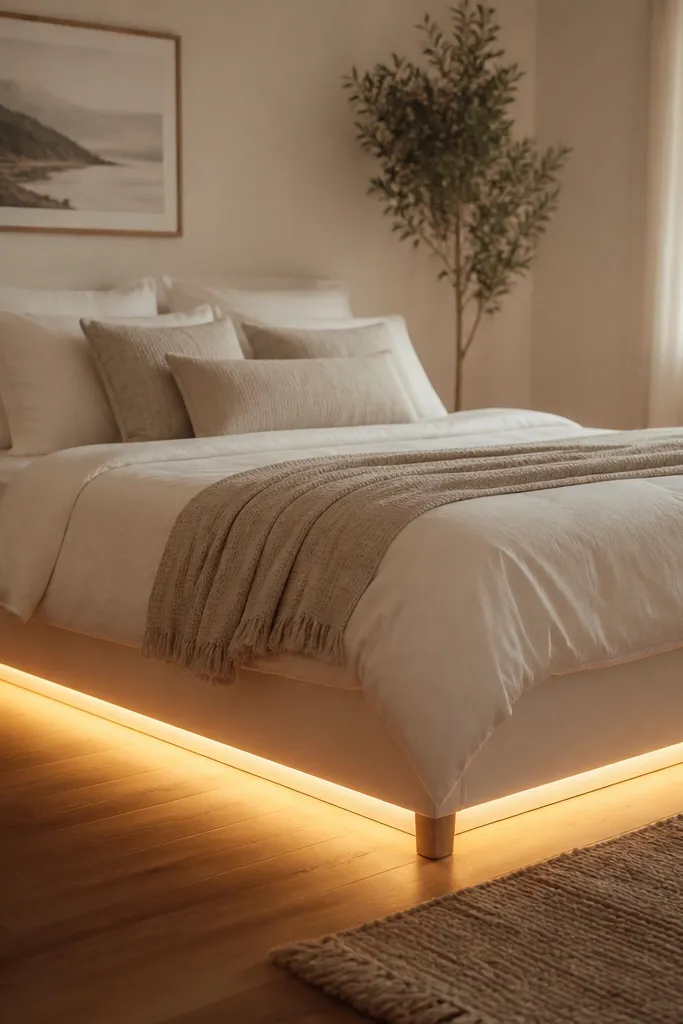
Under-bed glow makes a small bedroom feel taller because it lights the bottom of the space, not the ceiling. It also makes the bed look grounded and cozy at night, especially if you use a light rug. Warm white is key here; it keeps the glow from looking like a party effect. This works best with bed frames that have clearance underneath and a bed skirt or a way to hide the wire. The principle is low indirect lighting: you’re lighting the floor edge so the room feels softly lit.
Start by lifting the bed slightly or checking the clearance so you can place the string around the underside edge. Attach warm white fairy lights along the inside perimeter of the bed frame, bulbs facing upward toward a hidden fabric valance. Use a thin white cotton strip as the valance so it blocks direct bulb visibility and turns points into a wash. Secure the valance to the bed frame with small clips or ties. Turn the lights on and check the glow line on the floor; if it’s uneven, adjust the wire spacing. Hide the battery pack under the bed near the headboard side and secure it with Velcro so it doesn’t slide.
Good to knowUse a string with a thicker wire so it stays in place when you vacuum under the bed.
AvoidAvoid going too bright; if your string has a lot of bulbs, space them out or use fewer sections.
20. Wall Sconce Illusion with Fairy Lights in a Picture Ledge
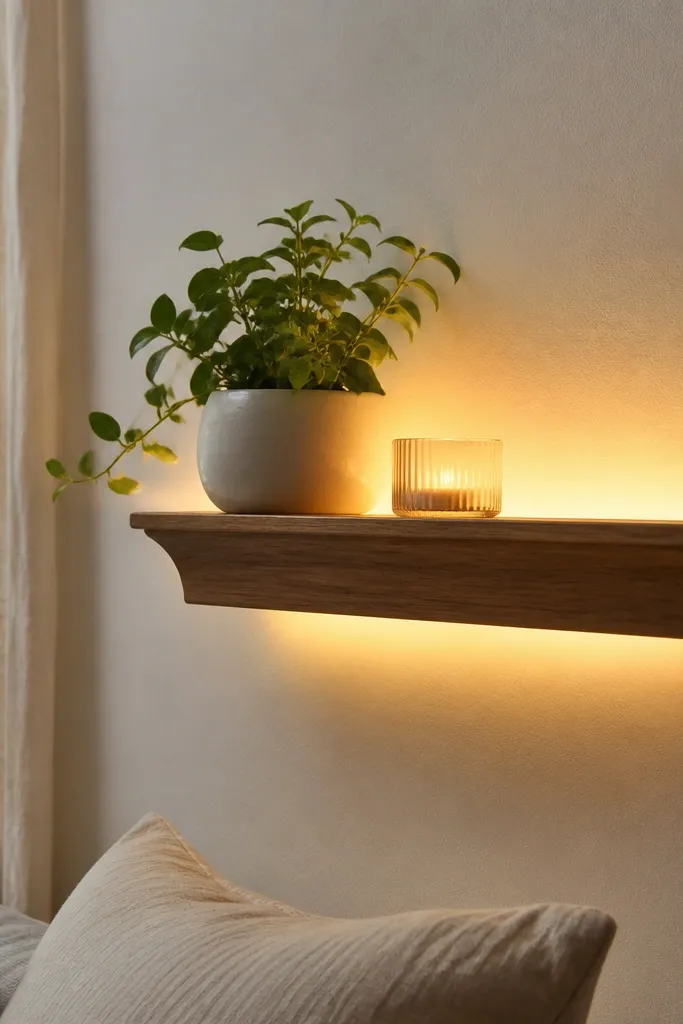
This makes fairy lights look like real wall lighting. The ledge hides the bulbs and gives you the “sconce” effect without installing anything. Warm white makes the wall color look warmer and helps small rooms feel less flat. I like it when you have one wall that feels empty because it gives you a focal point without taking floor space. The principle is mimicking a fixture: conceal the light source and let the wall get the glow.
Start by installing a narrow picture ledge shelf at about eye level or slightly above your bedtime reading spot. Tuck warm white fairy lights behind the ledge so the bulbs face the wall, not the room. Secure the wire with small adhesive clips on the underside so it stays hidden. Place a small matte object on top, like a candle jar with a fabric shade or a ceramic planter, so the shelf doesn’t look empty. Turn the lights on and move your body around the room to check for bulb visibility from different angles. Hide the battery pack behind the shelf’s wall side or in a small wall-mounted basket nearby.
If your ledge is wood, choose a warm white string with clear bulbs — the wood makes the glow look softer.
Don’t place a shiny candle holder right under the glow; reflective surfaces can throw bright highlights.