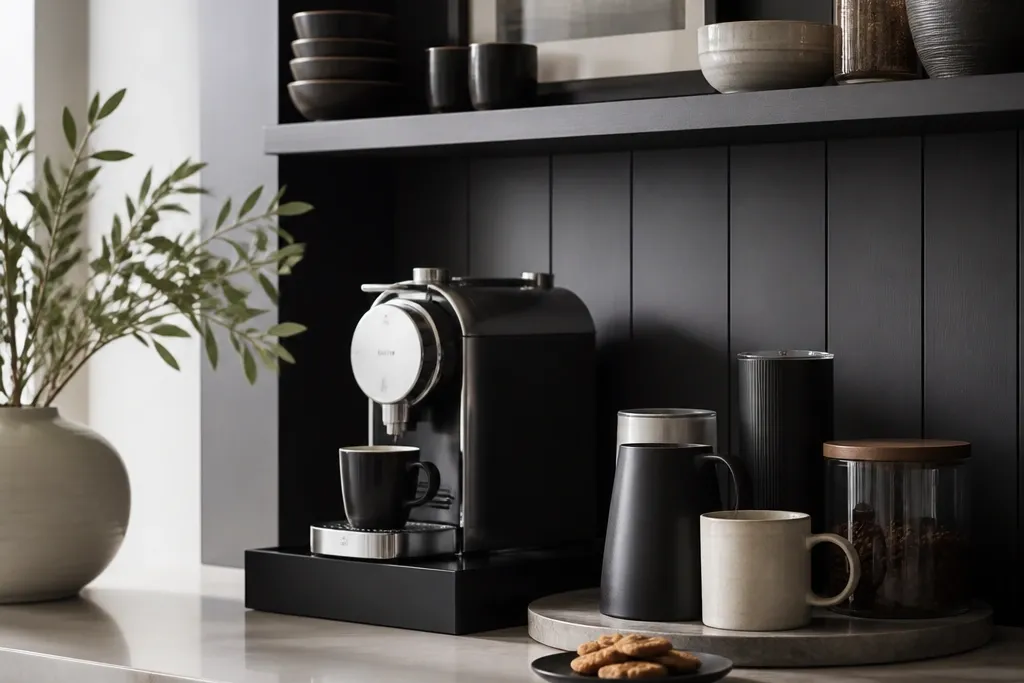
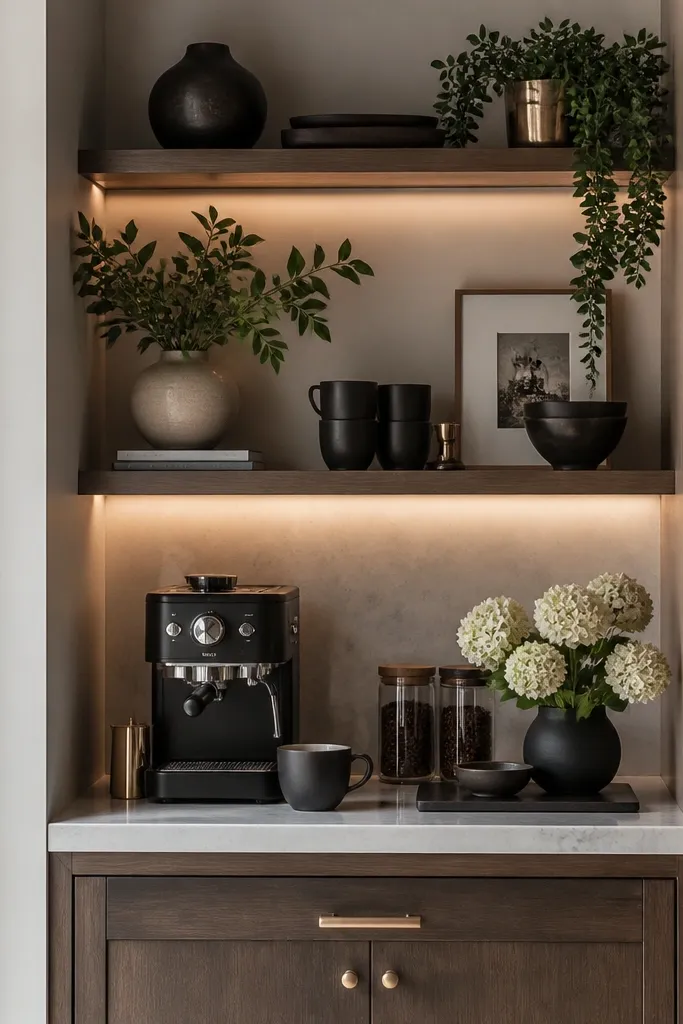
1. Brass wall niche with marble-look shelf and a linen tray
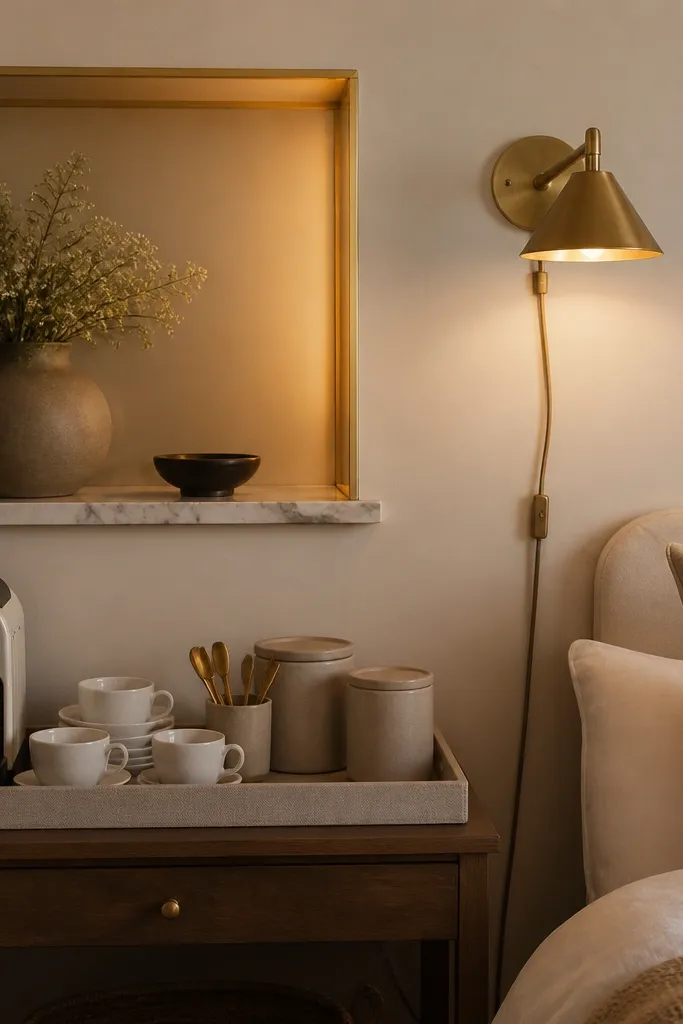
This setup works because the wall niche gives you built-in “architecture,” so the coffee corner looks finished even when you only use it in the morning. The marble-look shelf brightens the space and makes the brass trim look intentional, not random. I like pairing white cups with warm greige linen because the linen texture hides fingerprints and small stains from sugar. If your skin tone reads warm or neutral, the gold light makes everything look flattering — especially cream ceramics and caramel wood. It also suits slim bedrooms because the console can be only 12-14 inches deep while the niche adds vertical height.
Start by mounting a small brass-trim niche at about 52-58 inches from the floor, keeping it slightly above eye level when you stand. Place a marble-look shelf inside the niche or use a marble-look ledge insert, then add one row of decor at the back — a tall canister and a small plant in a white ceramic pot. On the console, center a cream linen tray and keep items inside it: kettle or pour-over stand, sugar jar, and a cup stack. Finish with two matching canisters flanking the tray edges and set one spoon crock near the front corner. Keep the tray footprint to about 16-18 inches wide so the console still has breathing room.
Use a dimmable bulb at 2700K and keep the sconce shade warm beige so the brass doesn’t look yellow.
Avoid mixing cool gray stone with brass trim — it makes the niche read cheap and flat.
2. Slim console table with stacked books, a glass cloche, and matching canisters
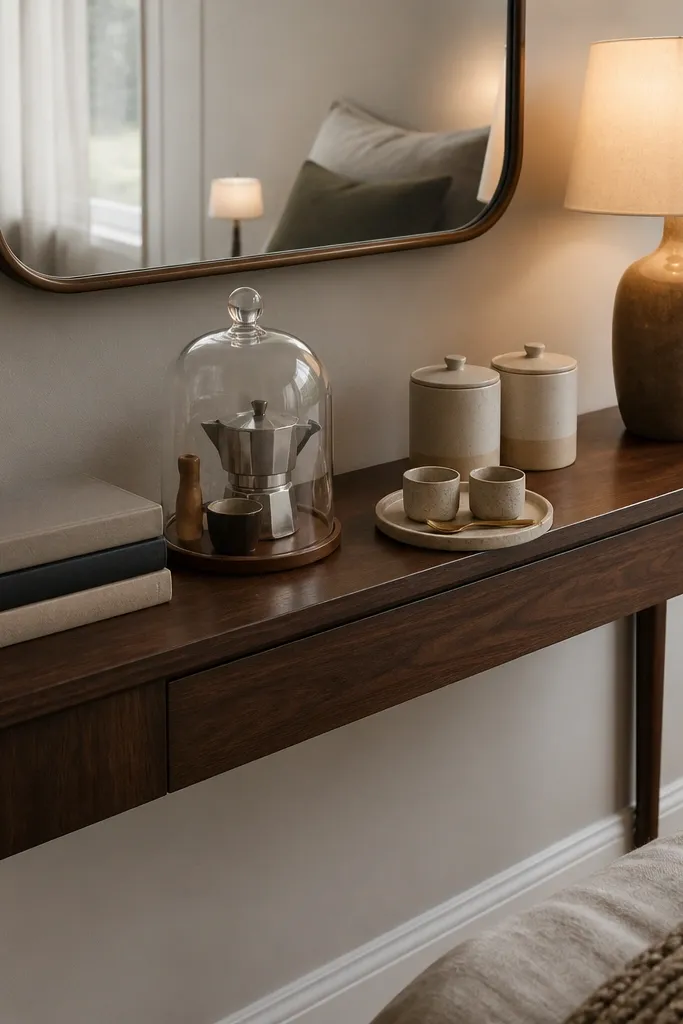
This is my go-to for renters because you can build the luxury look without drilling into the wall. The dark walnut console makes the whole station feel grounded, and the stacked books create vertical structure that looks like you planned it, not tossed it there. A glass cloche adds that “hotel detail” effect because it catches light and keeps the visual clutter contained. Matching canisters are what make it look expensive — the moment you mix colors or heights, the corner starts to look like storage. This looks best in bedrooms with neutral walls or warm undertones, because the walnut and gold reflections warm the room without fighting it.
Good to knowPick canisters with the same lid finish (brushed gold or matte black) so the corners look coordinated.
Start by choosing a console that’s 14-16 inches deep so it doesn’t block walking space; place it so the top surface lines up with the height of your reading chair arm. Stack 3 books in two heights: 2 on the bottom and 1 on top, then set the glass cloche centered slightly forward. Add two matching canisters at the back left and back right, leaving the middle area for the cloche. Put a small round tray in the front half and place two cups, a spoon, and a folded linen napkin on top. Turn the wall mirror so it reflects the tray, not the floor.
AvoidSkip mismatched mug sizes — two cups should be the same height or they look like you grabbed whatever was clean.
3. Rattan bar cart with black marble-look top and café latte tones
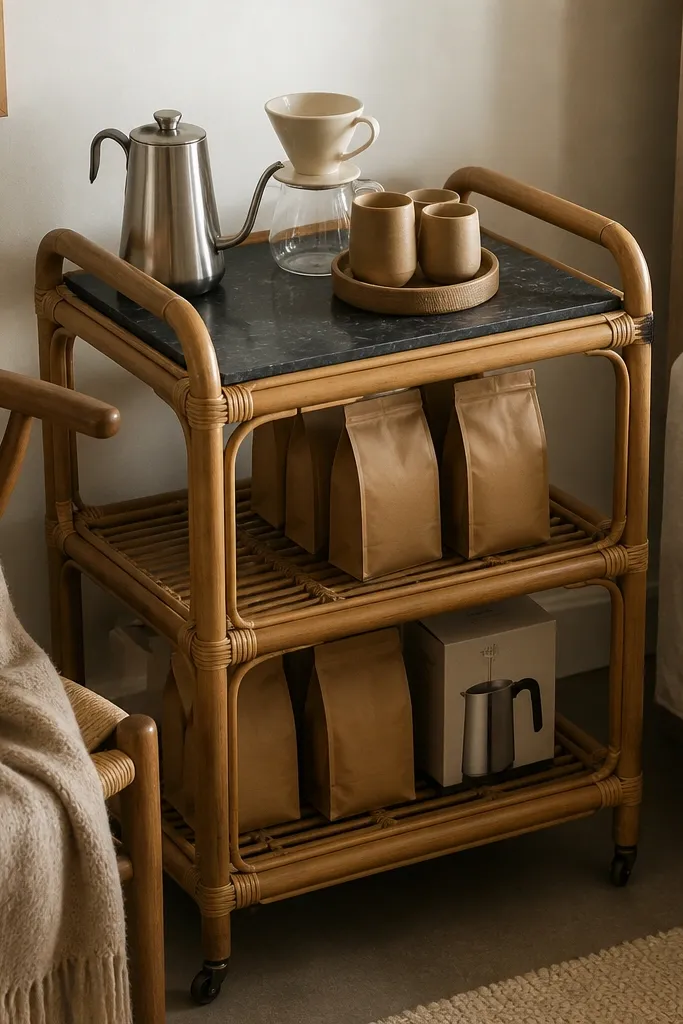
A bar cart makes coffee feel movable, which is why it works in bedrooms where you don’t want a fixed station. Rattan adds texture without looking heavy, and the black marble-look top makes the cart feel high-end even when the cart itself is lightweight. Latte tones — cream, oat, and caramel — look calming on mornings, and they also photograph well for people who like a tidy aesthetic. This setup flatters most skin tones because the warm palette sits close to your hands and face when you pour. It’s also practical: you can roll the cart to a chair during a quiet night and tuck it away later.
Start by placing the cart where you have a clear path to a seat, ideally 36 inches from a bed edge or dresser. Choose 2-3 items for the top only: kettle or electric water pot, dripper, and one tray with cups. Keep the cups to a set of two or four so the visual stays symmetrical. On the lower shelf, store coffee bags upright in two rows and add a small basket for filters so you don’t see packaging clutter. Finish by tying a small linen napkin around the handle of the dripper or resting it under the tray.
Use a tray liner in taupe or oat so the black top doesn’t show water rings.
Don’t overload the lower shelves with loose scoops and spoons — the cart turns into a junk shelf fast.
4. Wall-mounted peg rail with leather cup holders and a small shelf
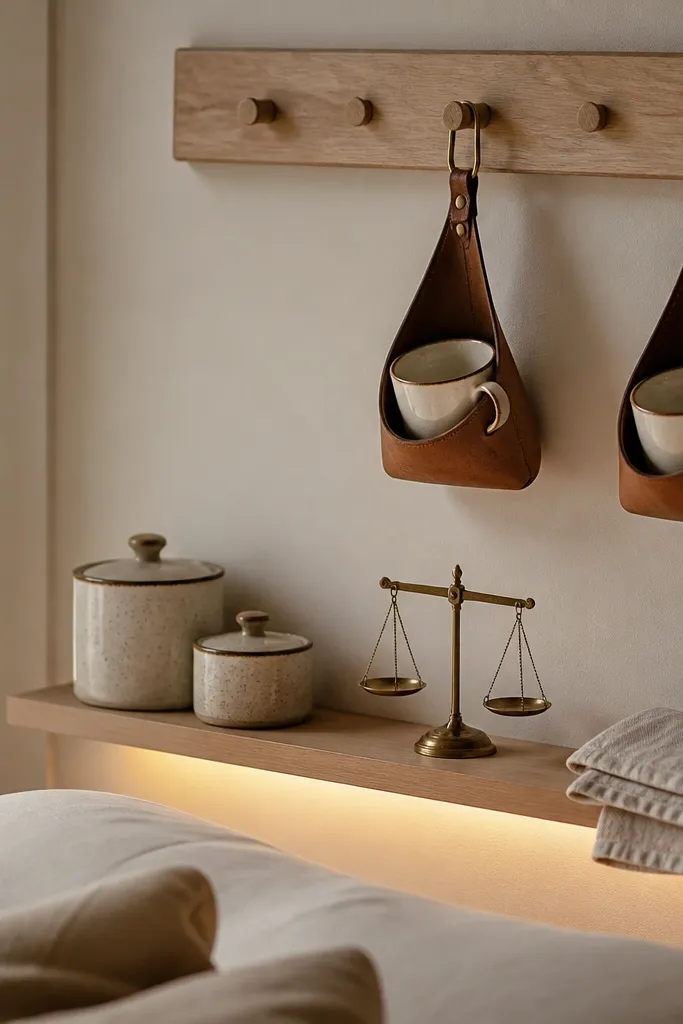
This one looks expensive because it turns everyday items into a display. Leather cup holders add warmth and texture, and the peg rail keeps everything aligned so it doesn’t look like you hung mugs randomly. The small shelf below holds the “messy” things — filters, spoons, and measuring tools — while the mugs hang where they’re easy to grab. The warm LED strip makes the ceramics look glossy, which is what gives the luxury look. It works especially well if your bedroom is small and you want vertical storage without adding furniture depth.
Start by installing a peg rail 72-78 inches from the floor, keeping the bottom hooks at about 48-50 inches. Hang two leather cup holders so the mugs sit centered and roughly 2 inches apart. Mount a narrow shelf directly below at about 58-62 inches, then place two matching canisters and a small brass scale on the back edge. Add a folded linen towel in front so you can wipe drips without digging through drawers. Keep the shelf items to five pieces max so the wall stays airy.
Use a cord cover for the LED strip — visible cords ruin the high-end look instantly.
Avoid hanging mugs with different handle directions; turn them all the same way for a cleaner look.
5. Window sill coffee station with sheer curtains and a silver tray
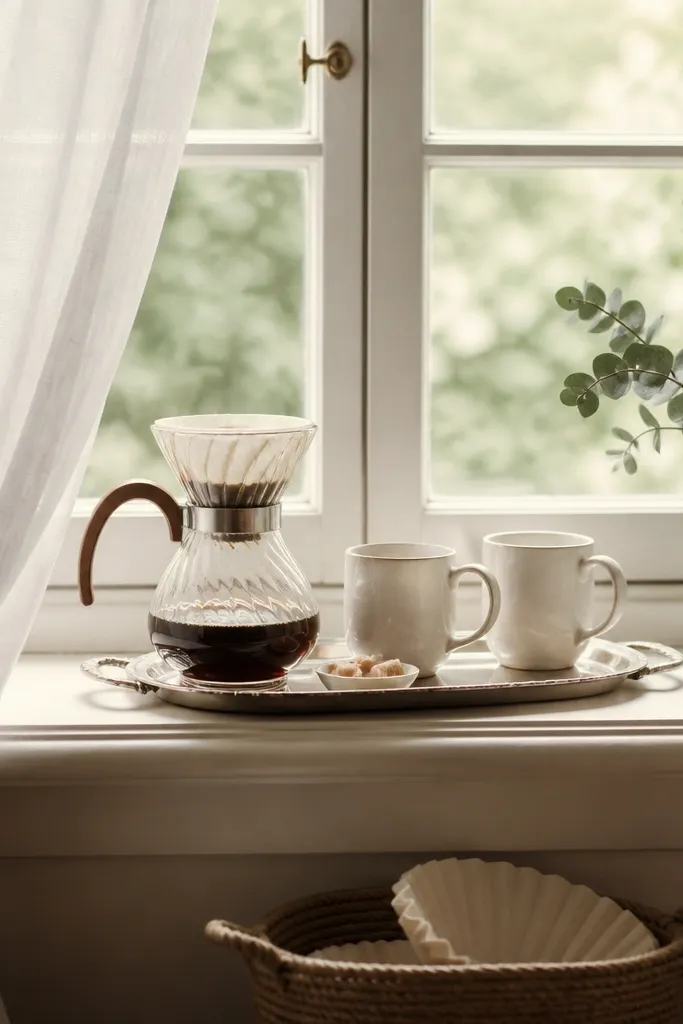
If your bedroom has a window, this is the most flattering place for a coffee corner because natural light makes ceramics look crisp. The silver tray gives you that polished, “served” feeling, and the sheer curtains keep everything soft. I like white mugs here because they catch daylight without looking dingy, and the eucalyptus adds a green echo that makes the whole station feel fresh. This setup flatters anyone because the light source is above and in front, not harsh overhead. It’s also great for people who don’t want extra furniture cluttering the room.
Good to knowWipe the tray with a microfiber cloth every few days; silver shows water spots fast.
Start by measuring your sill depth; you want at least 10-12 inches of usable space. Place a silver tray centered, then set a pour-over setup or compact kettle in the back half. Add two mugs in front corners and place sugar and a small spoon dish near the center so you can reach without bumping the dripper. Put a low basket under the sill for filters and a spare bag of beans, and keep it closed or lined with a neutral fabric. Finish by spacing eucalyptus stems so they don’t block the view but still show in photos.
AvoidDon’t run the setup too close to the curtain rod — it makes the fabric brush the tray and look messy.
6. Corner shelf ladder with a "bar height" tray and velvet ribbon
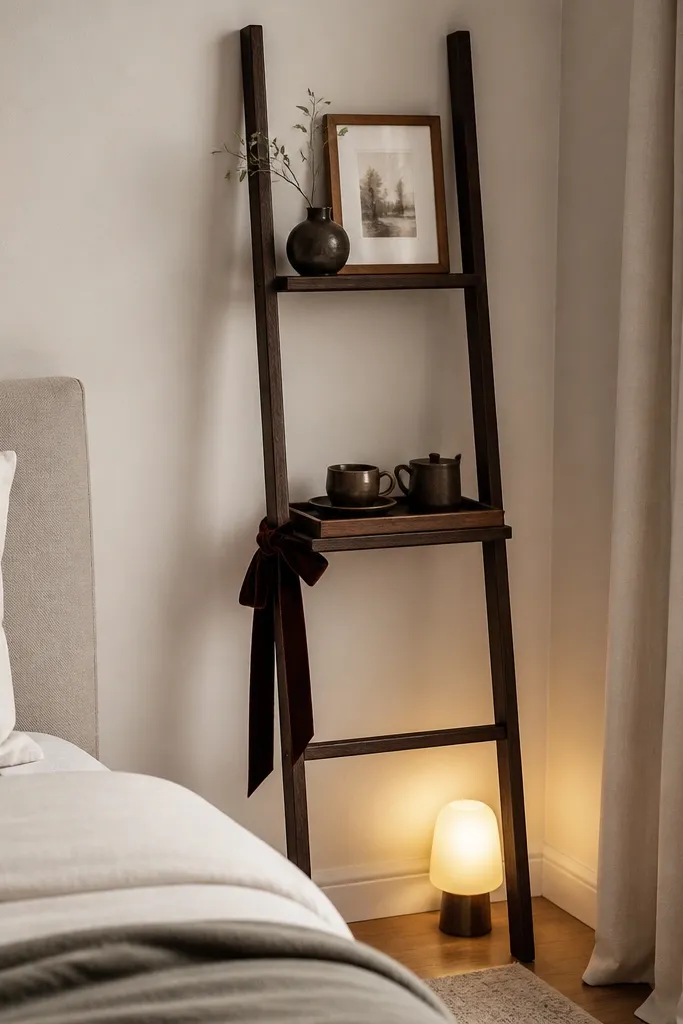
A ladder shelf gives you height fast, which is what makes a corner feel intentional. The key is using one shelf as your “bar height” zone, where the tray sits at a comfortable reach when you’re standing near the corner. Velvet ribbon adds a luxury softness — it looks good against wood and makes the setup feel dressed. Choose a tray color that matches your metal accents; I’ve had the best results with black tray + brass accents or warm wood tray + matte black cups. This works best in bedrooms with at least one textured element like wool or velvet, because the ribbon looks like it belongs.
Good to knowKeep the ribbon color to one of your room colors; burgundy looks amazing with cream and oak.
Start by placing the ladder shelf 2-3 inches away from the wall so the back doesn’t look crowded. Put the tray on the second rung; aim for tray top height around 34-36 inches. Use a dark tray and place a compact kettle, two cups, and a spoon crock inside it. Tie a velvet ribbon around the rung at the left side so it doesn’t cover the tray label or the cups. On the top rung, add one tall piece like a small vase and one flat piece like a framed print, keeping it to two items.
AvoidDon’t hang more than one fabric item on the ladder — it turns into a decoration rack.
7. Black-and-cream wall cabinet with glass doors and a coffee label system
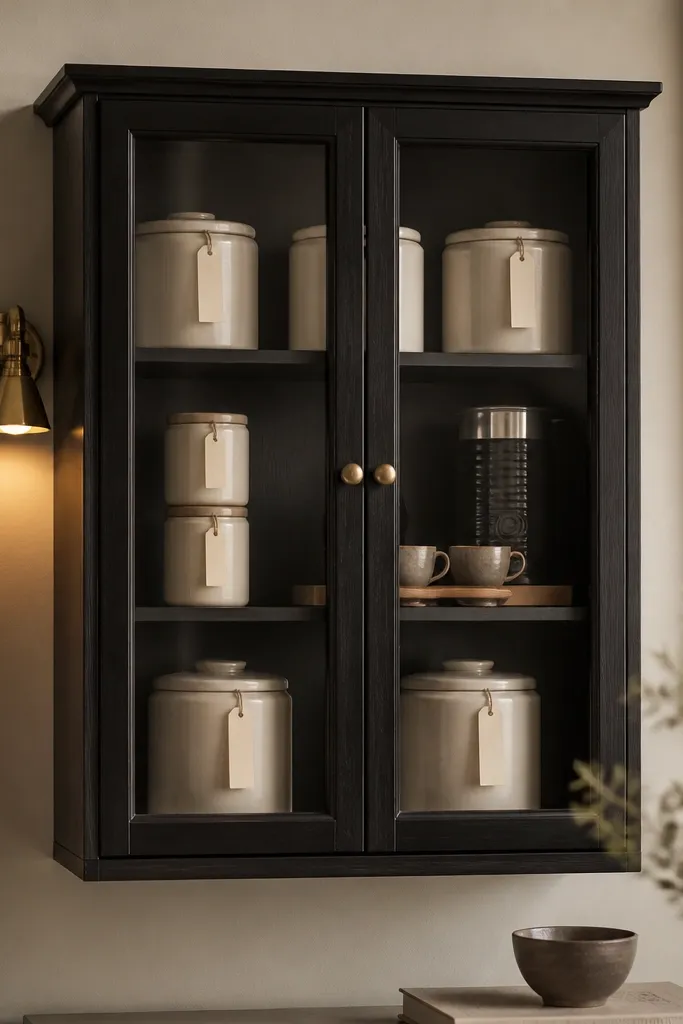
Glass-door cabinets make coffee corners feel boutique because they hide the clutter while still letting you see the styling. The black-and-cream combo reads luxury without being loud, and it’s forgiving if your bedroom has mixed furniture finishes. Labeling is what stops the corner from looking like a random collection of jars. I’ve used this approach in guest rooms where people need to make coffee quickly; the labels reduce searching and keep the look consistent. It’s also flattering for bedrooms with cool undertones because the cream labels warm the dark cabinet.
Good to knowPut labels on the front of each canister at eye level — that’s what makes it feel thought-out.
Start by choosing a cabinet width that fits your items: aim for 24-30 inches wide for two canisters and a cup set. Place the cabinet so the glass center aligns around 60-64 inches from the floor. Inside, set two canisters on the left and right on the middle shelf and place cups on a small riser tray in the center. Add one functional appliance like a frother on the lower shelf, then keep the top shelf empty or with one decorative item. Use cream tags with black text and keep them the same font style and size.
AvoidAvoid using different label sizes; the mismatch reads like a storage room.
8. Textured wall panel behind a coffee console with warm amber lamp
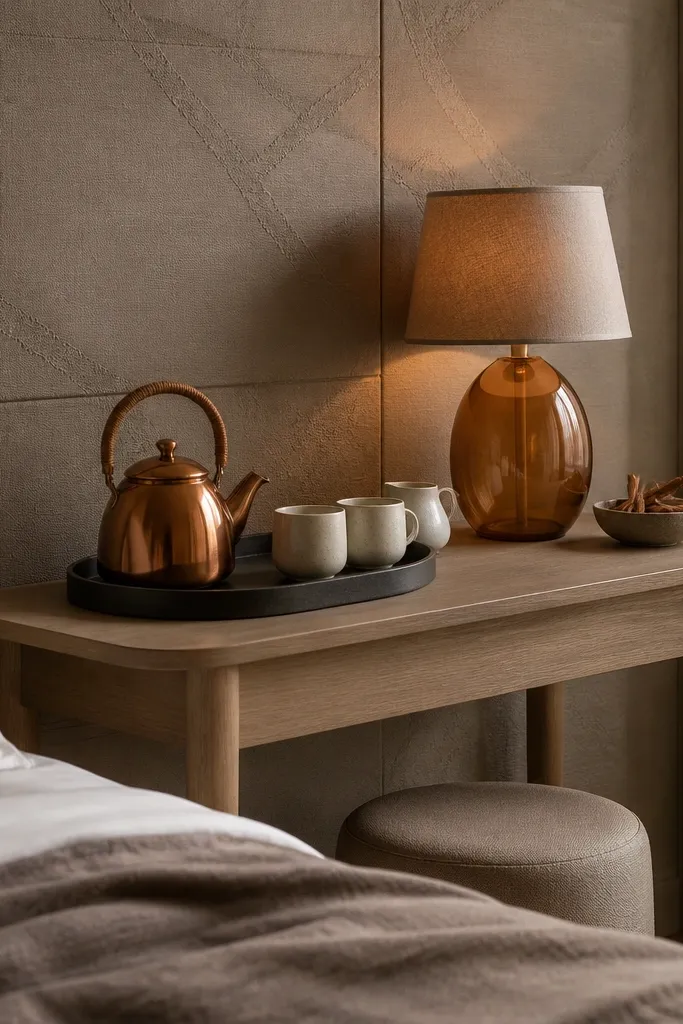
Texture behind the coffee nook makes it look expensive even with simple pieces. The warm taupe wall panel adds depth so your tray and kettle stand out, and the amber lamp makes copper and cream look rich. I like copper for this station because it warms up the whole scene and hides water spots better than bright chrome. Cinnamon sticks in a small bowl look cozy and also smell faintly warm when they’re near a lamp. This suits bedrooms with beige, tan, or greige walls, and it makes cooler rooms feel inviting without changing your whole palette.
Start by mounting or placing a textured panel behind the console; if you can’t mount, use a removable panel or a large framed textured artwork that fills the wall space. Position the console 6-8 inches away from the wall so the panel is visible. Put a dark tray centered on the console and place the copper kettle at the back, then two cream cups in front corners. Add a small ceramic creamer and sugar bowl inside the tray, leaving one side for cinnamon sticks. Set the amber lamp to the left or right of the console so it lights the tray at a slight angle, not straight-on.
Use a tray liner in black or dark brown so any drips don’t show.
Avoid white-on-white if your walls are cool gray; it can look sterile.
9. Linen-covered ottoman coffee nook with a tray table and low shelf
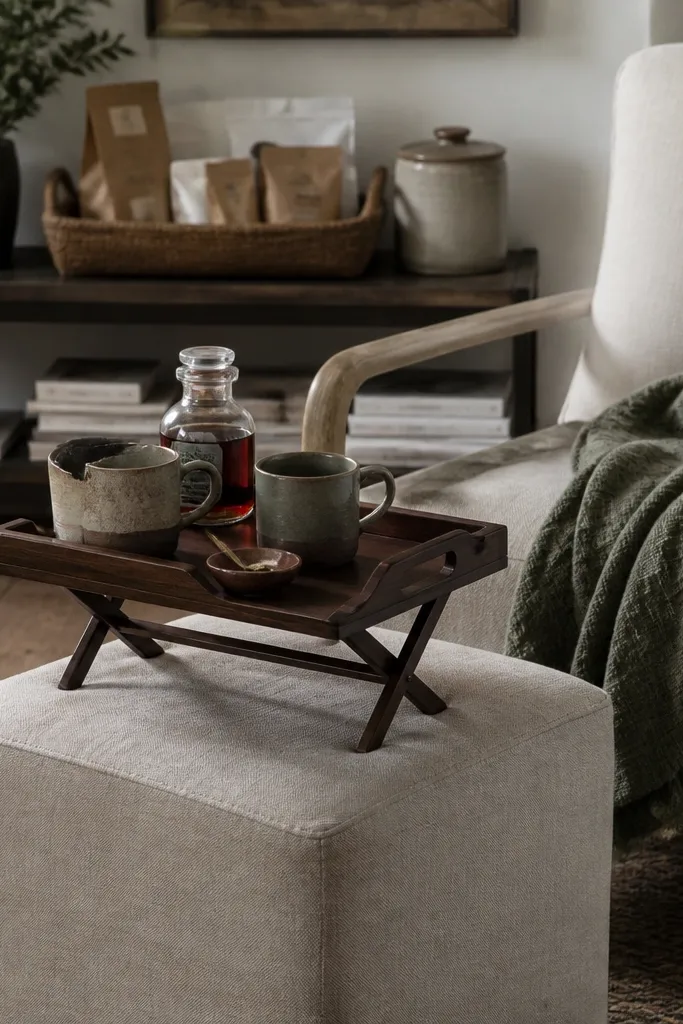
This setup is for the bedroom corners where you actually sit down with your coffee, not just walk by. Linen on the ottoman makes the station feel cozy and hides wear, and the tray table keeps the coffee area contained. A low shelf for supplies keeps your eye from wandering upward and makes the corner feel grounded. If you’re working with a smaller room, the ottoman footprint still feels light, and the tray lets you adjust the setup based on where you sit. The palette works especially well if your bedding has creams or oatmeal tones.
Good to knowChoose a syrup bottle with a matte finish; glass shows fingerprints and looks messy fast.
Start by placing the ottoman within arm reach of your reading chair, leaving 20-24 inches between chair and ottoman for comfort. Set the tray table on top and use a tray with raised edges so cups don’t slide. Put two mugs at the front corners, syrup and spoon dish at the center, and the coffee tool behind the mugs. Add a woven basket on the low shelf for filters and coffee bags, and set one matching canister on the shelf edge. Keep the shelf items to three pieces max so the corner doesn’t look like a pantry.
AvoidDon’t use a shiny plastic tray table — it cheapens the whole linen look.
10. Gold-framed wall art + mirrored tray coffee setup on a white dresser
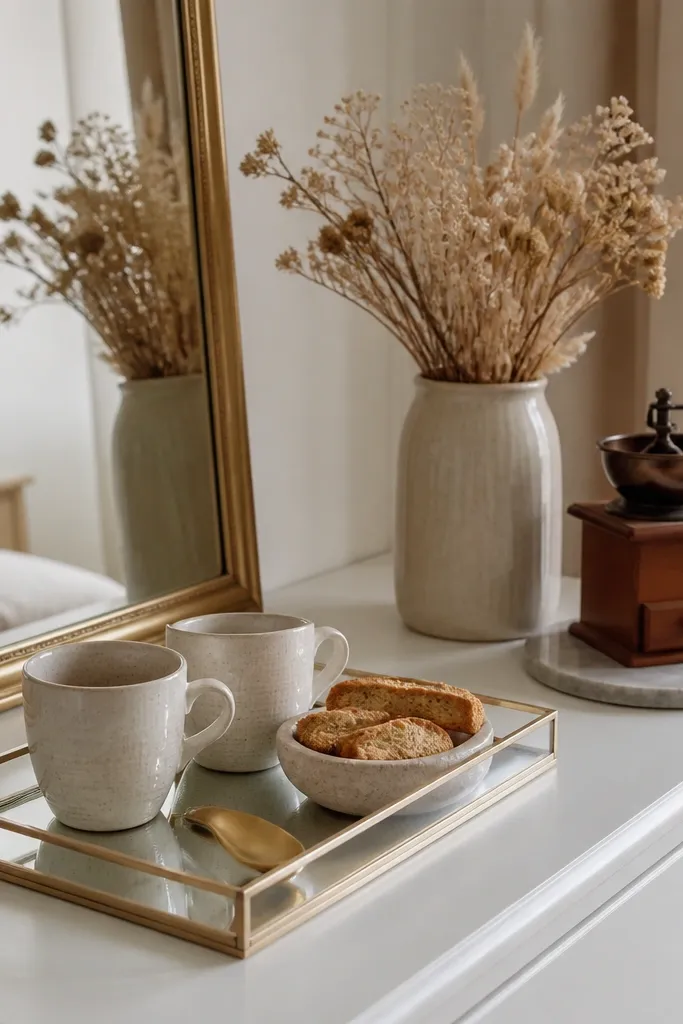
Mirrored trays make coffee corners feel high-end because they multiply light and make the items look styled from every angle. The gold frame ties the mirror and tray together so the corner reads coherent. I like using a white dresser here because it gives you contrast without forcing darker furniture into the room. Dried flowers add height, but keep them minimal so the coffee stays the focal point. This setup flatters people with smaller bedrooms because the mirror bounces light and visually expands the space.
Good to knowDust the mirror tray lightly before guests — smudges show more than you think.
Start by choosing a mirrored tray that fits on the dresser without spilling over the edges; aim for 18-22 inches wide. Place the tray centered and slightly forward so it catches light from a lamp. Add a gold spoon rest on one side, two matching cups on the front, and a small bowl on the back corner. Put the coffee grinder on a coaster to protect the dresser surface, then add dried flowers in a slim vase behind the tray. Keep the dresser clutter-free: only the tray and one tall element behind it.
AvoidSkip too many small items; mirrored surfaces make tiny clutter look chaotic.
11. Ceramic tile backsplash panel with a mini coffee station and brass hooks
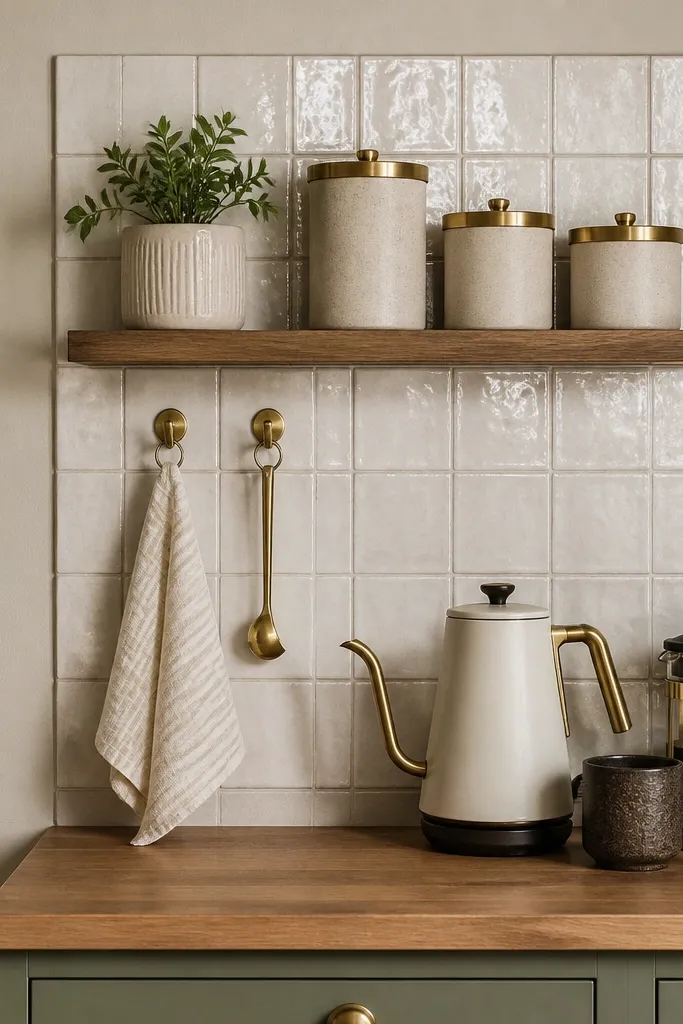
A tile-look backsplash makes the coffee corner feel like a kitchen detail, which is why it always reads “intentional.” Glossy tile reflects light and makes brass hooks look brighter, and it also hides minor splashes better than painted walls. This works great if your bedroom has a dresser or desk near the corner and you want coffee to feel built-in. Pair brass lids with ceramic canisters in off-white or cream for the luxury effect. It’s especially flattering in rooms with cooler lighting because tile reflections bring warmth to the scene.
Start by choosing a tile-look panel sized to cover the wall area behind your coffee counter, usually about 24-30 inches wide. Mount or place it so the top sits around 18-20 inches above your counter surface. Install two brass hooks on the panel so the towel and one utensil hang neatly. Place canisters on a narrow shelf with brass lids, then set a kettle and dripper on a small tray on the counter. Keep the tray to one functional set: kettle, dripper, and cups, no extra random decor.
Use a thin, matching towel in a textured fabric like waffle cotton so it looks luxe but stays practical.
Avoid flat matte brass next to glossy tile without warm lighting; it can look dull and gray.
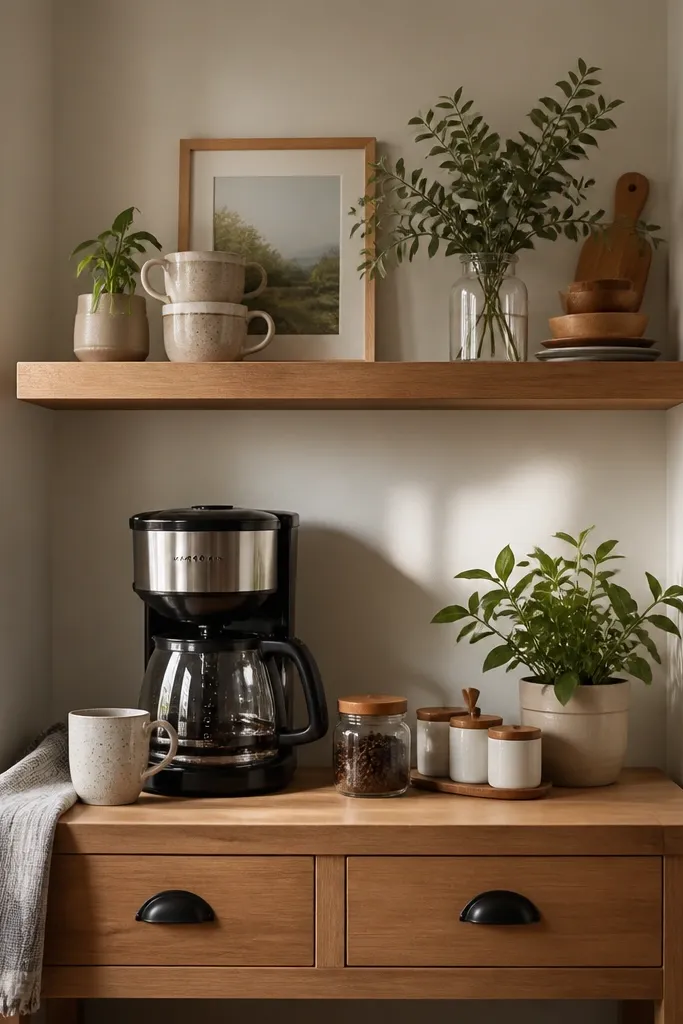
12. Walnut floating shelf with coffee bar canisters and a warm wood tray
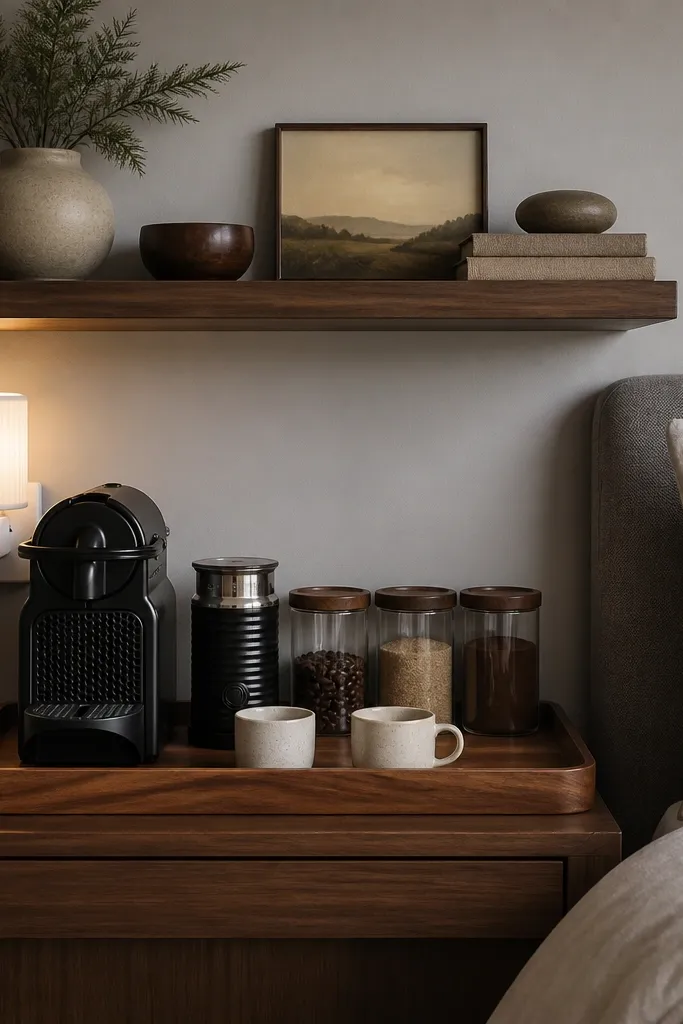
A floating shelf gives you clean lines and makes the coffee corner feel custom without bulky furniture. Walnut is warm and forgiving, and it makes ceramic and glass look richer. The warm wood tray ties the shelf and station together, so everything reads as one system. I like canisters with walnut lids because they repeat the wood tone and create a consistent rhythm. This setup looks best next to a bed or reading chair where you want the coffee tools to be visible but not taking up floor space.
Good to knowUse felt pads under the tray and machine base to prevent scratches and reduce noise when you move items.
Start by mounting the floating shelf 60-66 inches from the floor, centered above your tray. Choose a shelf width that matches your tray footprint so the tray doesn’t look like it’s floating alone. Set the tray on the surface below and place an espresso machine or compact brewer at the back. Add two cups in front corners, then line canisters along the back edge under the shelf. Put one tiny plant or candle holder on the shelf corner only — not in the center — so the coffee tools stay the focus.
AvoidAvoid overcrowding the shelf with decor; a shelf should frame the coffee, not compete with it.
13. Monochrome black coffee nook with cream mugs and a smoked glass carafe
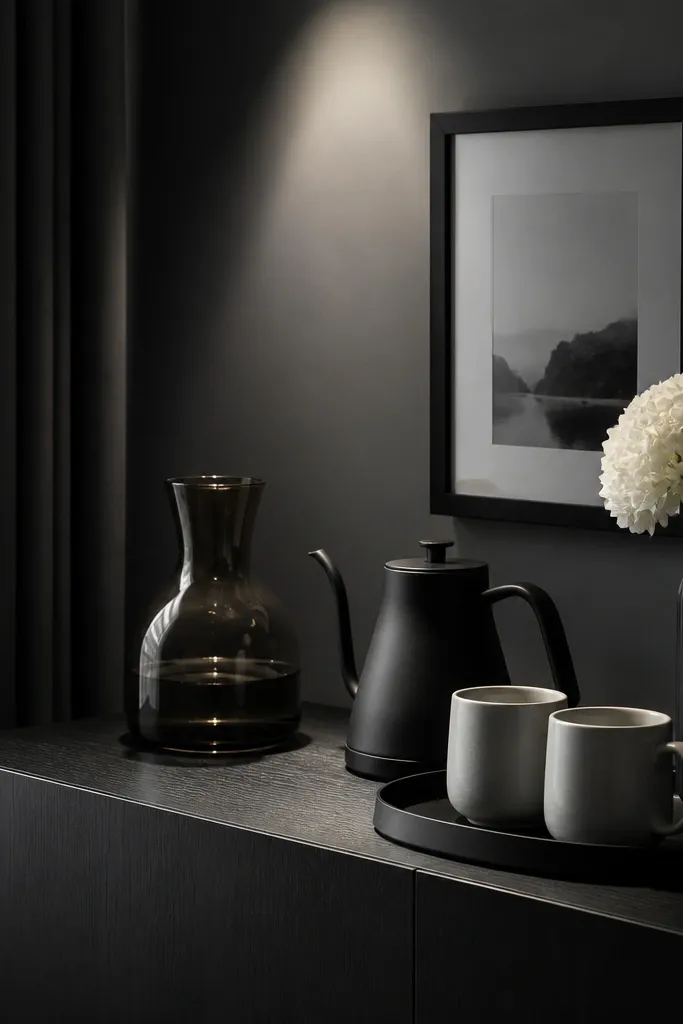
Monochrome corners look luxury when the contrast is crisp: matte black surfaces plus cream ceramics. The smoked glass carafe adds depth without adding more color, and it looks expensive under side lighting. I’ve used this in bedrooms with dark bedding or black frames, and it always looks intentional because the coffee station matches the room’s “dark language.” Cream mugs keep it from looking like a showroom, and the white flowers add softness. This is a great choice if you’re tired of warm palettes but still want cozy.
Start by placing a matte black console or narrow table in the corner, then set a black tray on top. Put a smoked glass carafe at the back center, then place a black kettle to one side so the arrangement isn’t perfectly symmetrical. Add two cream mugs on the tray front corners and include a spoon dish in the center. Keep canisters black or dark gray with minimal labels. Add one small spotlight lamp or a wall sconce to create a highlight on the carafe.
Choose mugs with a slight texture like speckle or micro-ribbing; smooth glossy mugs can look cheap in black setups.
Avoid using multiple black shades (jet black and charcoal and gray) — it looks patchy.
14. Pale oak desk corner coffee nook with a leather coaster stack
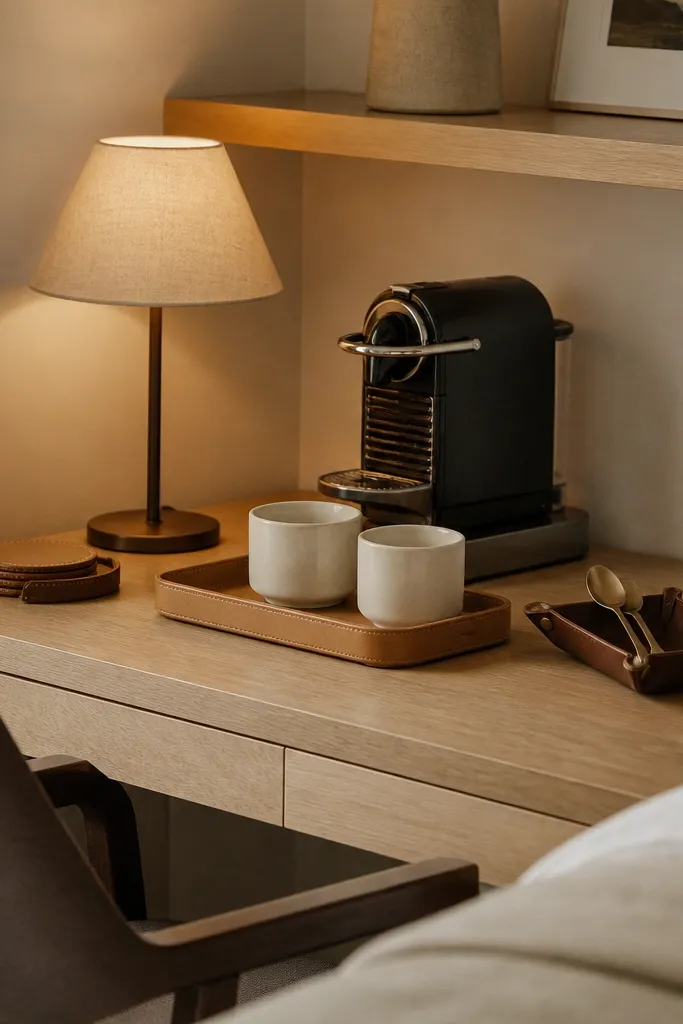
If your bedroom has a desk, this coffee nook idea keeps the station close to where you work. The pale oak desk makes everything feel airy, and leather coasters add that “quiet luxury” texture that looks good even when you’re not photographing it. I like off-white cups here because they match the linen lamp shade and keep the desk from looking cold. The leather catchall holds spoons and small tools so the desk surface doesn’t turn into a clutter zone. This setup is flattering for rooms with light floors and light walls because the materials blend without heavy contrast.
Good to knowCondition the leather once a month with a tiny amount of leather balm so it stays soft, not dry and cracked.
Start by clearing a 20-24 inch section of the desk corner and placing a tan tray slightly off-center to leave space for a desk lamp. Stack leather coasters under the mugs to prevent heat marks and keep the styling neat. Place the espresso machine or brewer behind the tray center, then set two cups on top of the coasters at the front. Add a leather catchall on the side for spoons and a small dish for sugar cubes. Finish with a linen-shaded lamp positioned so it lights the cups from the side, not overhead.
AvoidSkip paper napkins and cheap plastic trays — they look out of place on an oak desk.
15. Floating corner shelf with a mirrored tray and crystal-cut sugar jar
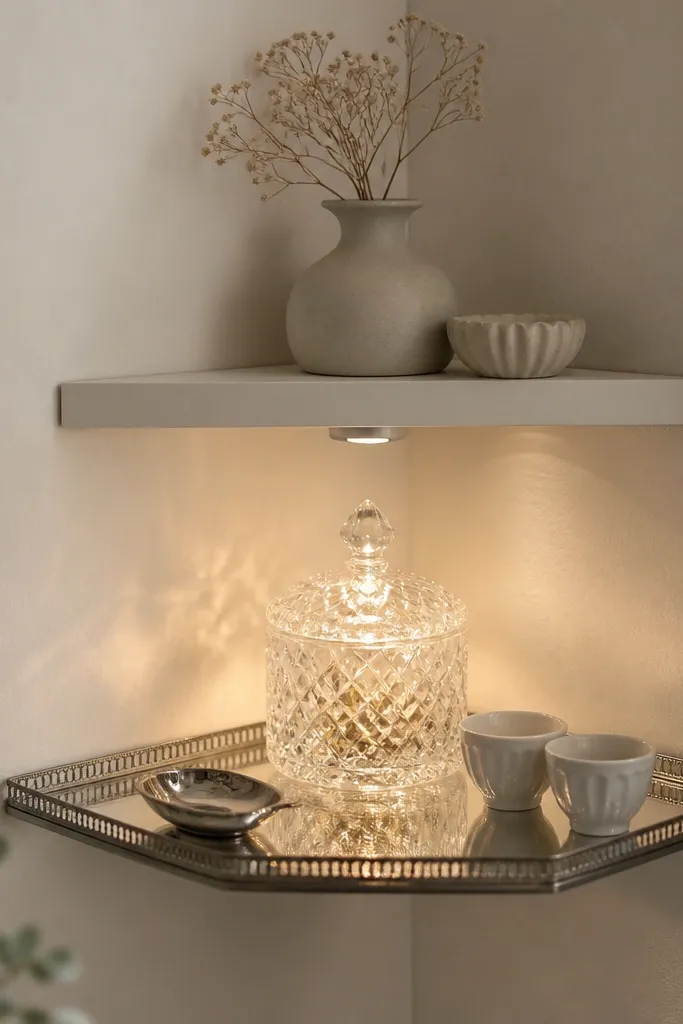
This is the kind of coffee corner that looks fancy even with a simple menu: espresso, sugar, and one creamer. The mirrored tray adds sparkle, and the crystal-cut sugar jar is the hero piece — it catches light every time you refill. A corner floating shelf saves space and makes the station feel built-in, which is what people mistake for expensive renovations. I like this for bedrooms that are mostly smooth surfaces because the crystal texture adds visual interest. It flatters neutral palettes, especially cream, ivory, and light stone colors.
Good to knowWipe the mirrored tray with glass cleaner and dry with a lint-free cloth; smears ruin the sparkle fast.
Start by installing the floating shelf in the corner so the shelf bottom sits about 12-14 inches above your tray. Place the mirrored tray centered under the shelf so the jar looks aligned with the shelf line. Put the crystal sugar jar at the back center, then place two cups on the front corners. Add a silver spoon rest near the right cup and a small creamer in front of the jar. Use one small light source pointed at the shelf — a plug-in LED puck works — so the crystal sparkles without harsh glare.
AvoidAvoid adding too many glass items; one crystal jar is enough to keep it luxe.